How to create a 3-tier architecture with a load balancer
This how-to explains how to create a 3-tier architecture for WordPress. It will include a load balancer with two front-end servers, one for the admin section and another one for the public section, and a database in a private subnet.
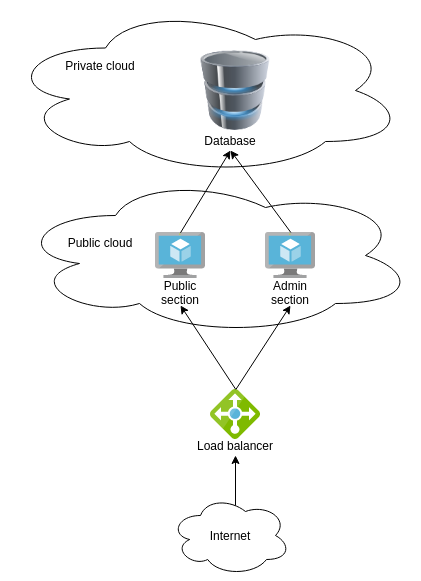
Wordpress will be accessed using the DNS name of the load balancer. If the user tries to access the private section, the load balancer is going to use one of the servers, in case of the public section, it is going to use the other server.
- Create the database in private subnet
- Create the front-end in a public subnet
- Create a load balancer
- Create a target group
- Create a listener
- Add rule to listener
- Add servers as a target of a target group
- Additional Resources
Prerequisites
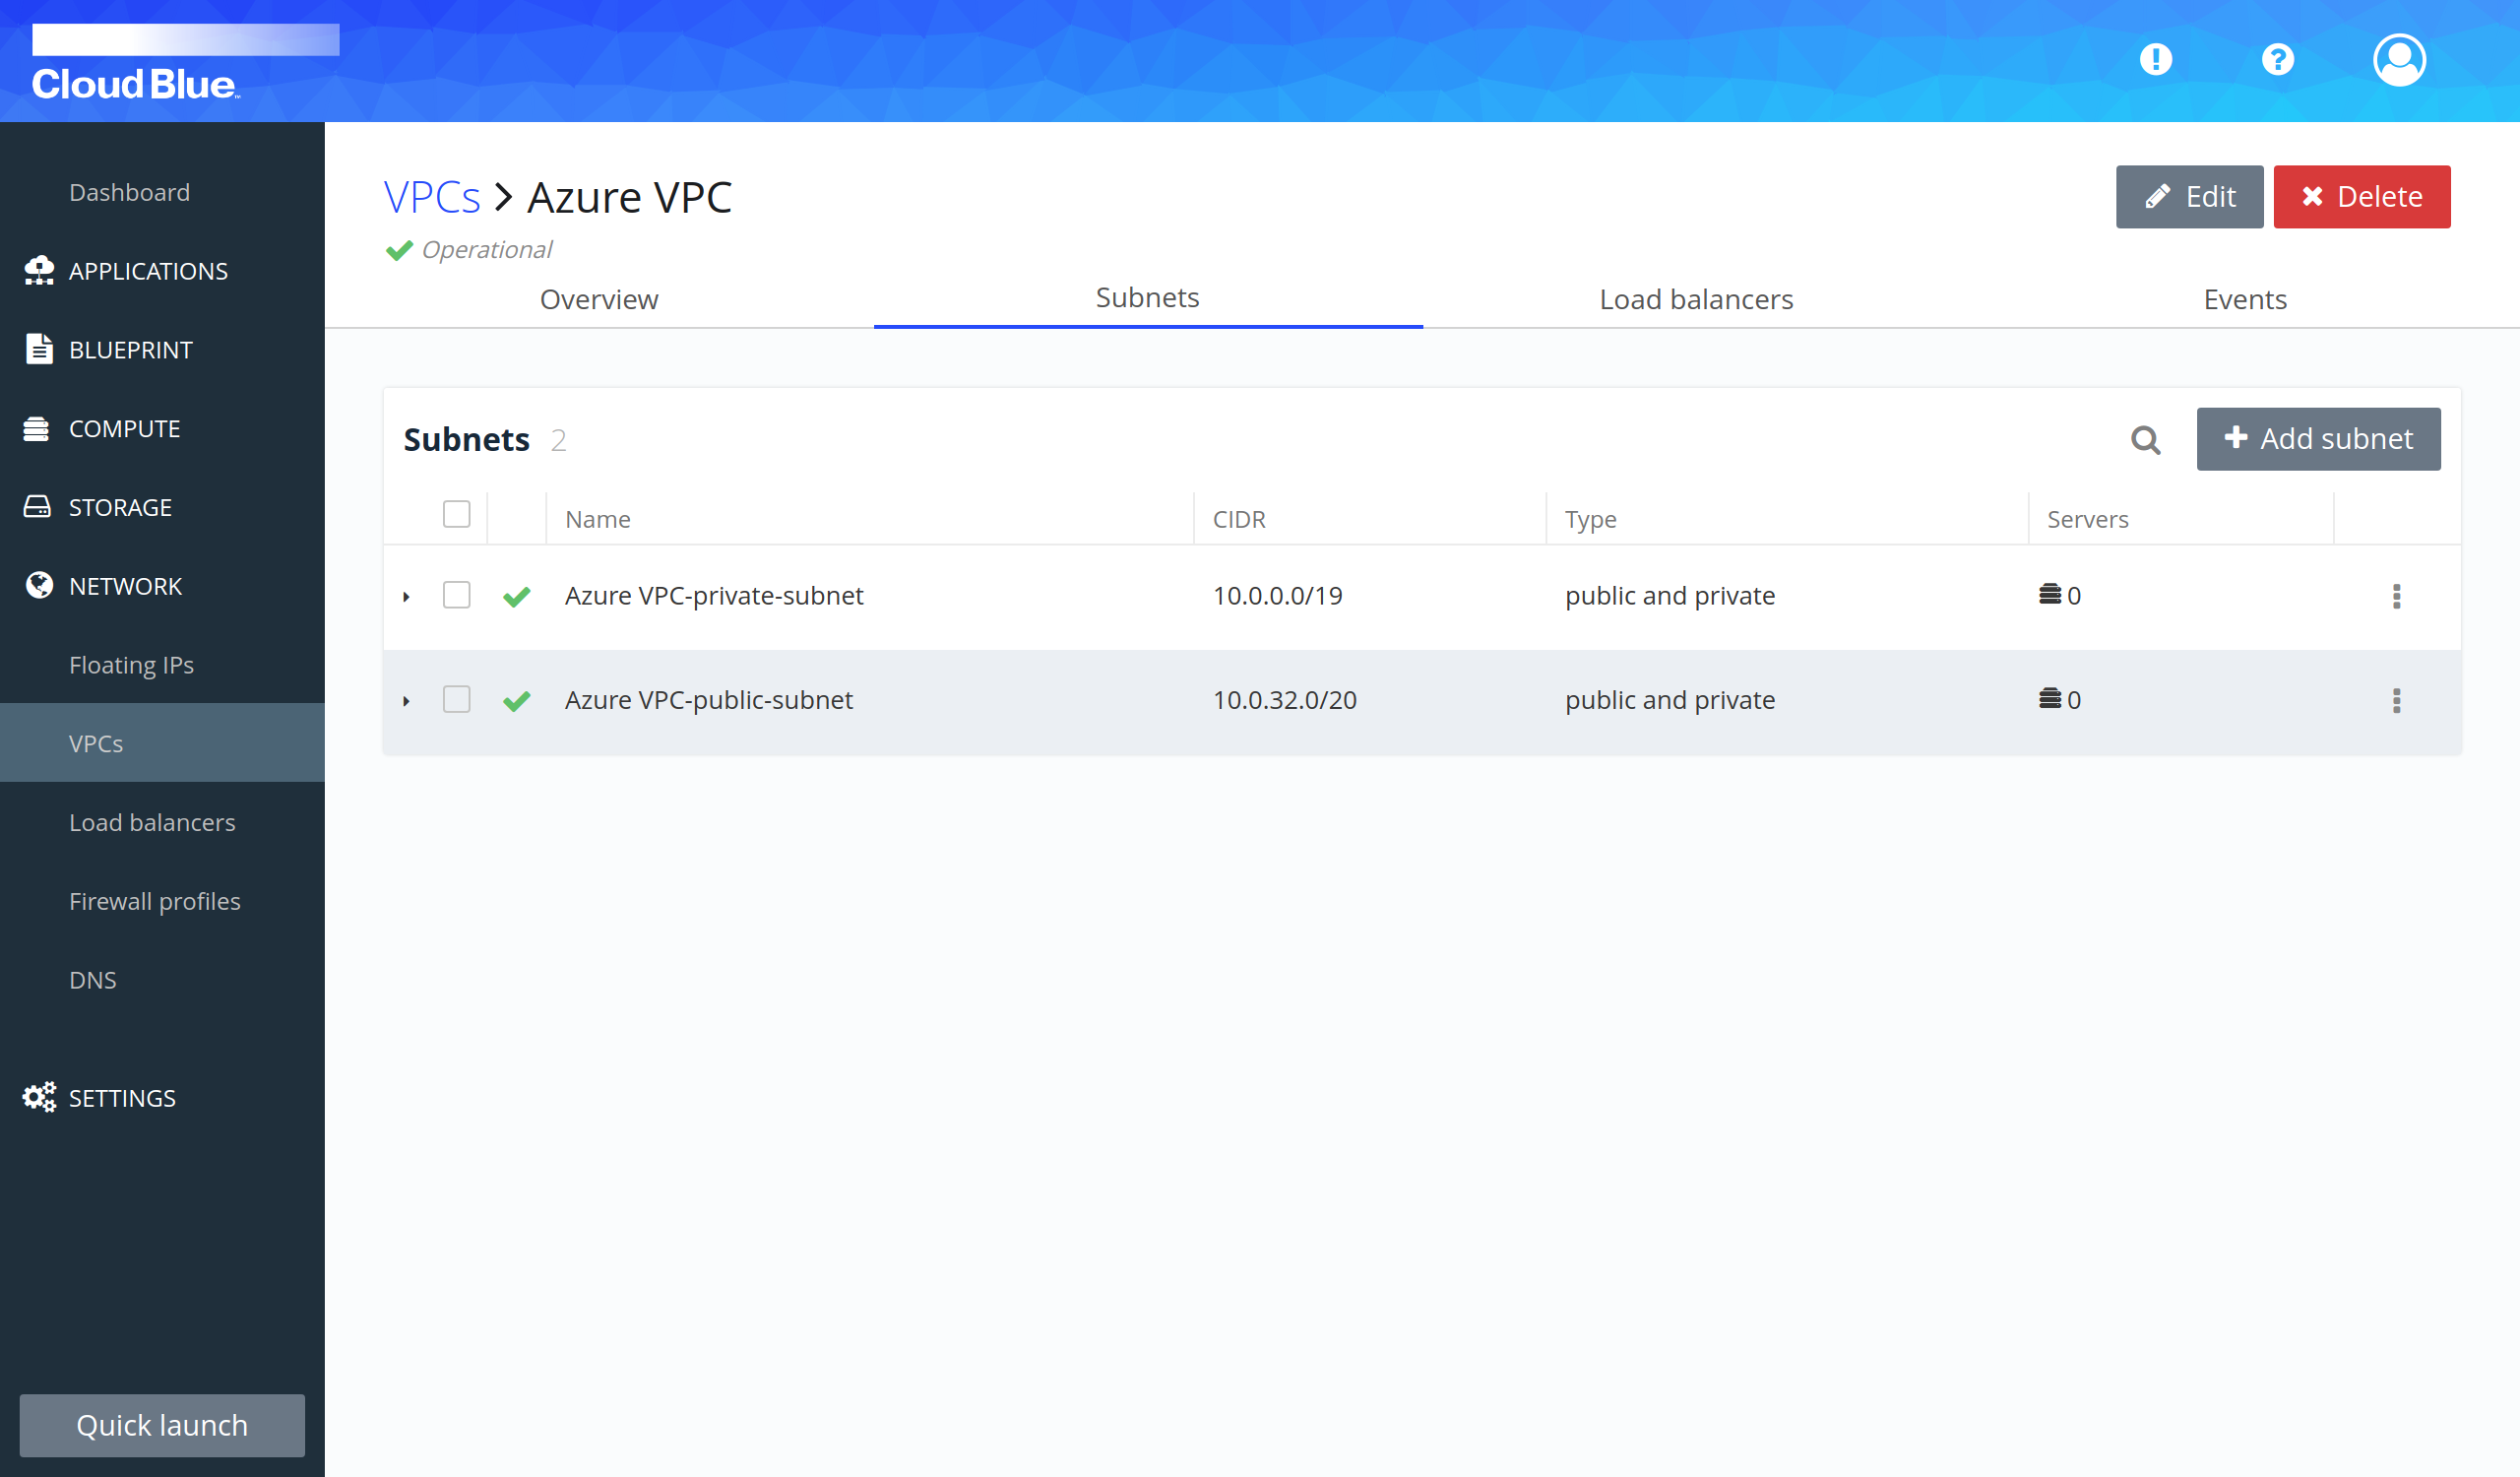
- Have a VPC in the region where the 3-tier will be created. This VPC should have 2 subnets, one public and one private. The steps to create are explained in How to create a VPC with default subnets.
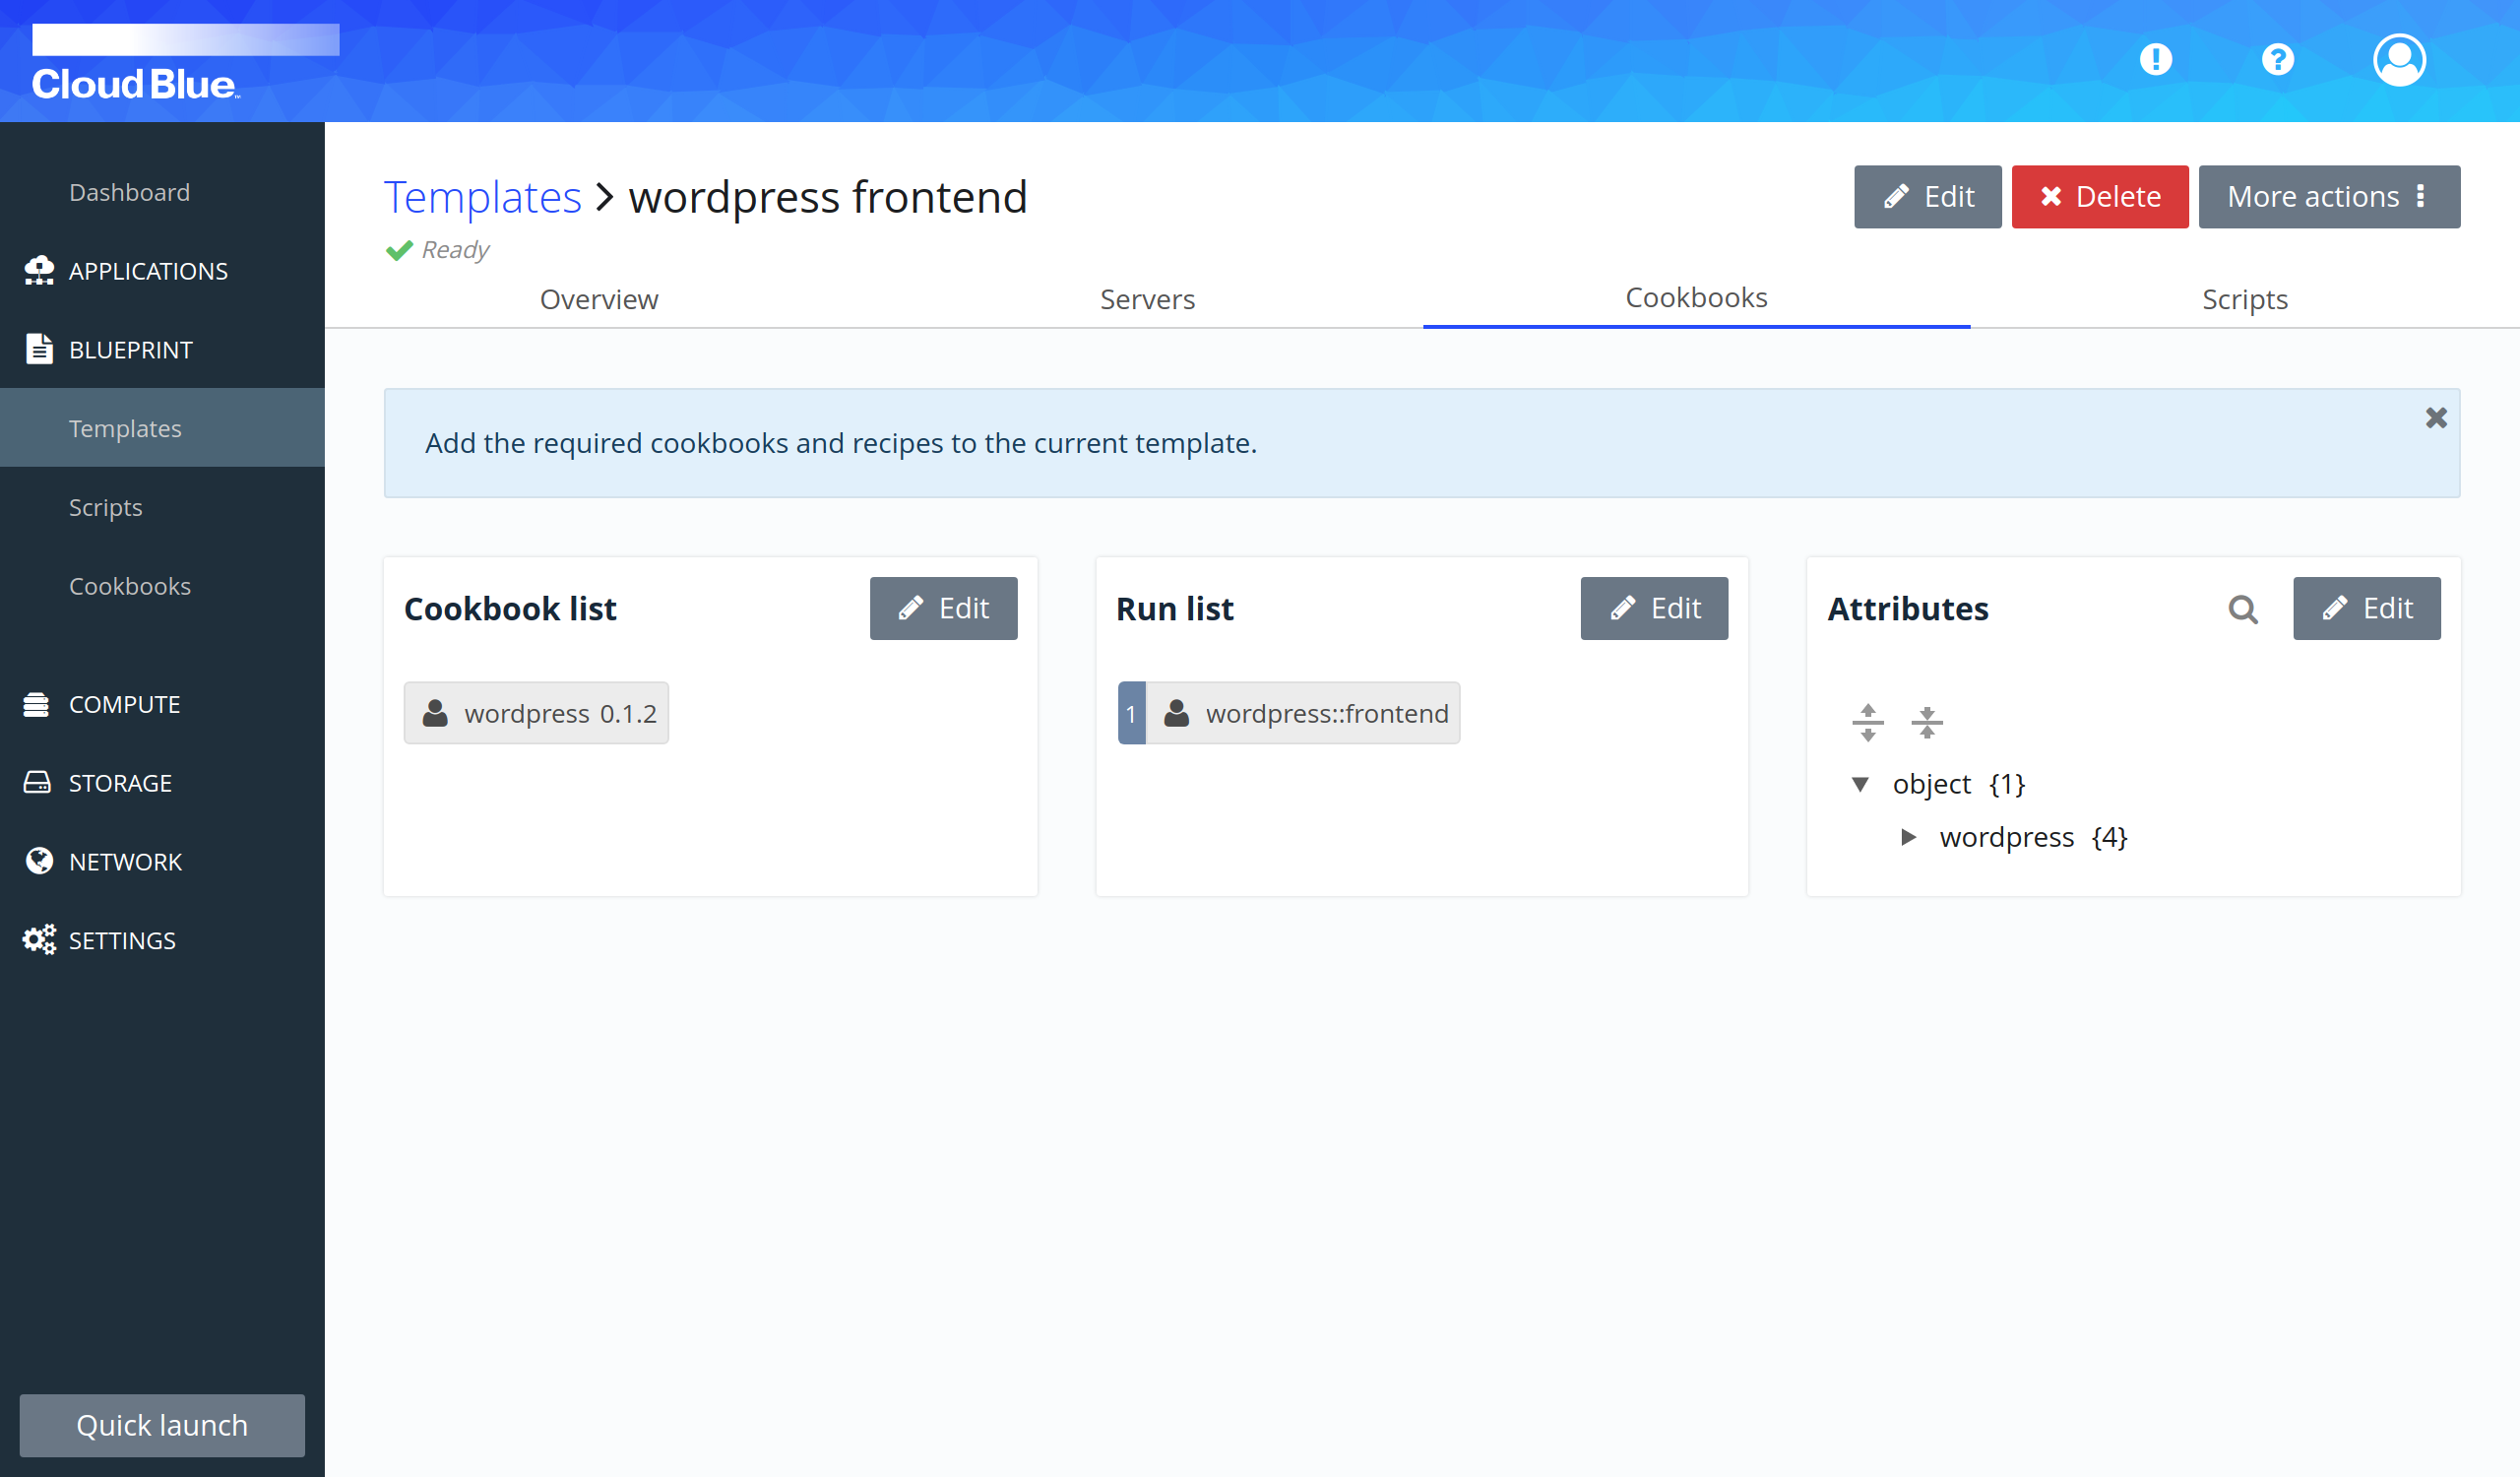
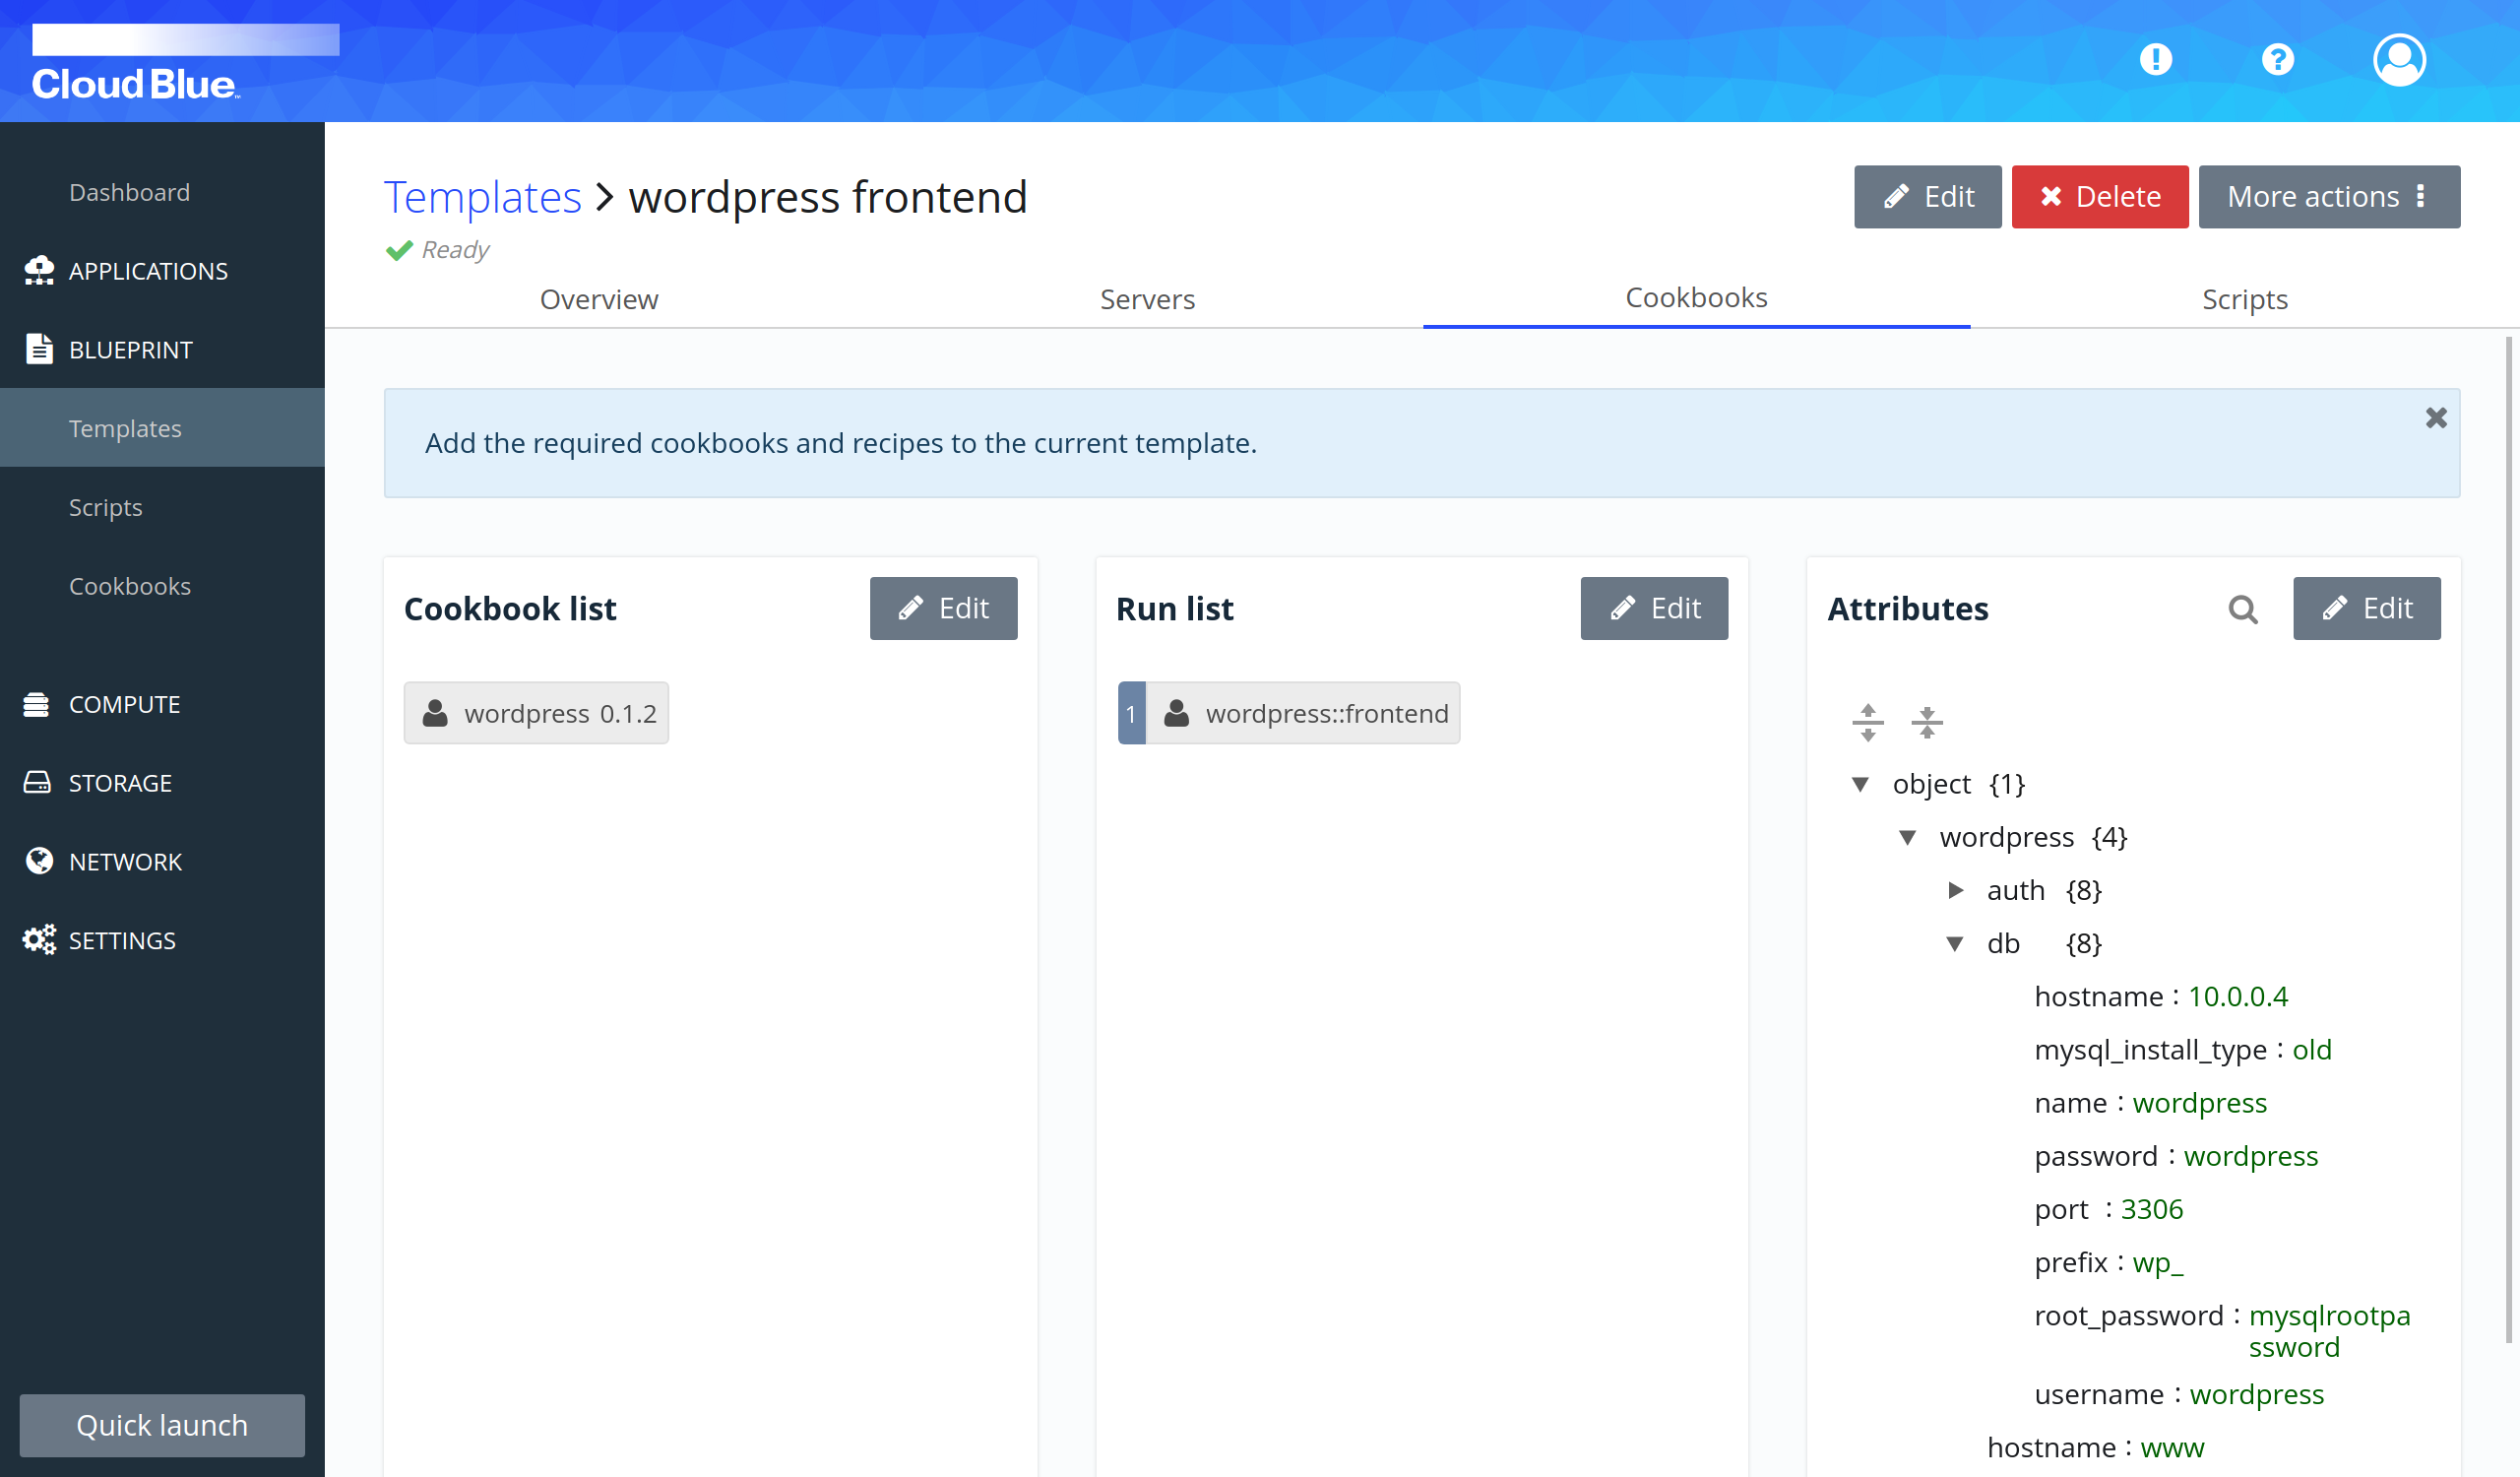
- Have different templates with the WordPress cookbook created to be used for every tier of the architecture. One template with the frontend cookbook recipe and the other with the database cookbook recipe. For this example, you will be using the WordPress cookbook provided as part of the Multi-Cloud Orchestrator default cookbooks.

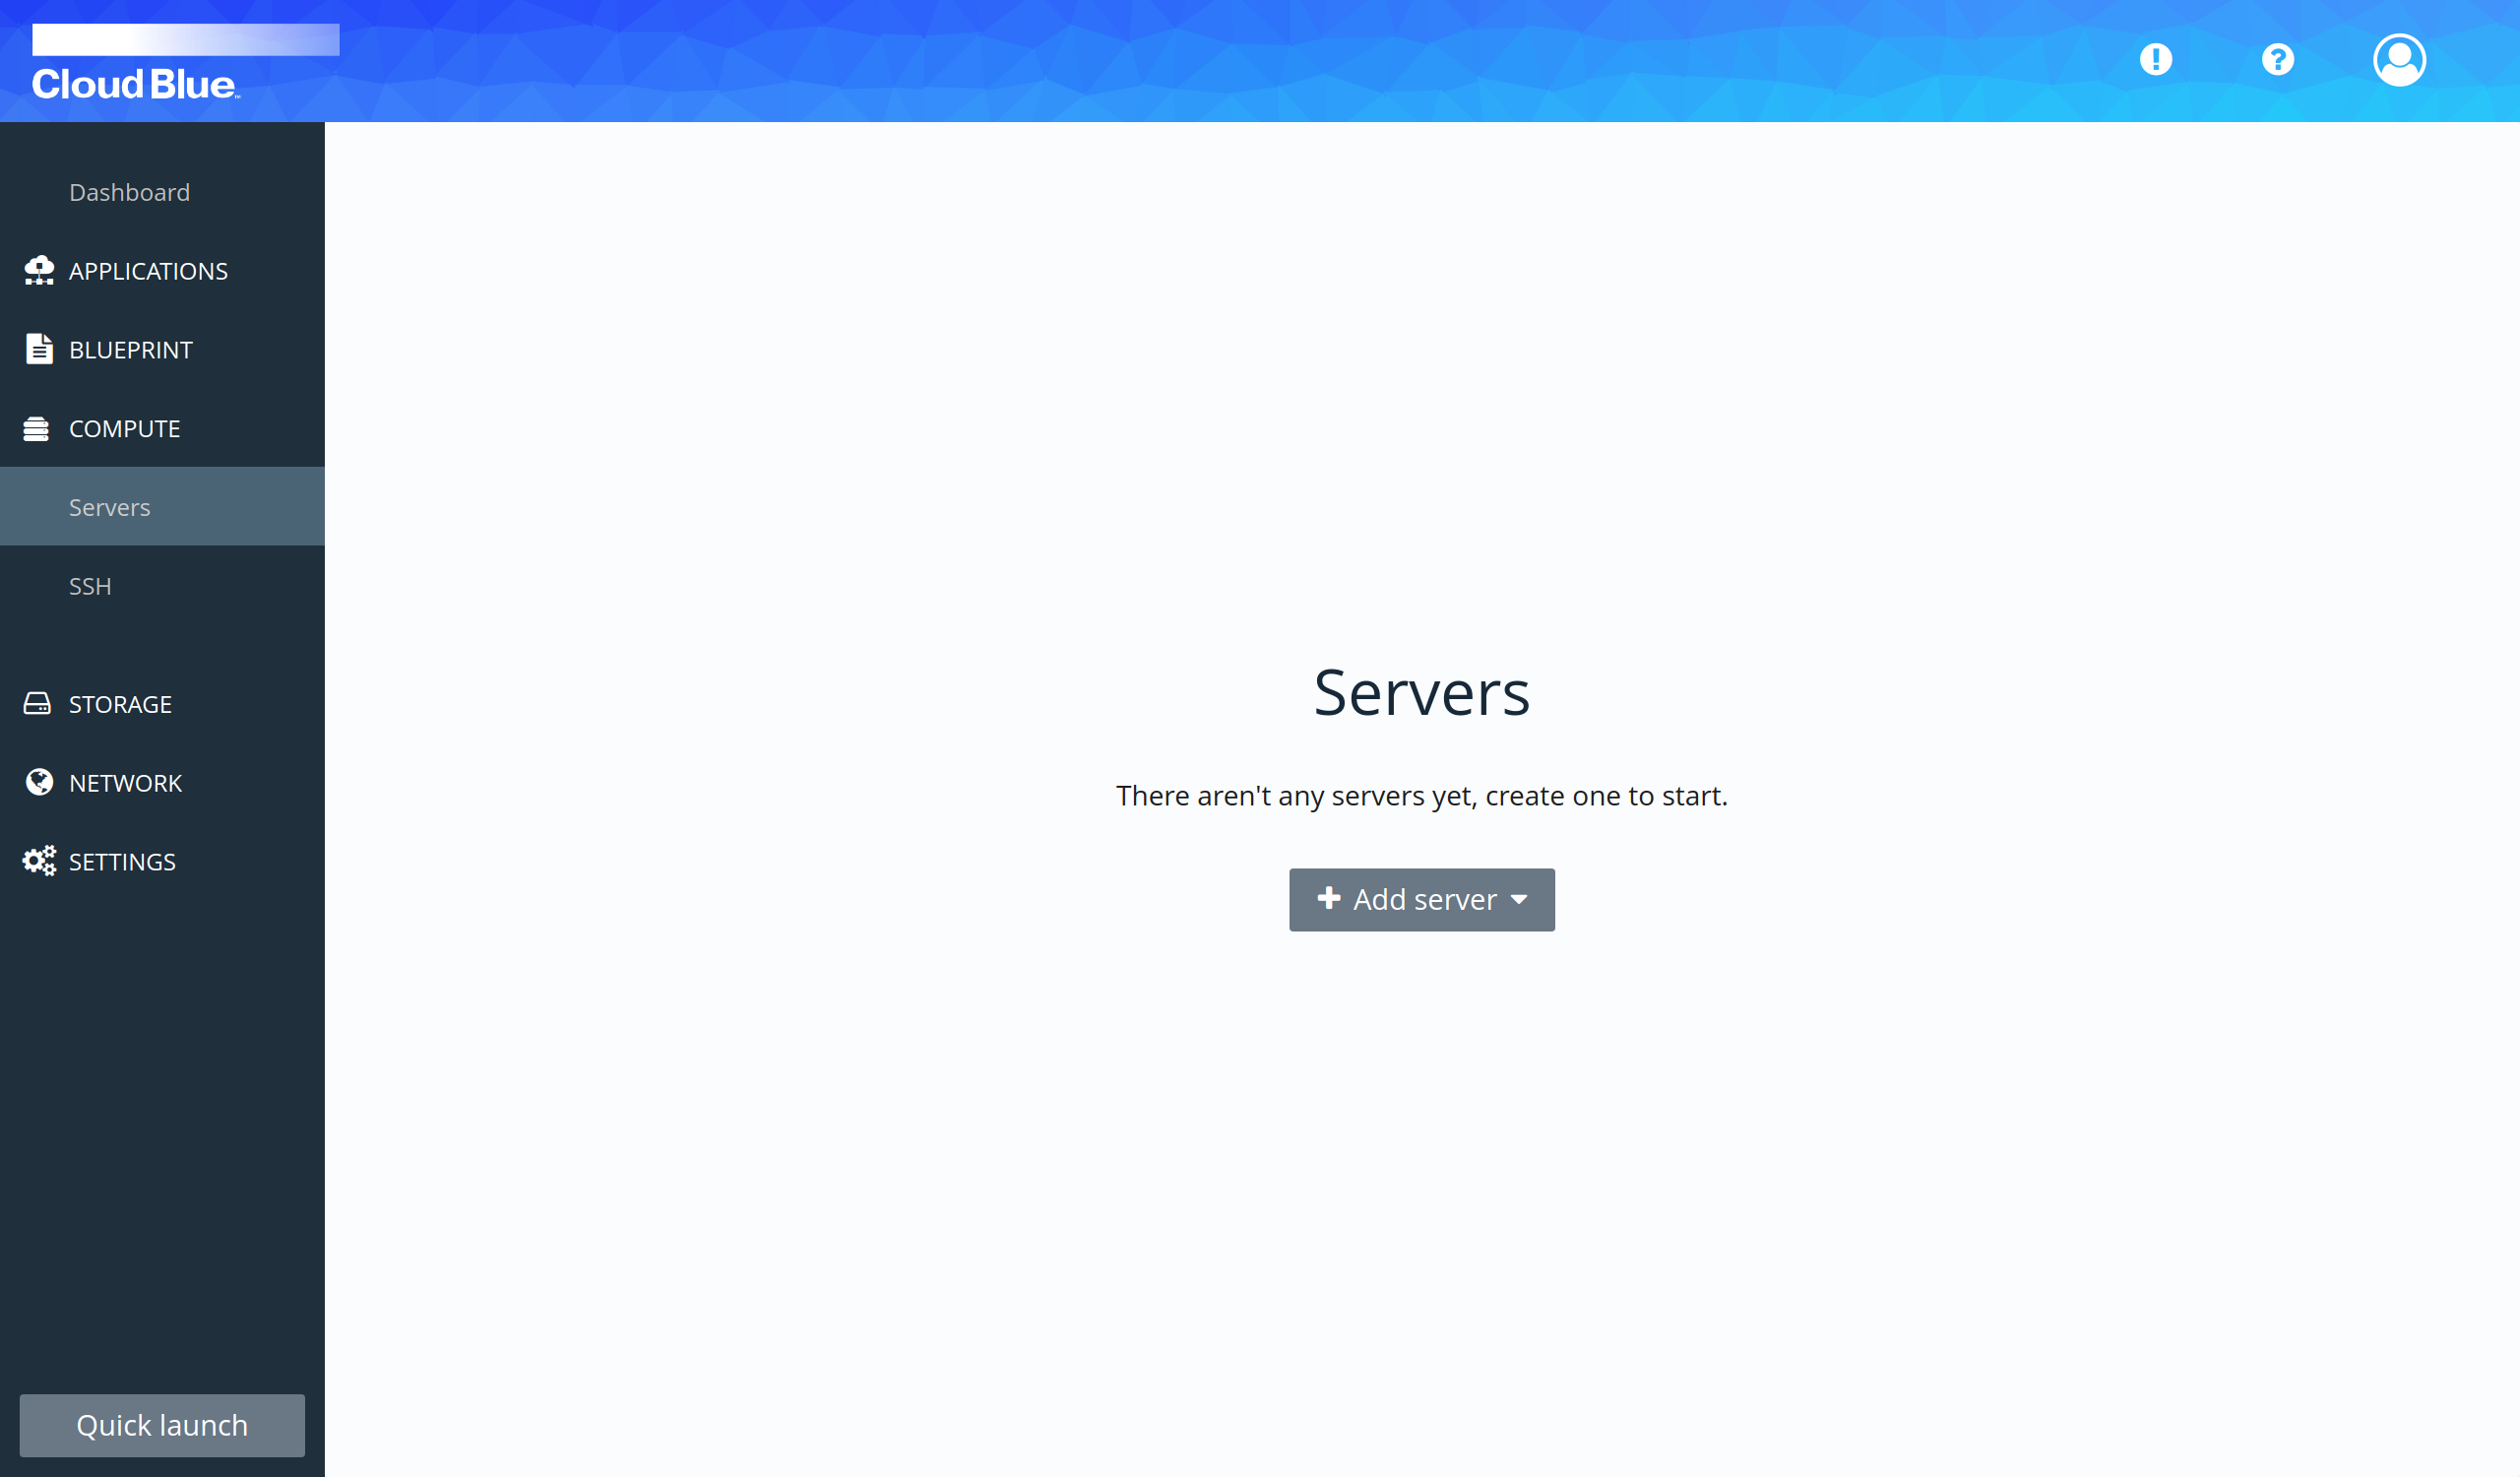
Create the database in private subnet
- Go to Compute -> Servers.
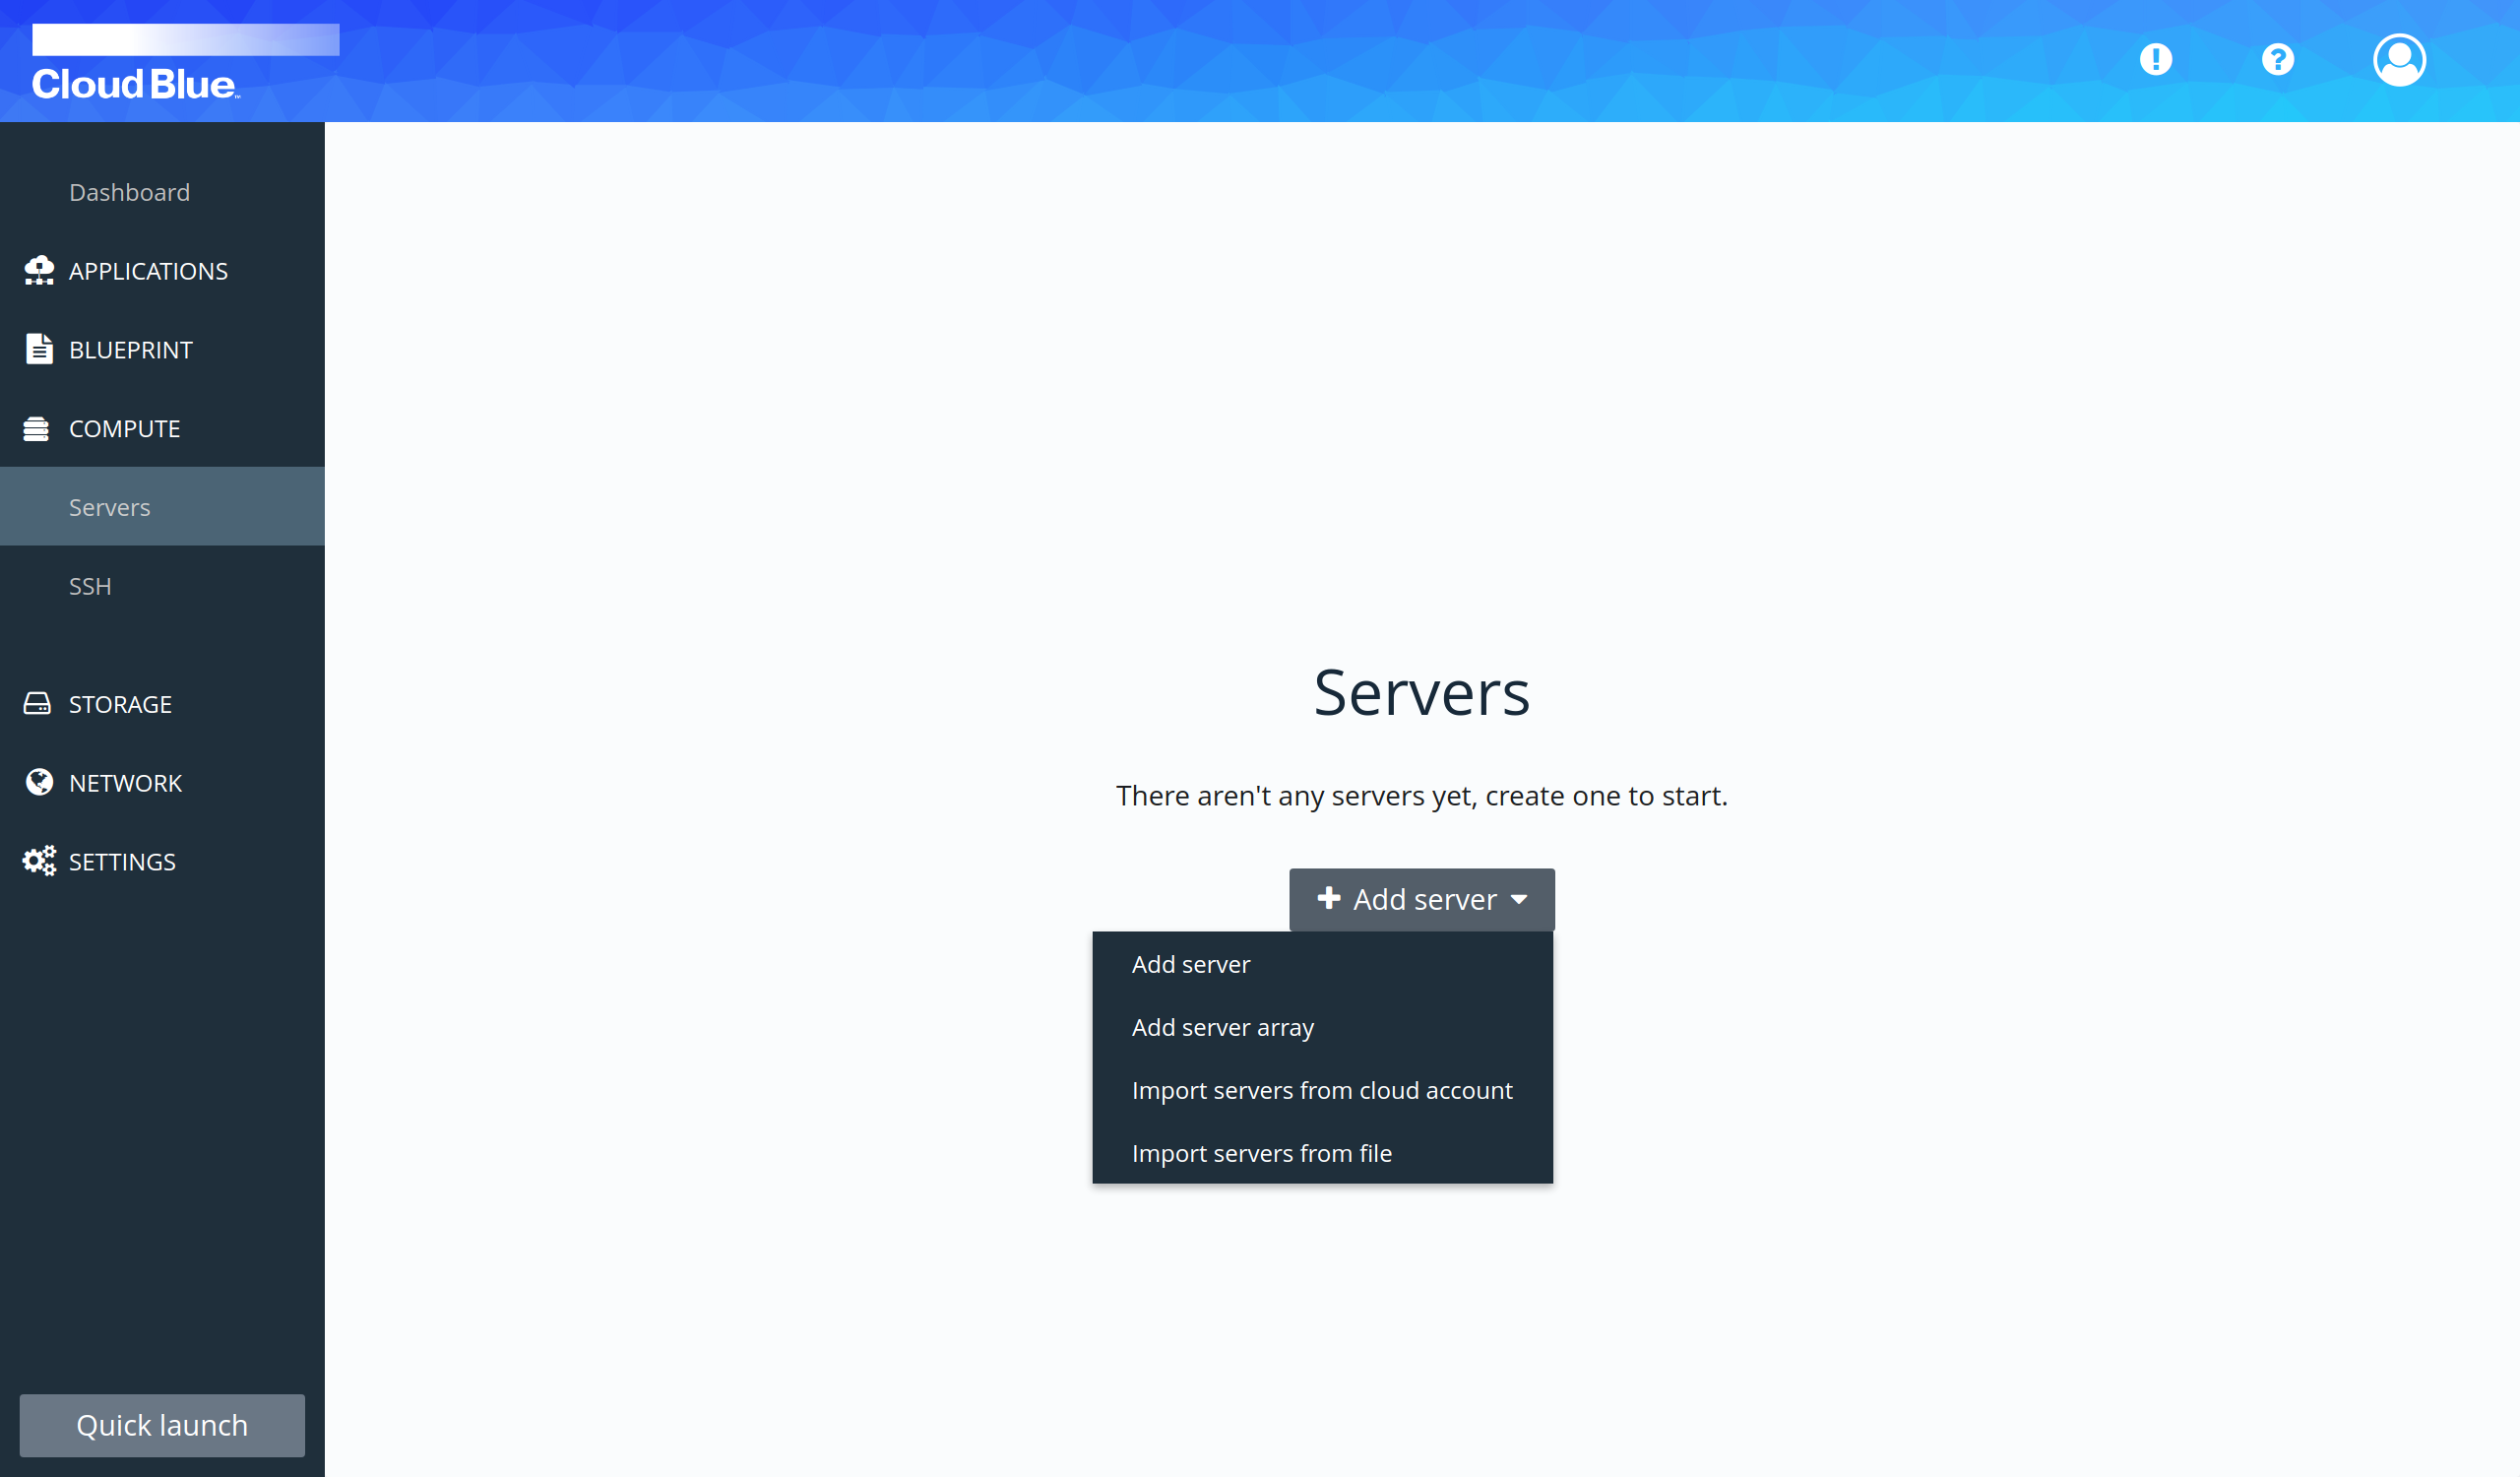
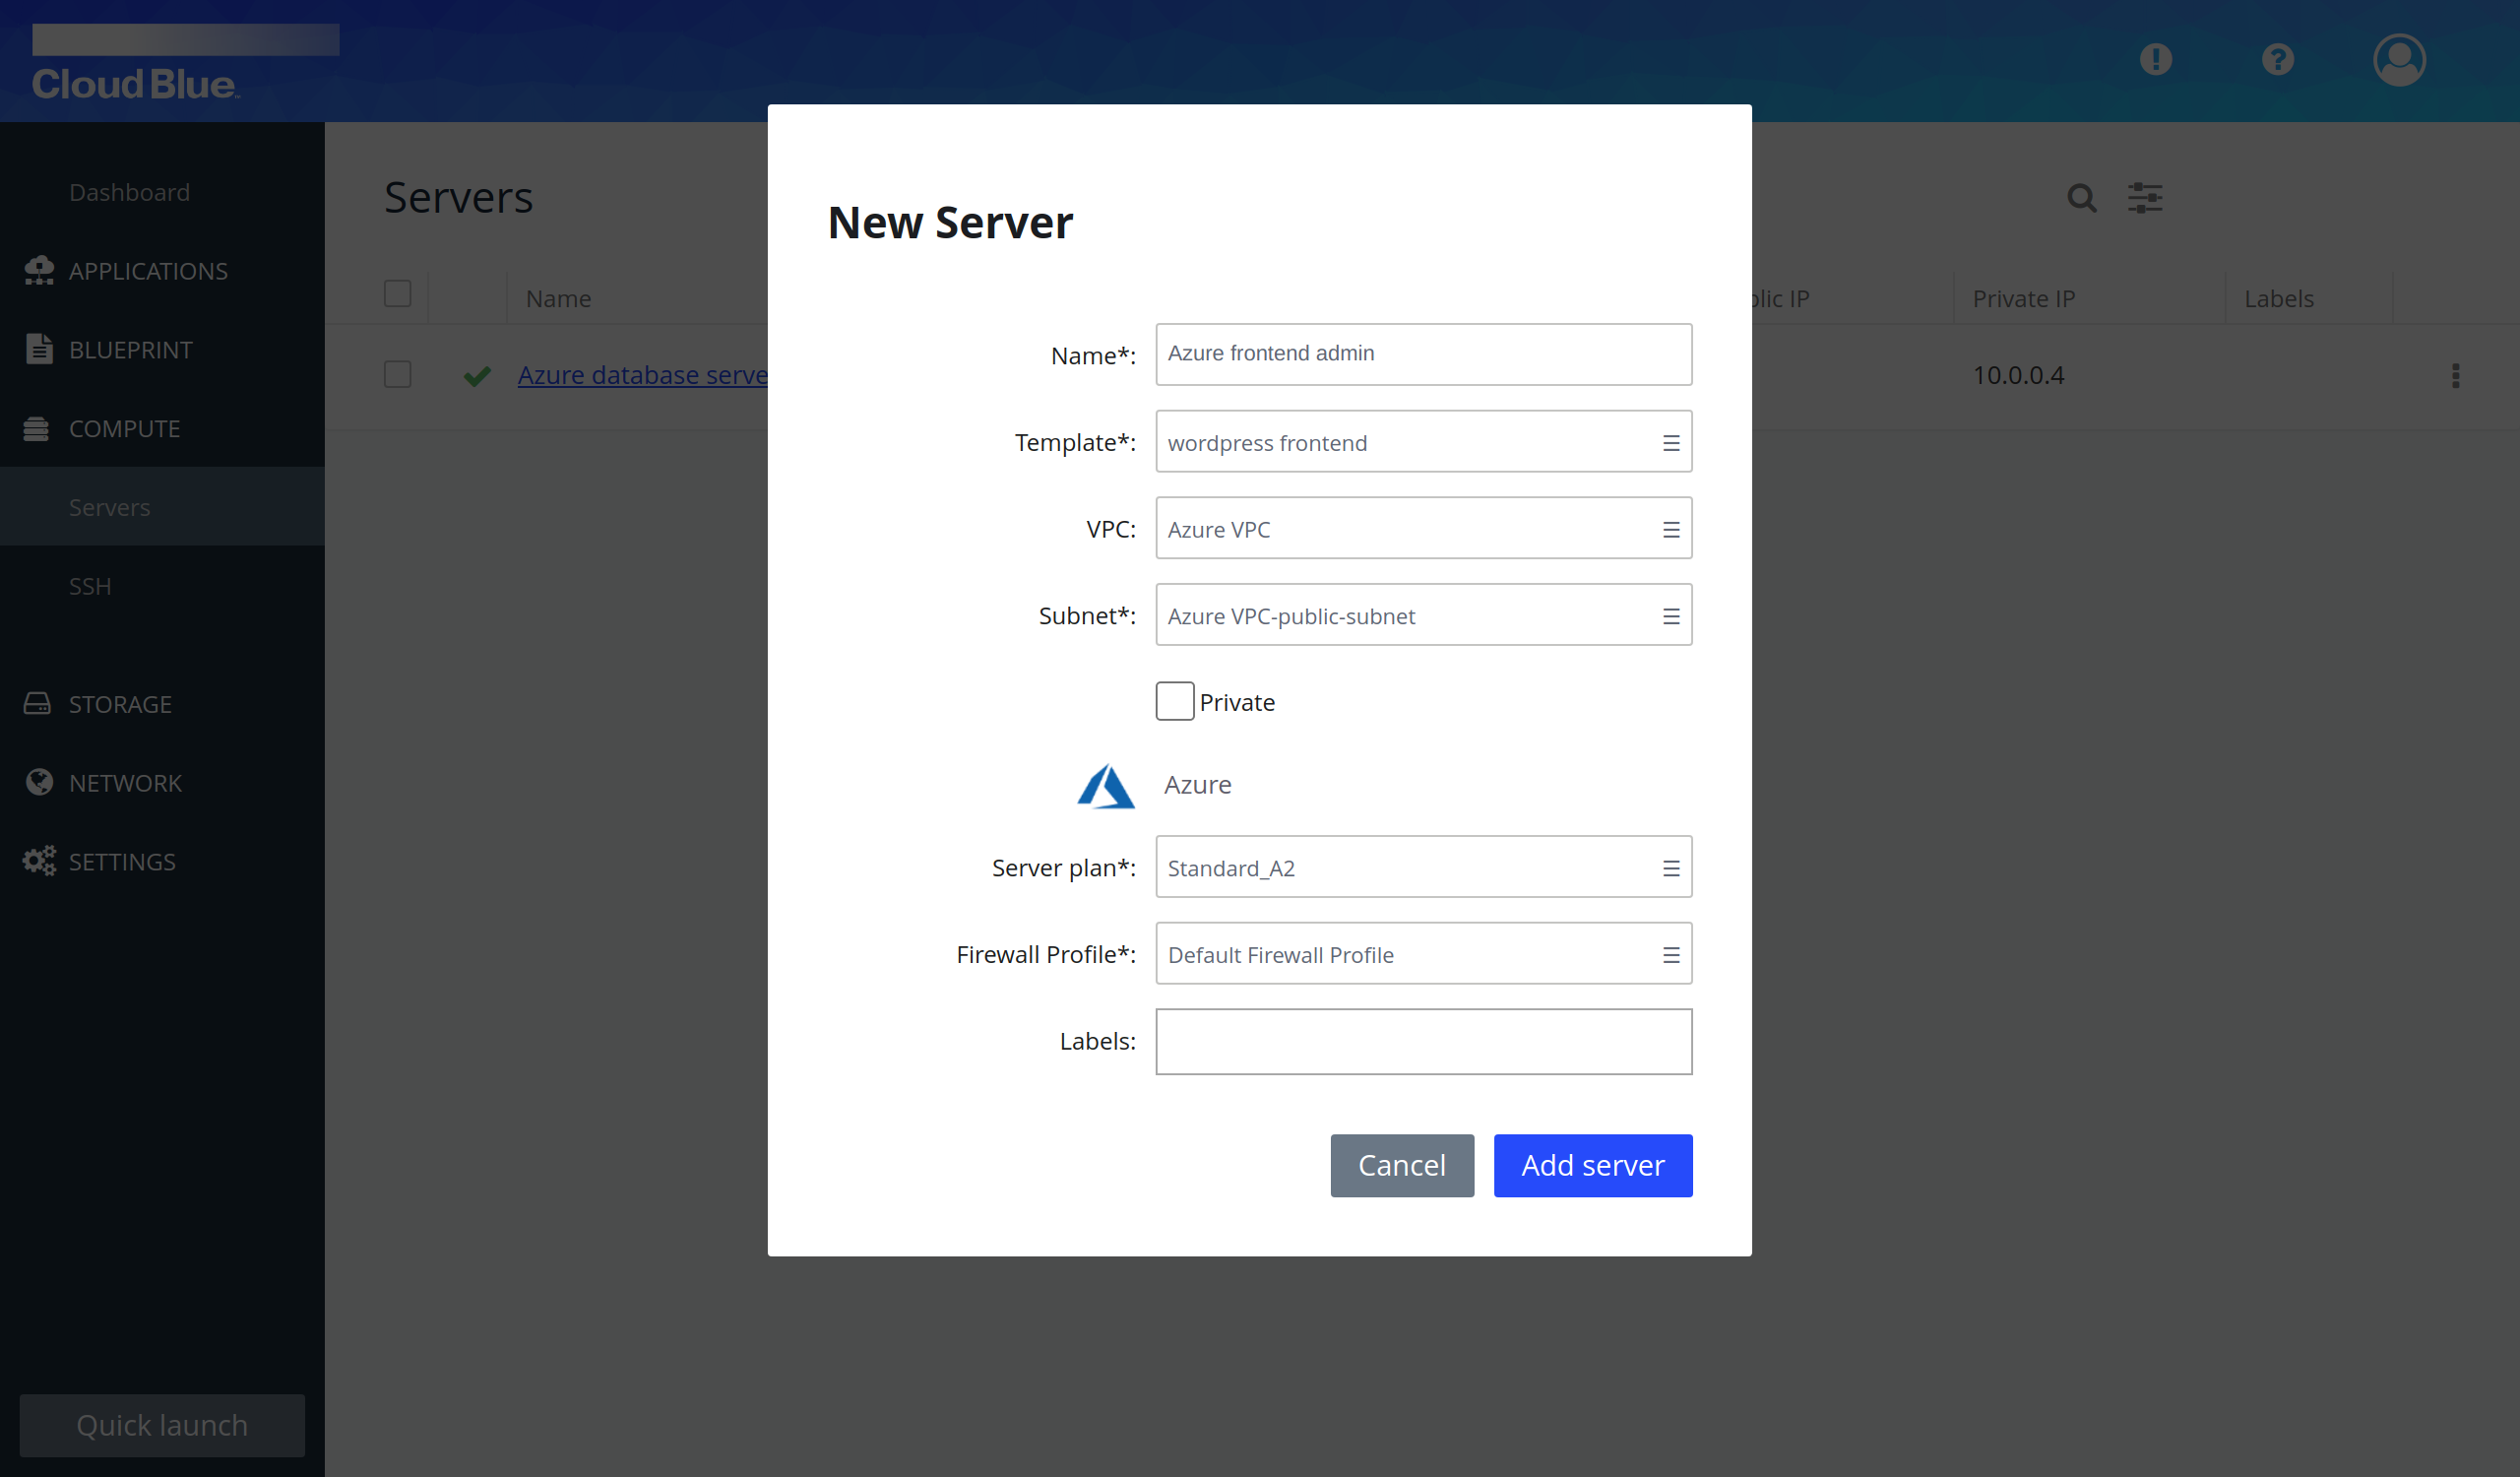
- Select the "Add server" option in the "Add server" selectable.
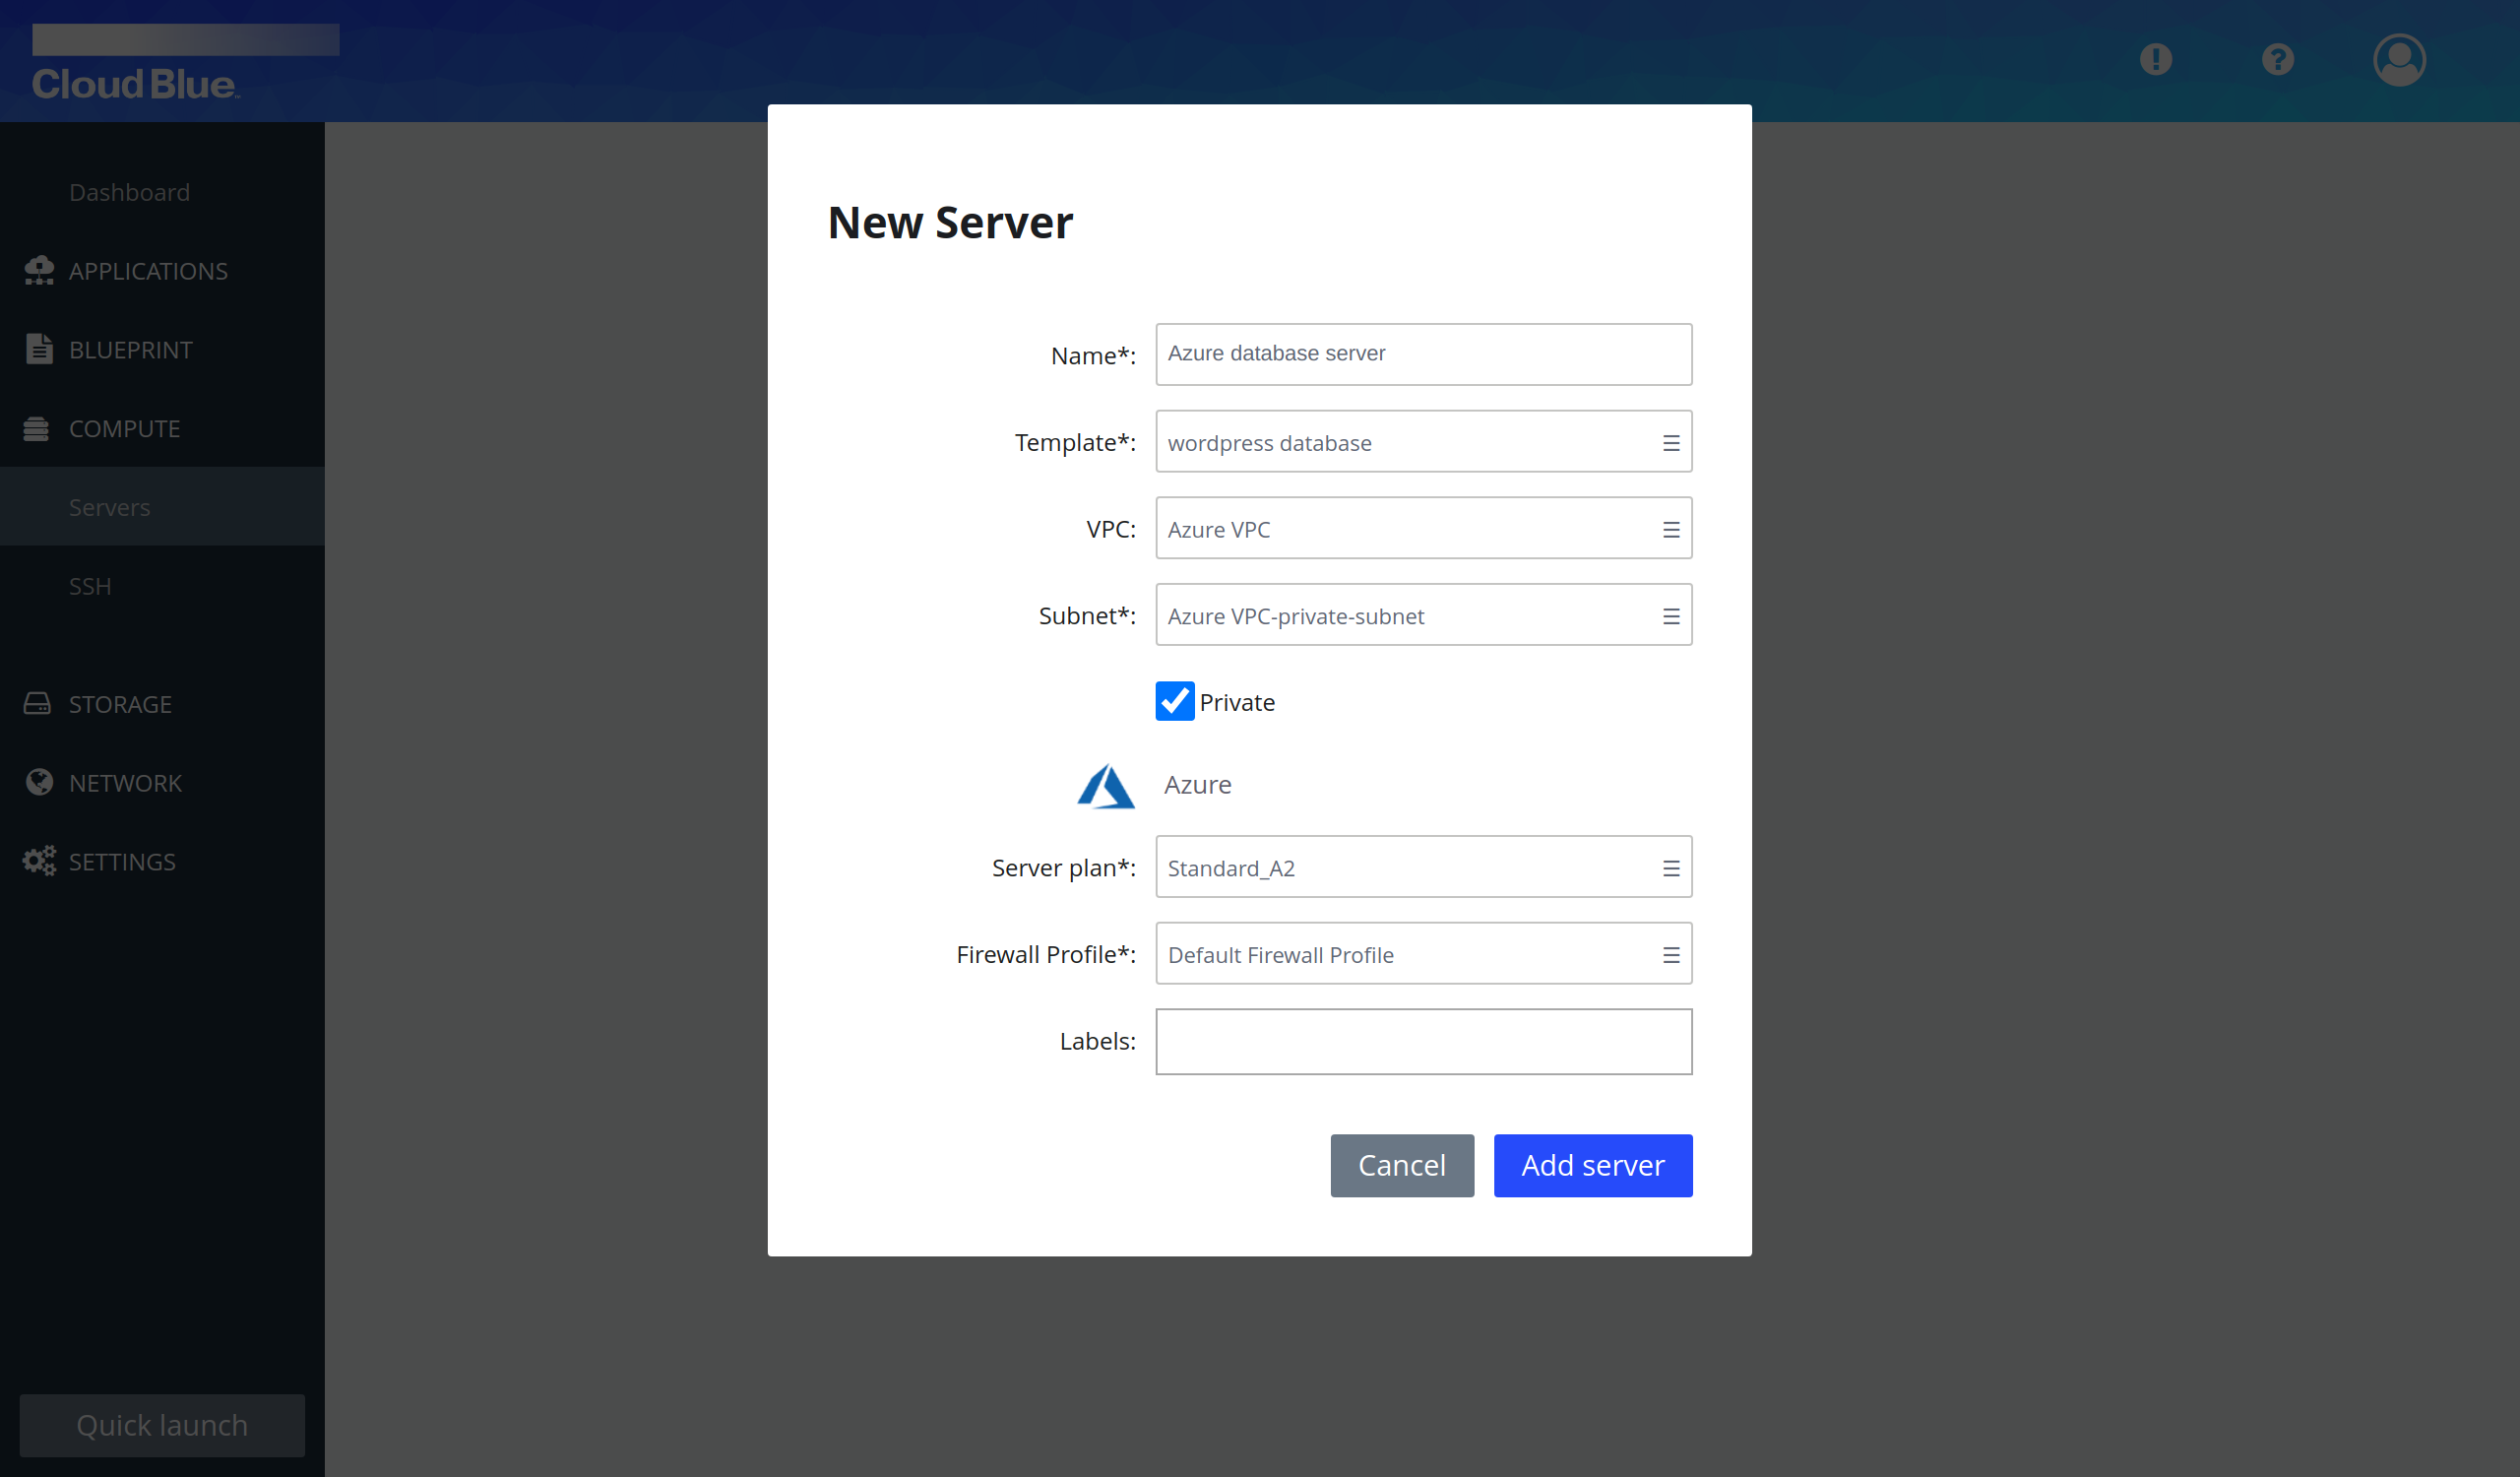
- Provide all mandatory fields and press the "Add server" button. It is important to select the database template as Template, the VPC created in prerequisites as VPC, the private subnet as Subnet and check the option Private.
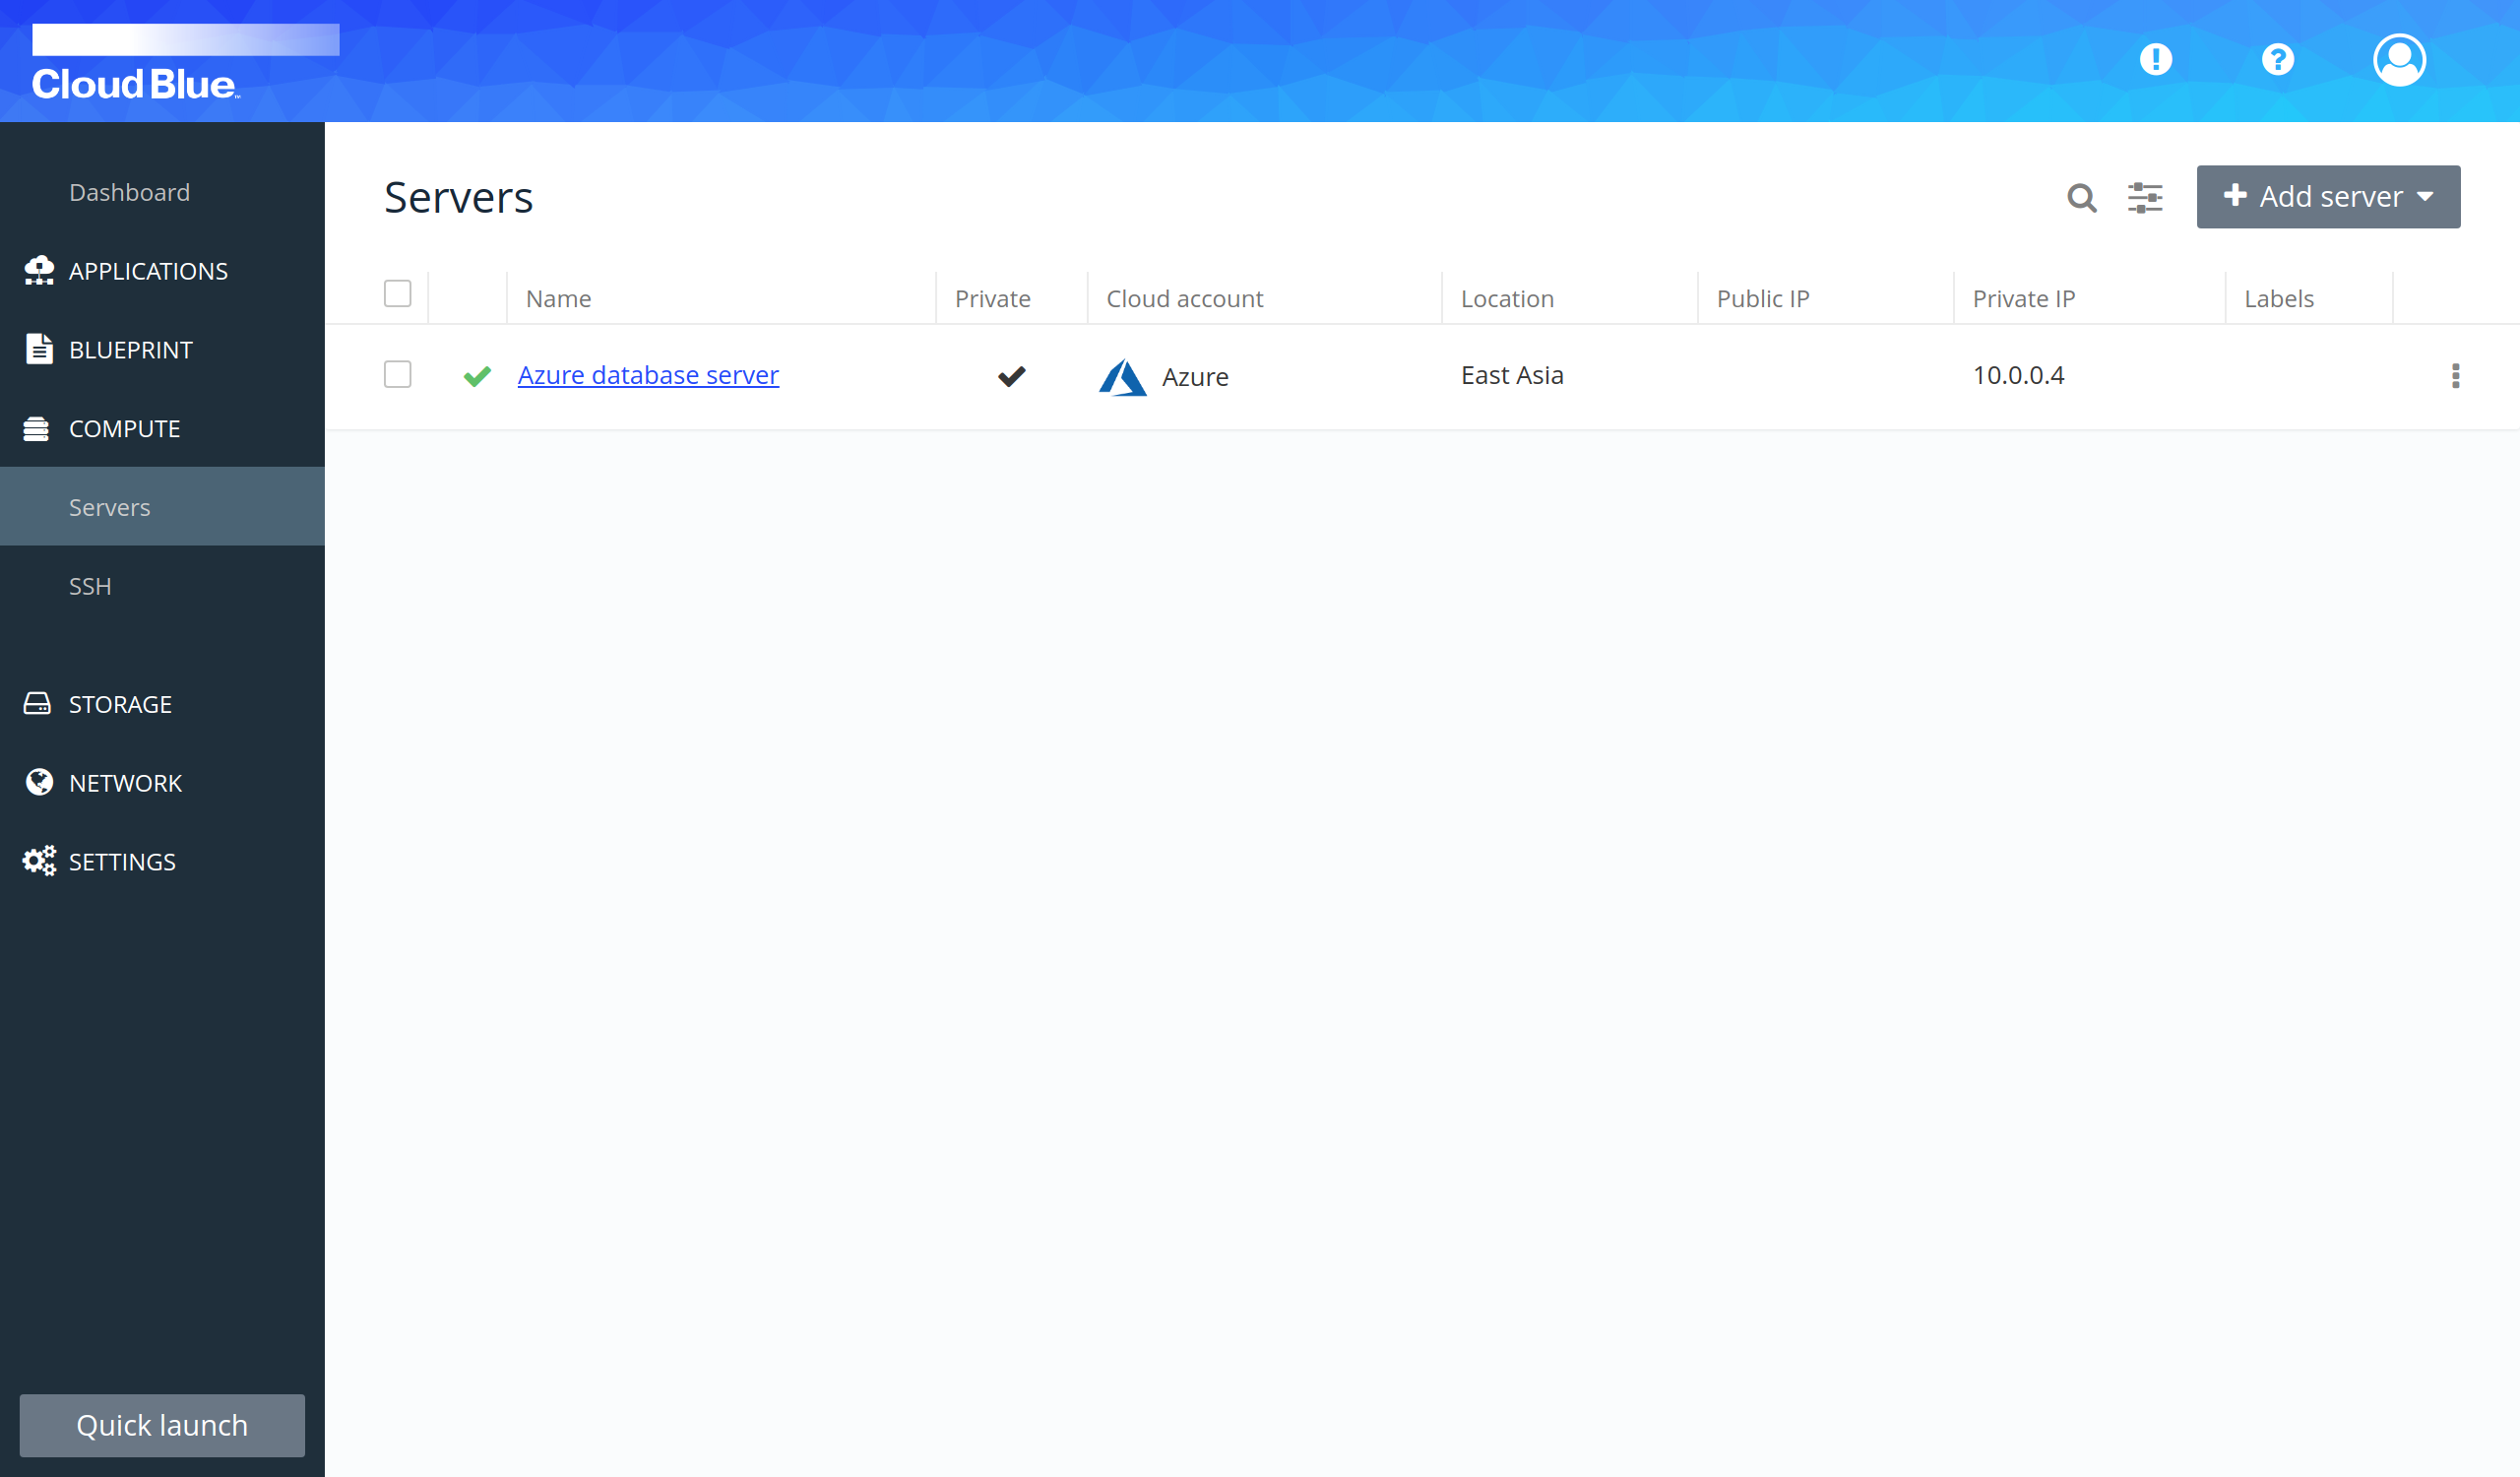
- Wait until the server is in the "Inactive" state and then boot it.
- Wait until the server is in the "Operational" state.
Create the front-end in a public subnet
- Modify attributes of the cookbook in the front-end template to add the back-end server IP address.
- Go to Compute -> Servers.
- Select the "Add server" option in the "Add server" selectable.
- Provide all mandatory fields and press the "Add server" button. It is important to select the front-end template as Template, the VPC created in prerequisites as VPC, the public subnet as Subnet.
- Wait until the server is in the "Inactive" state and then boot it.
- Repeat the previous steps to create another server.
- The servers have been created and they are running.

Create a load balancer
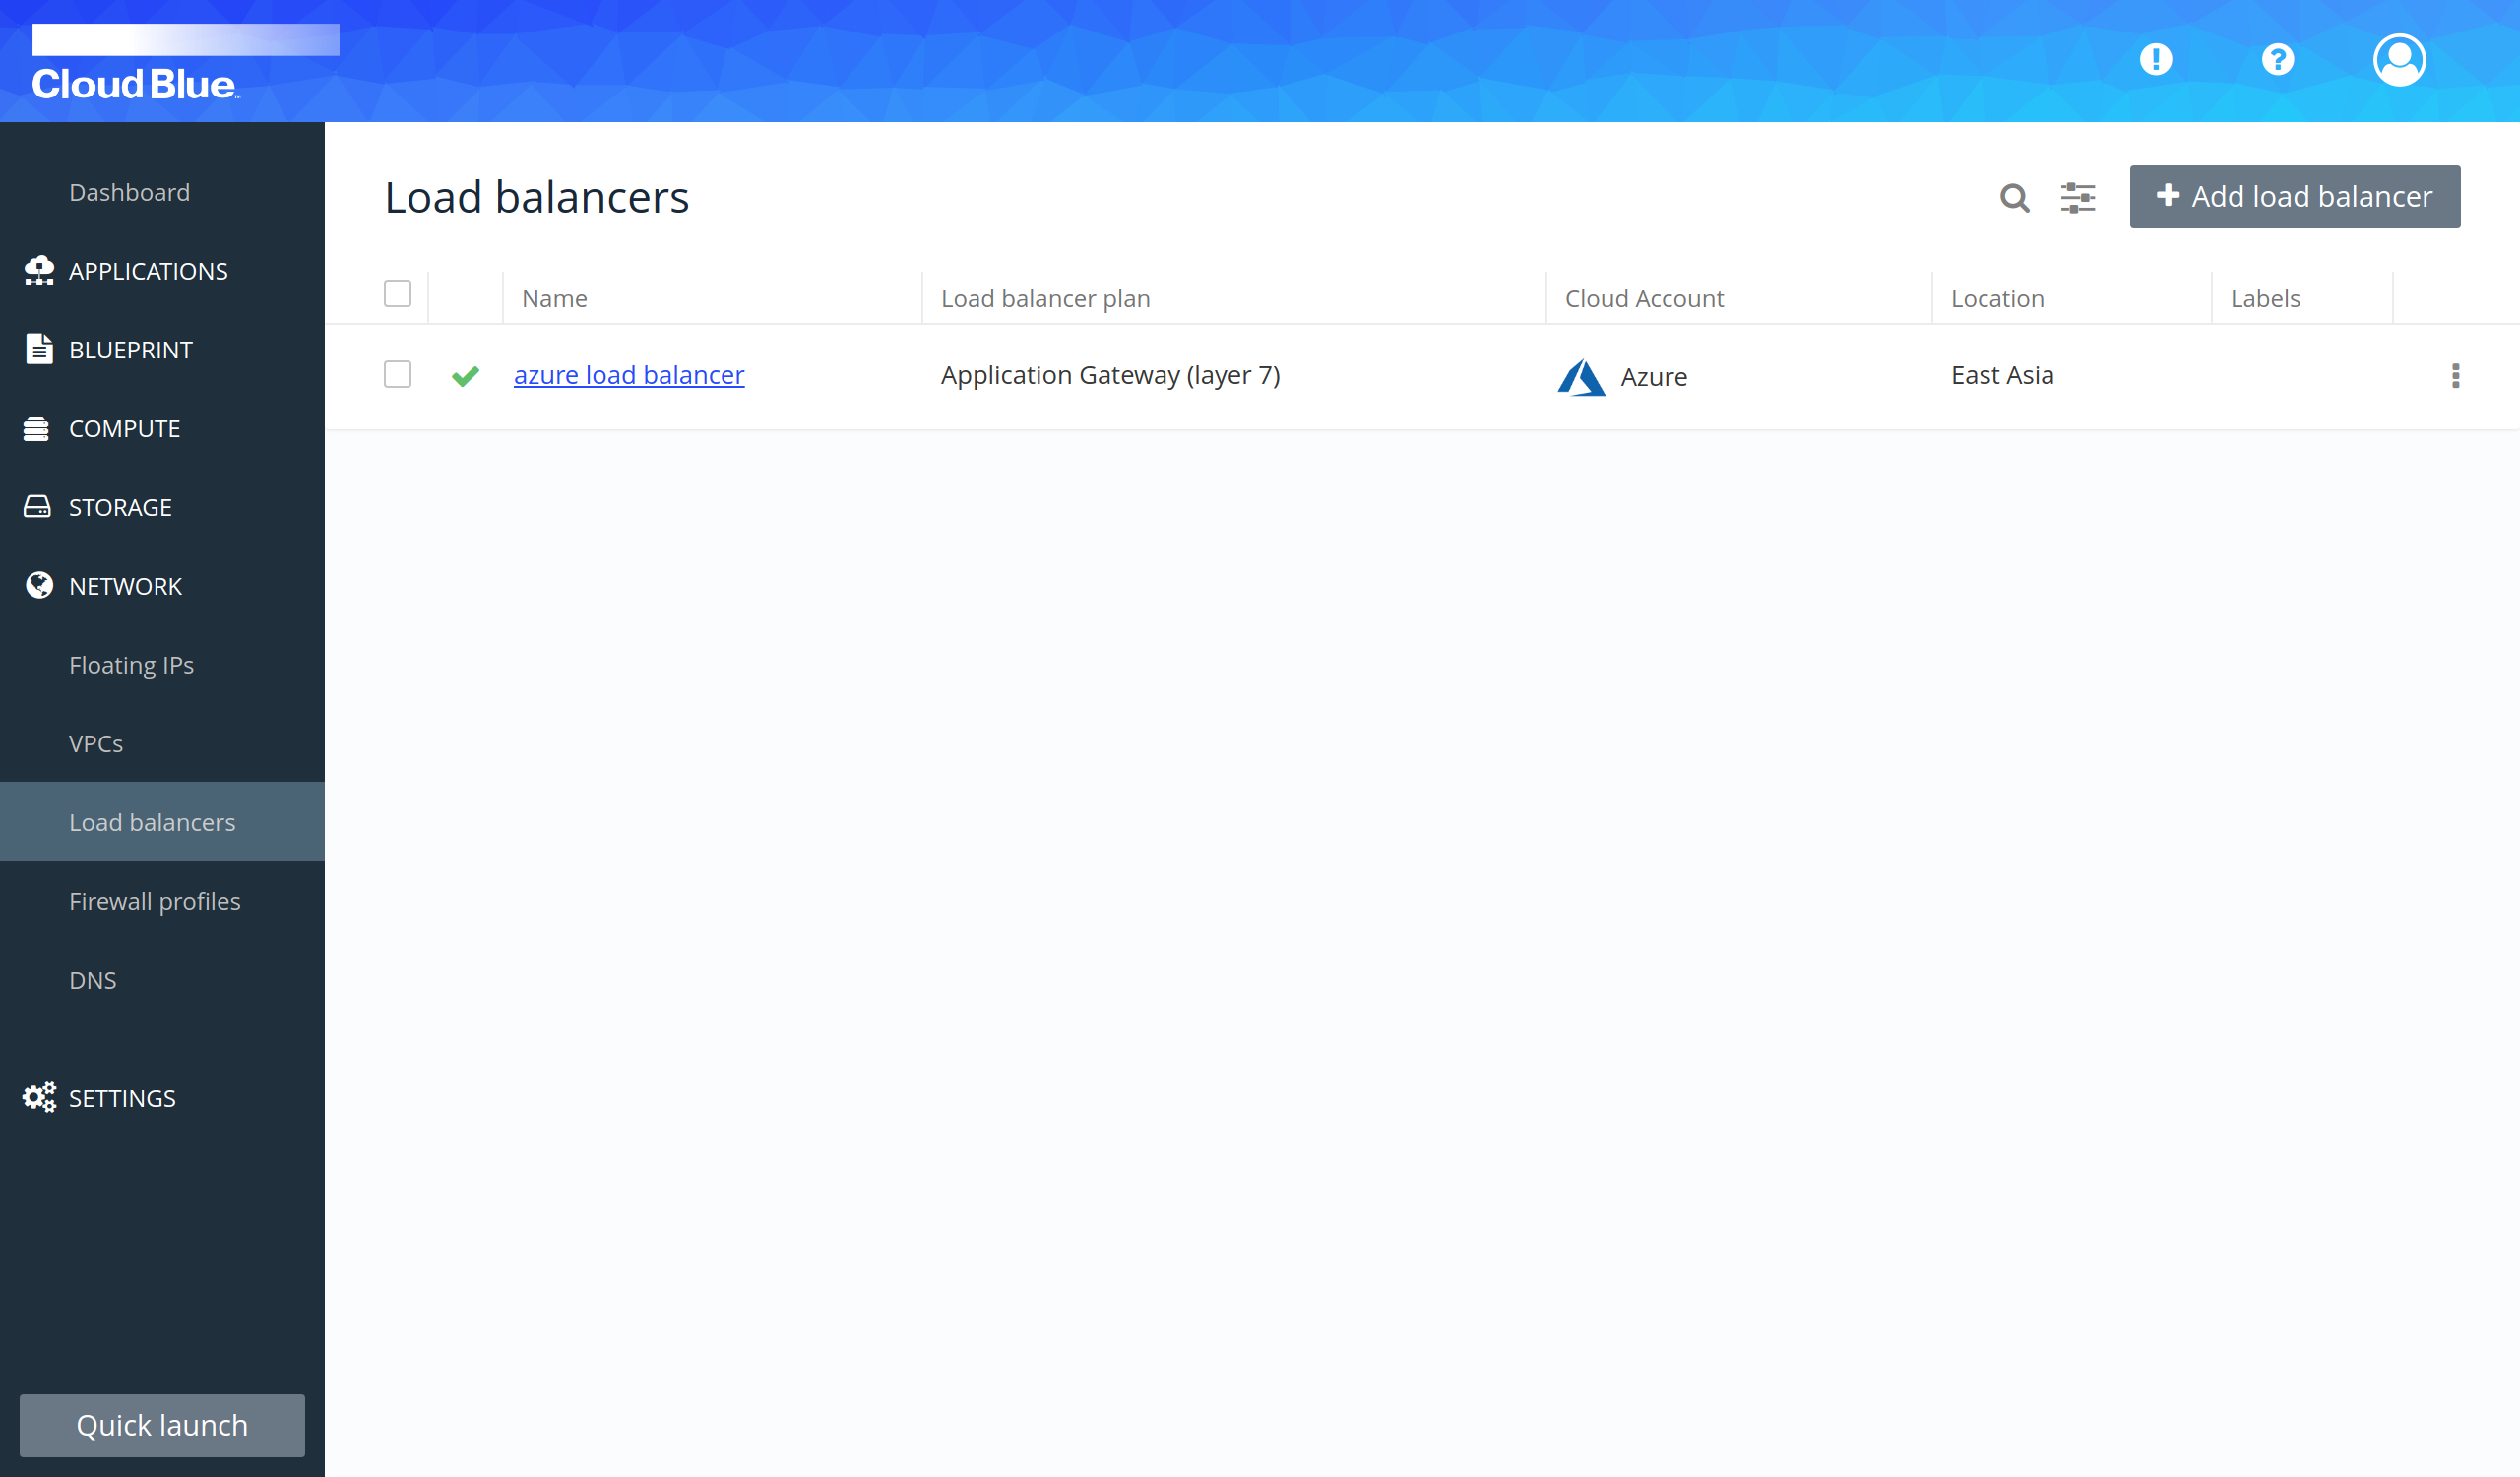
- Go to Network -> Load balancers.
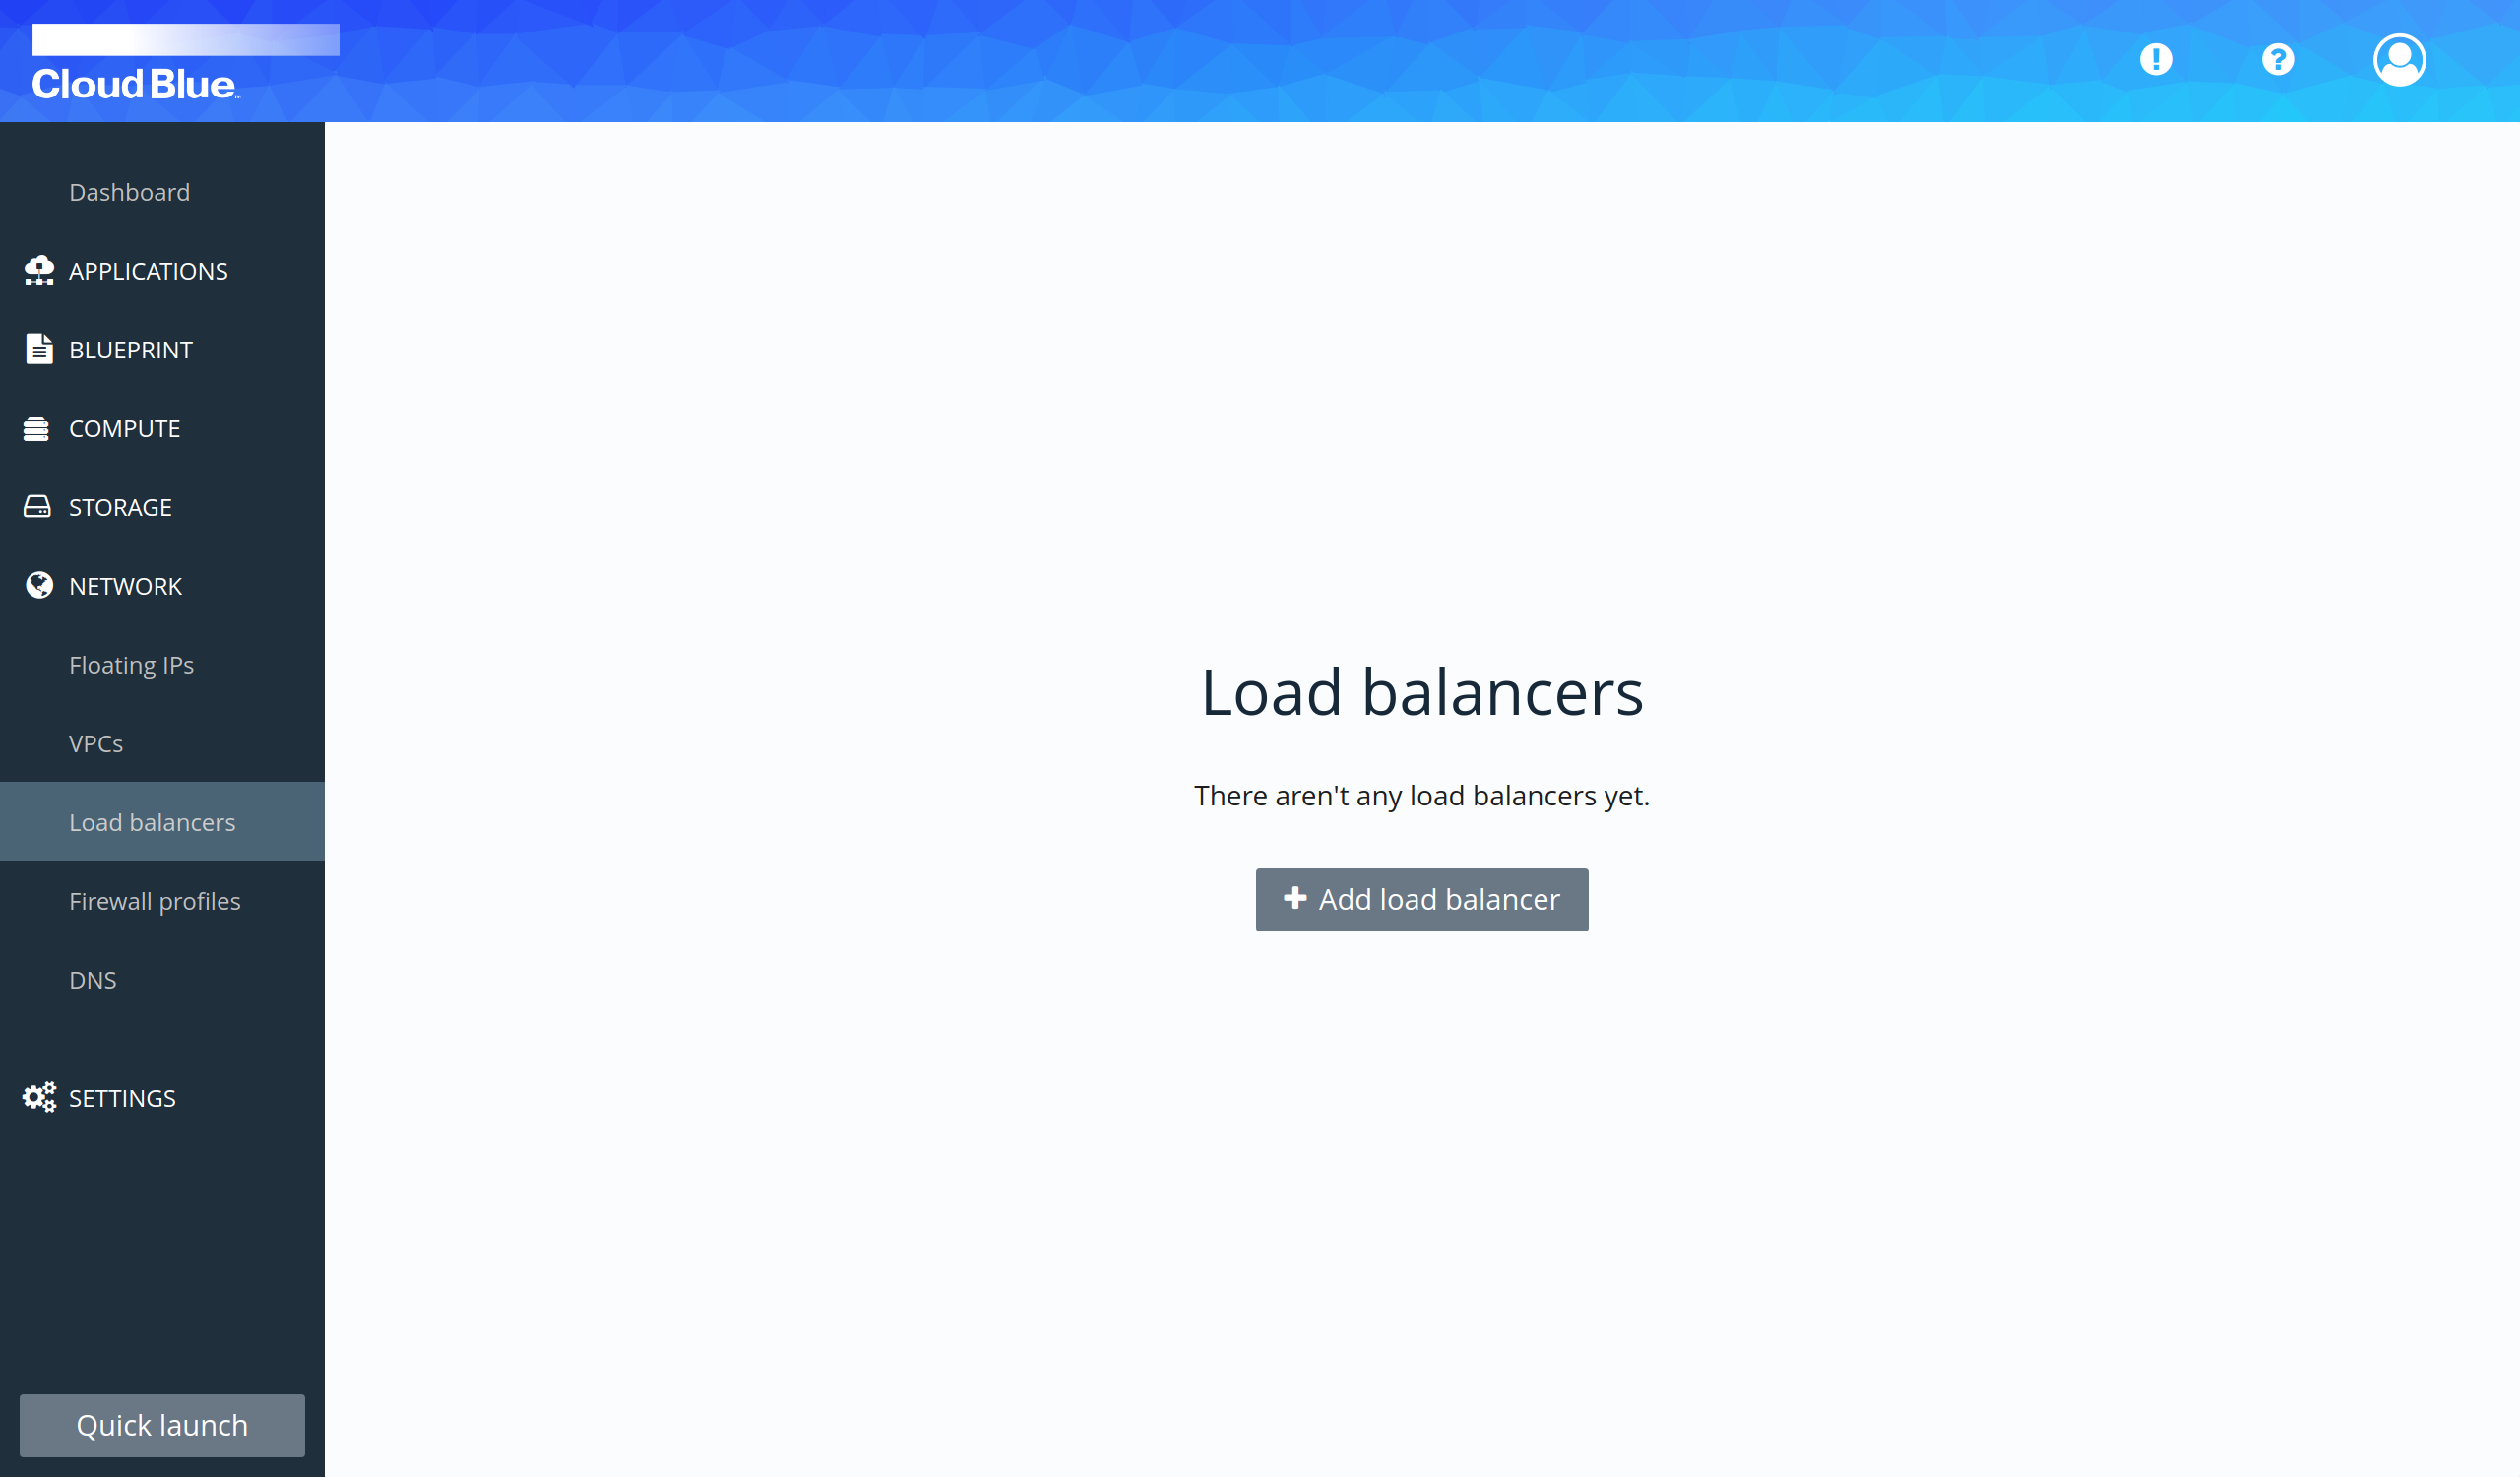
- Press the "Add load balancer" button.
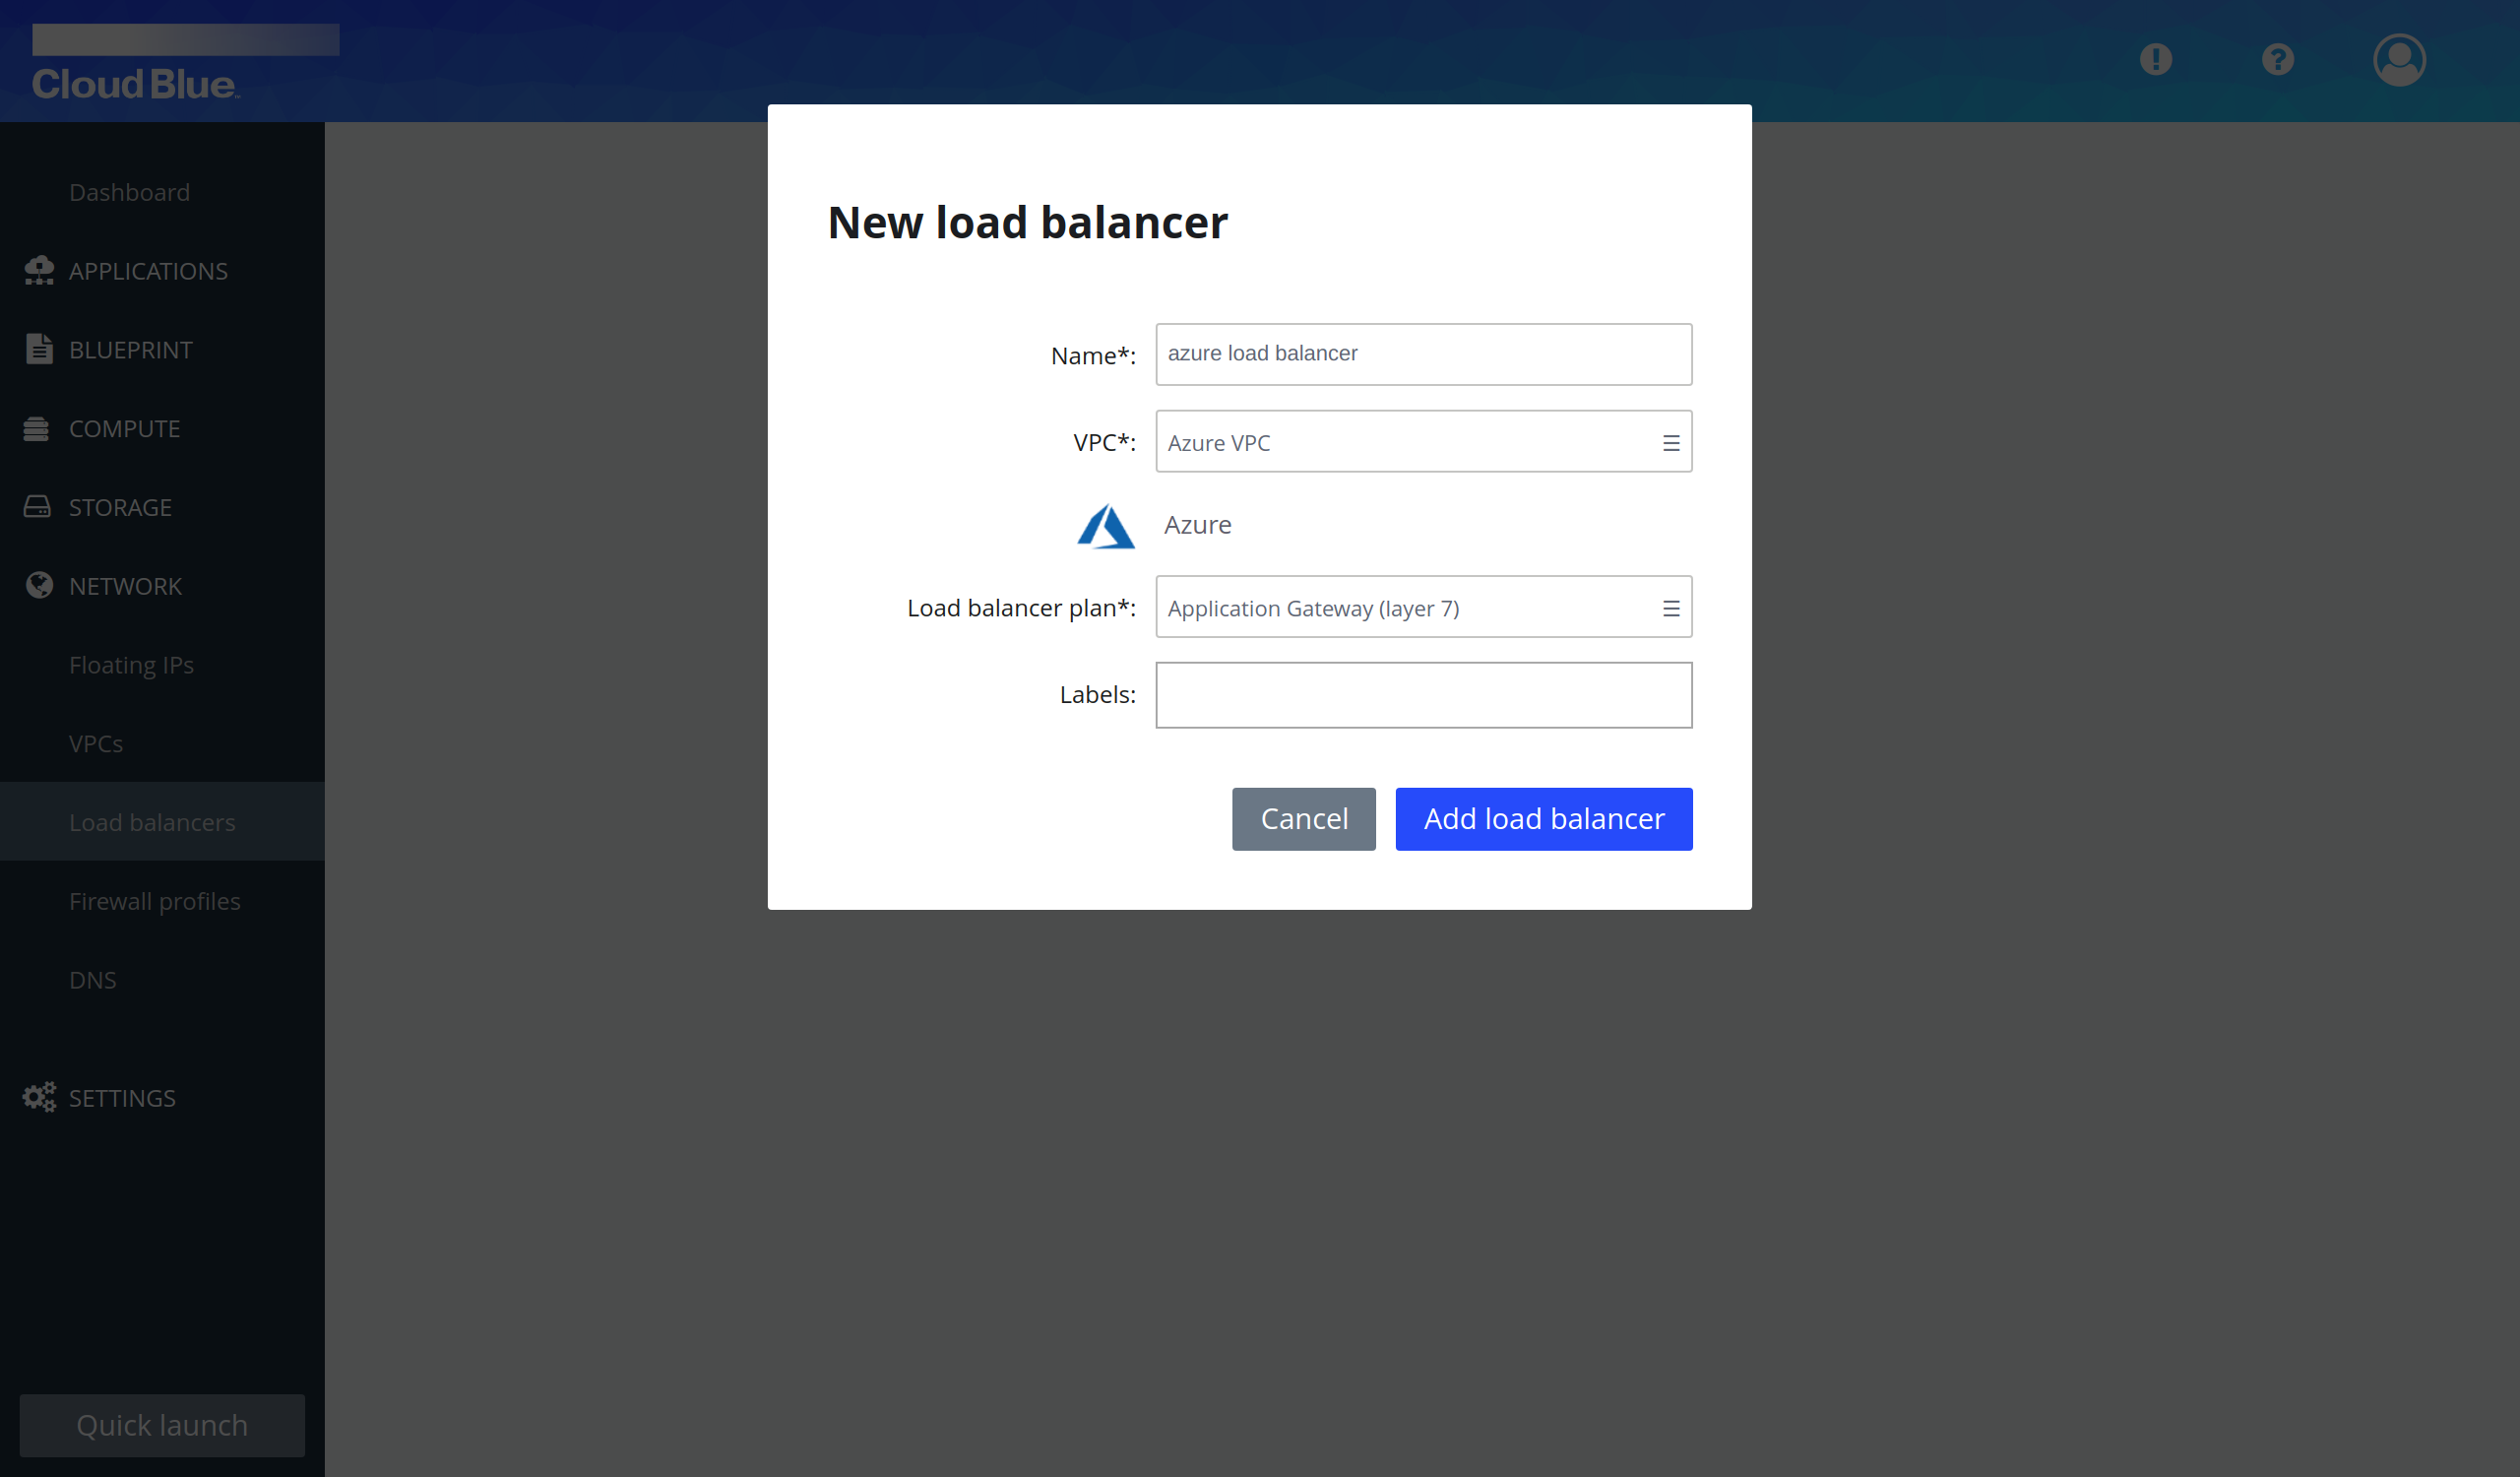
- Provide all mandatory fields and press the "Add load balancer" button.
- Wait until the load balancer is in the "Applied" state.
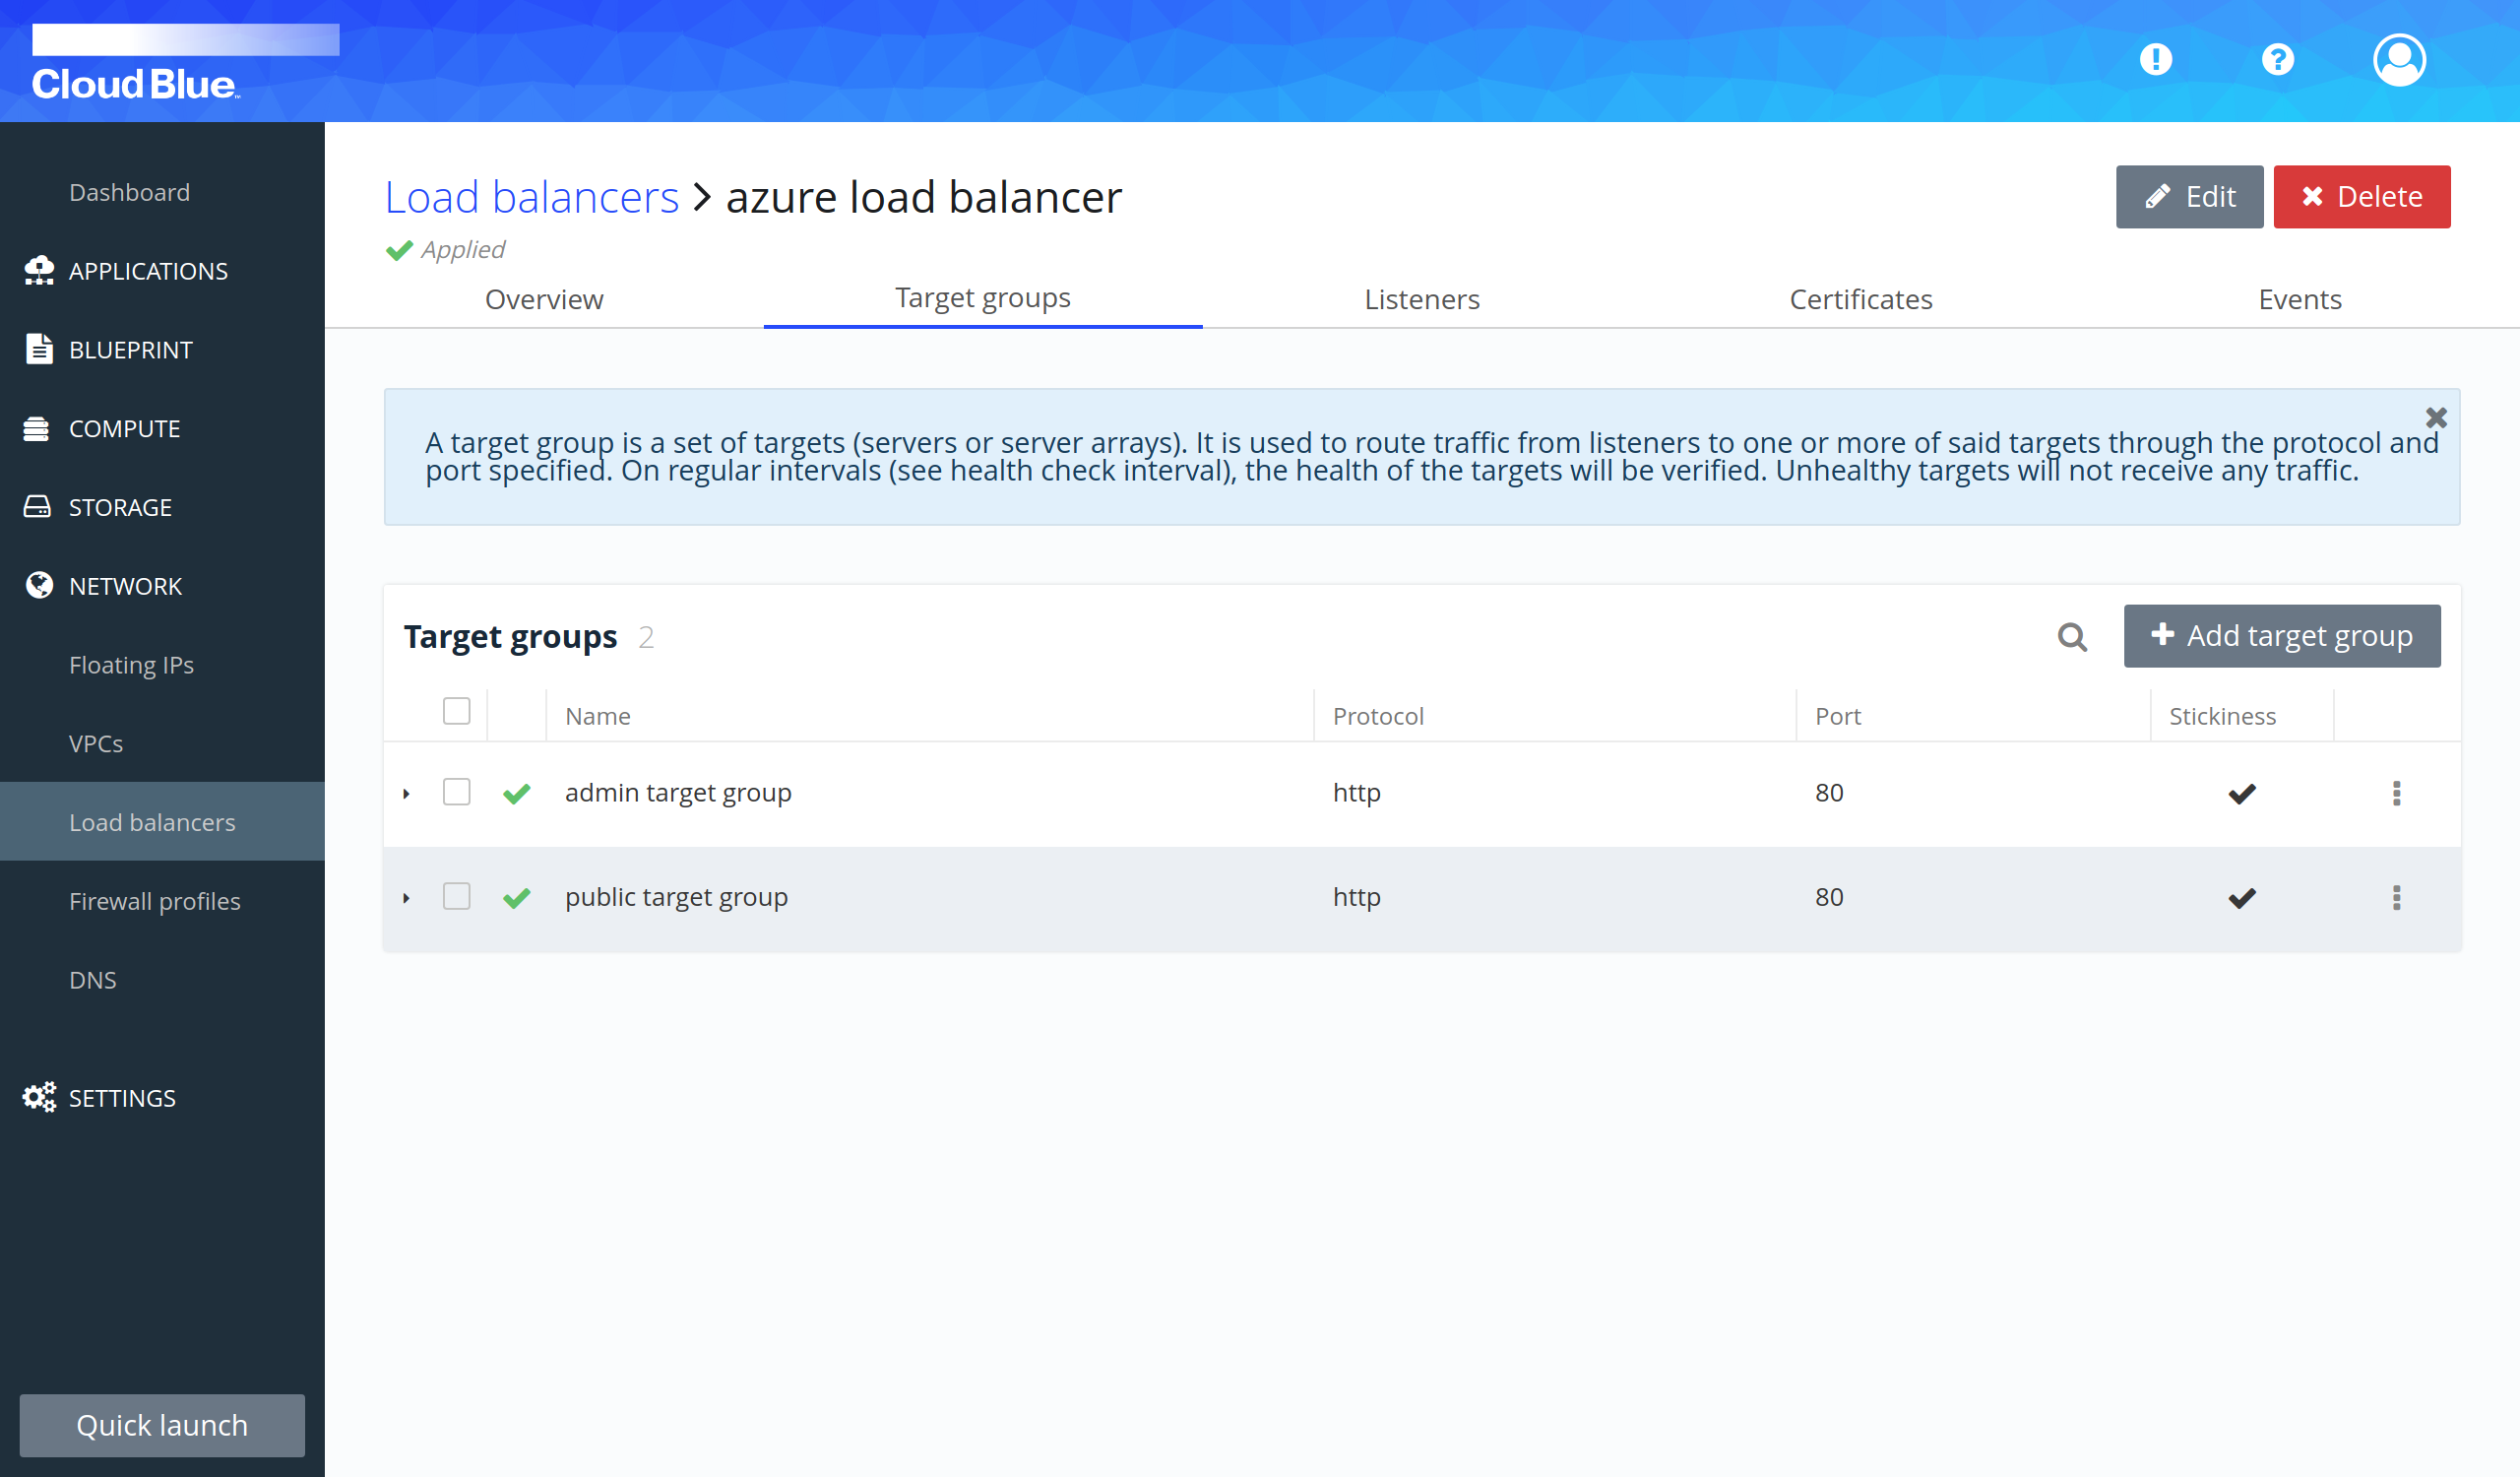
Create a target group
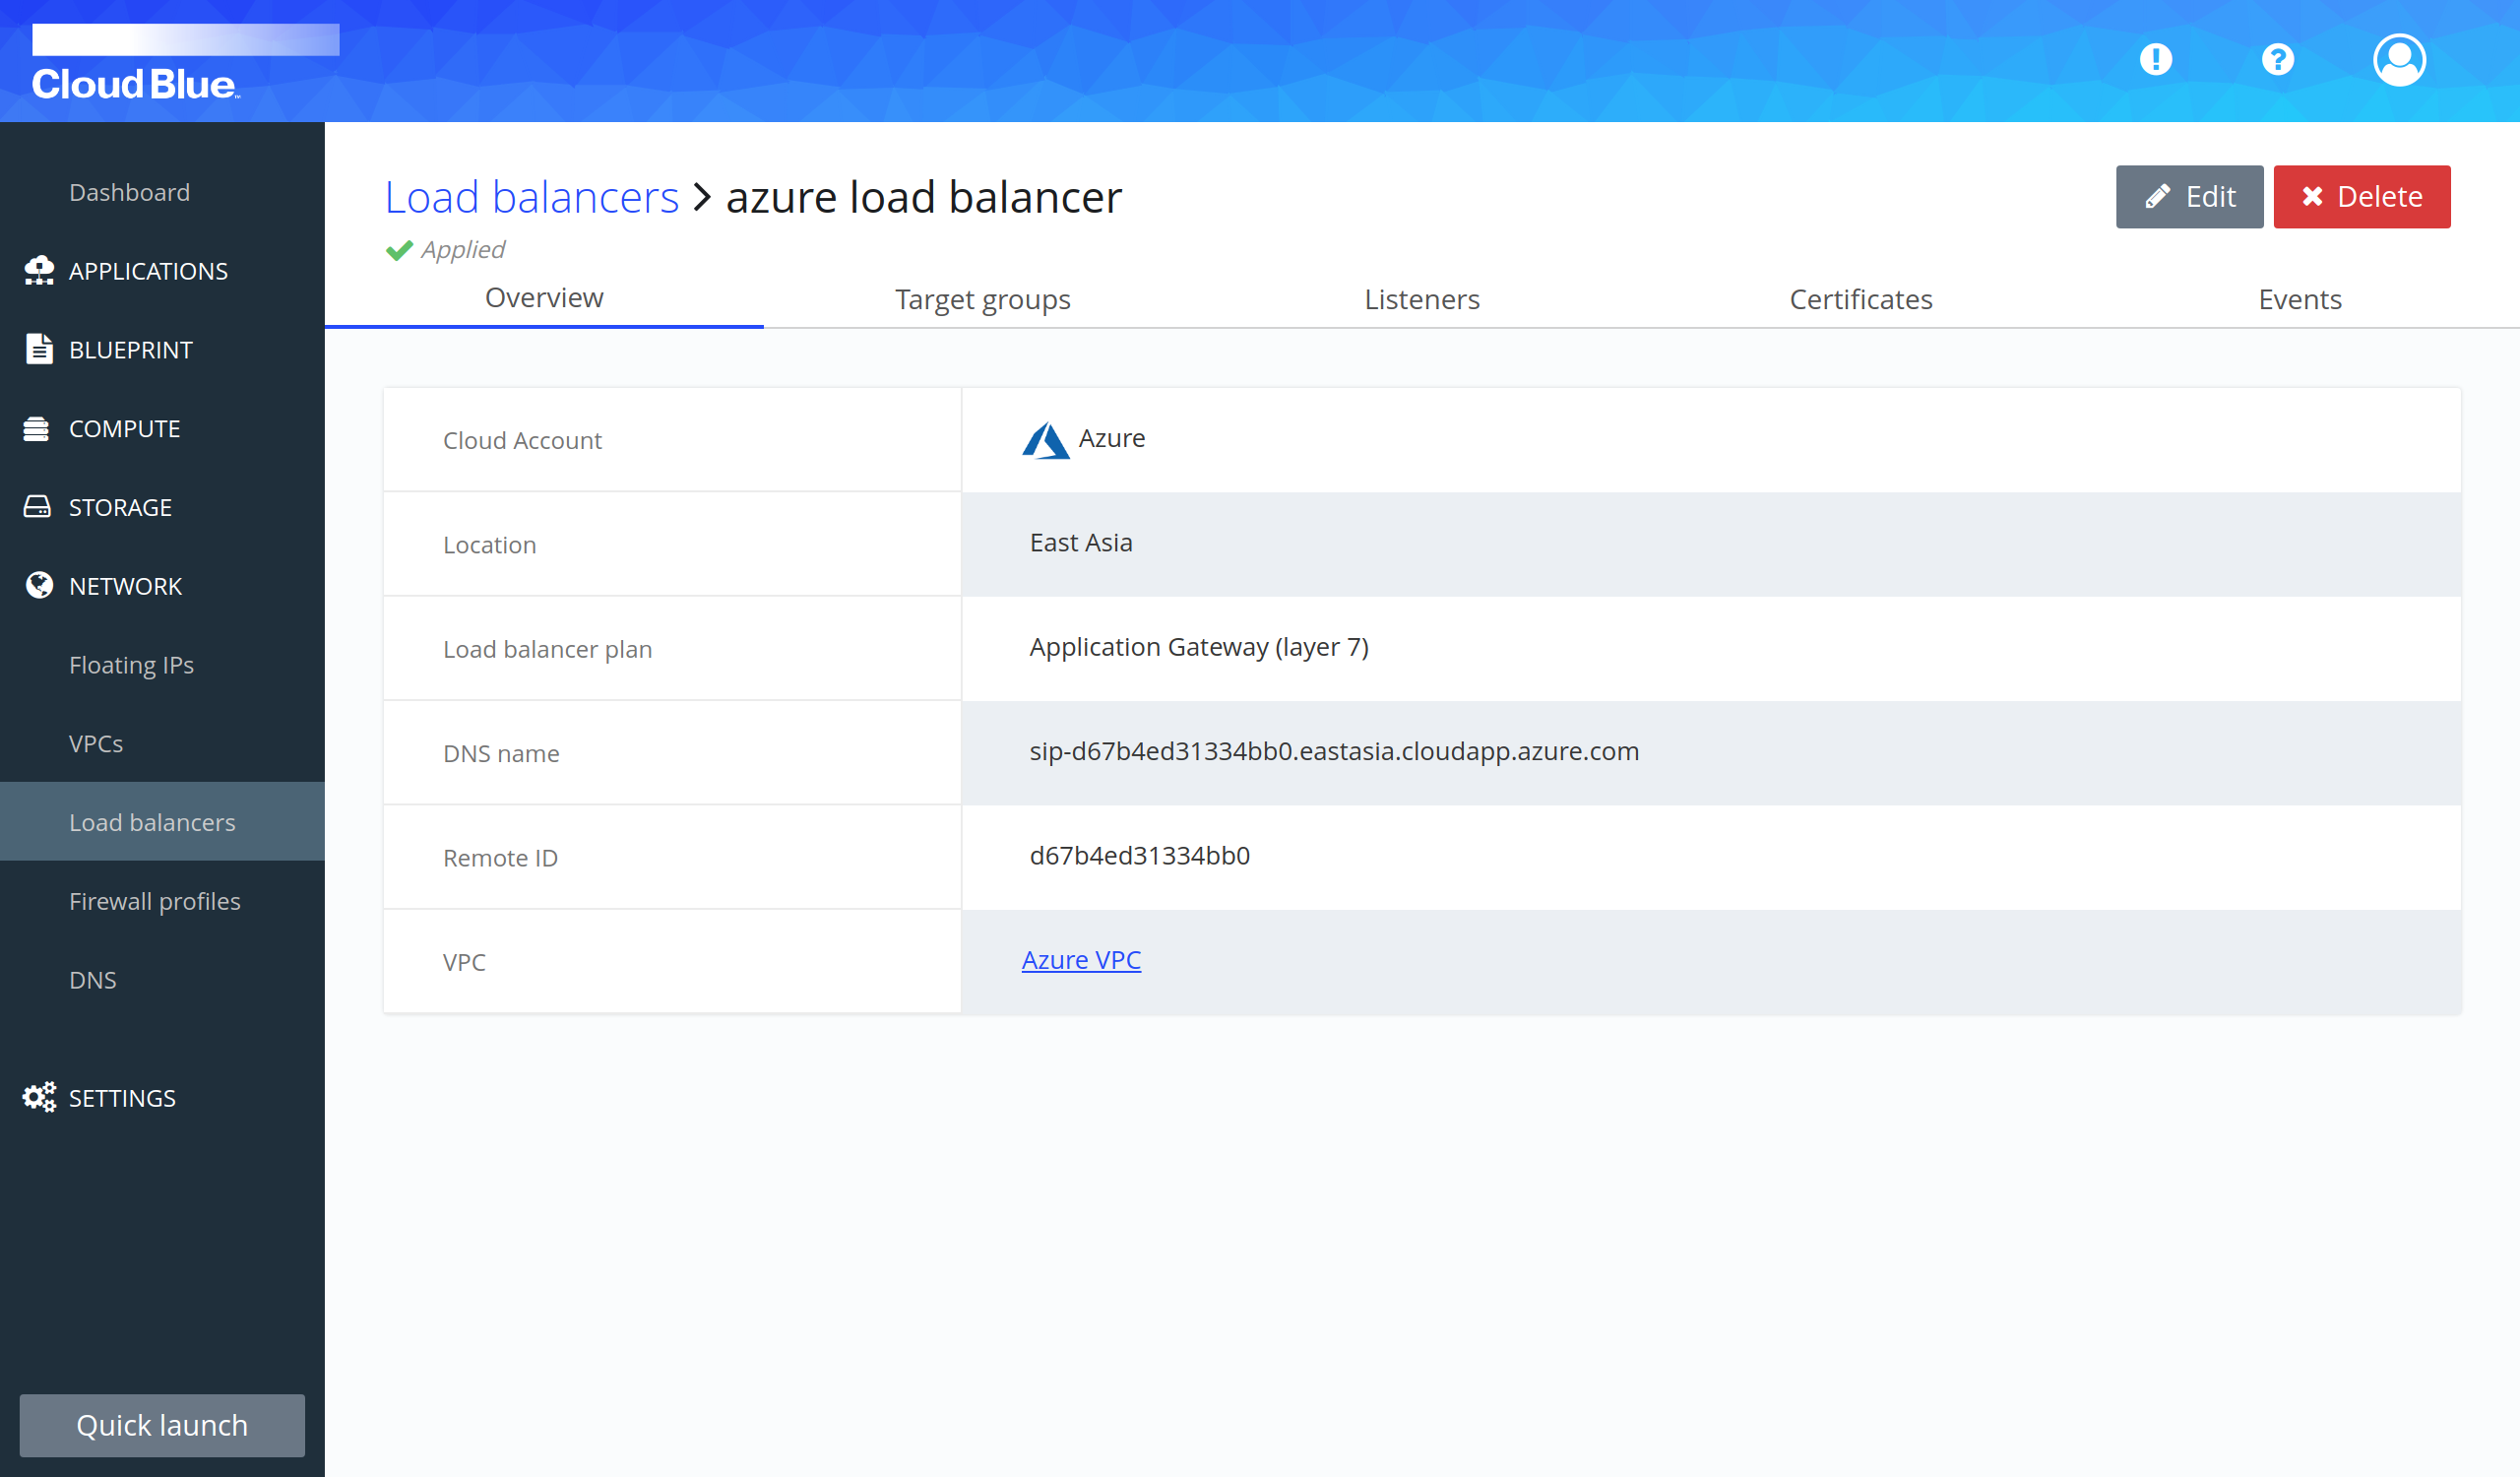
- Click on the name of the load balancer to view the details.
- Go to the "Target groups" tab.
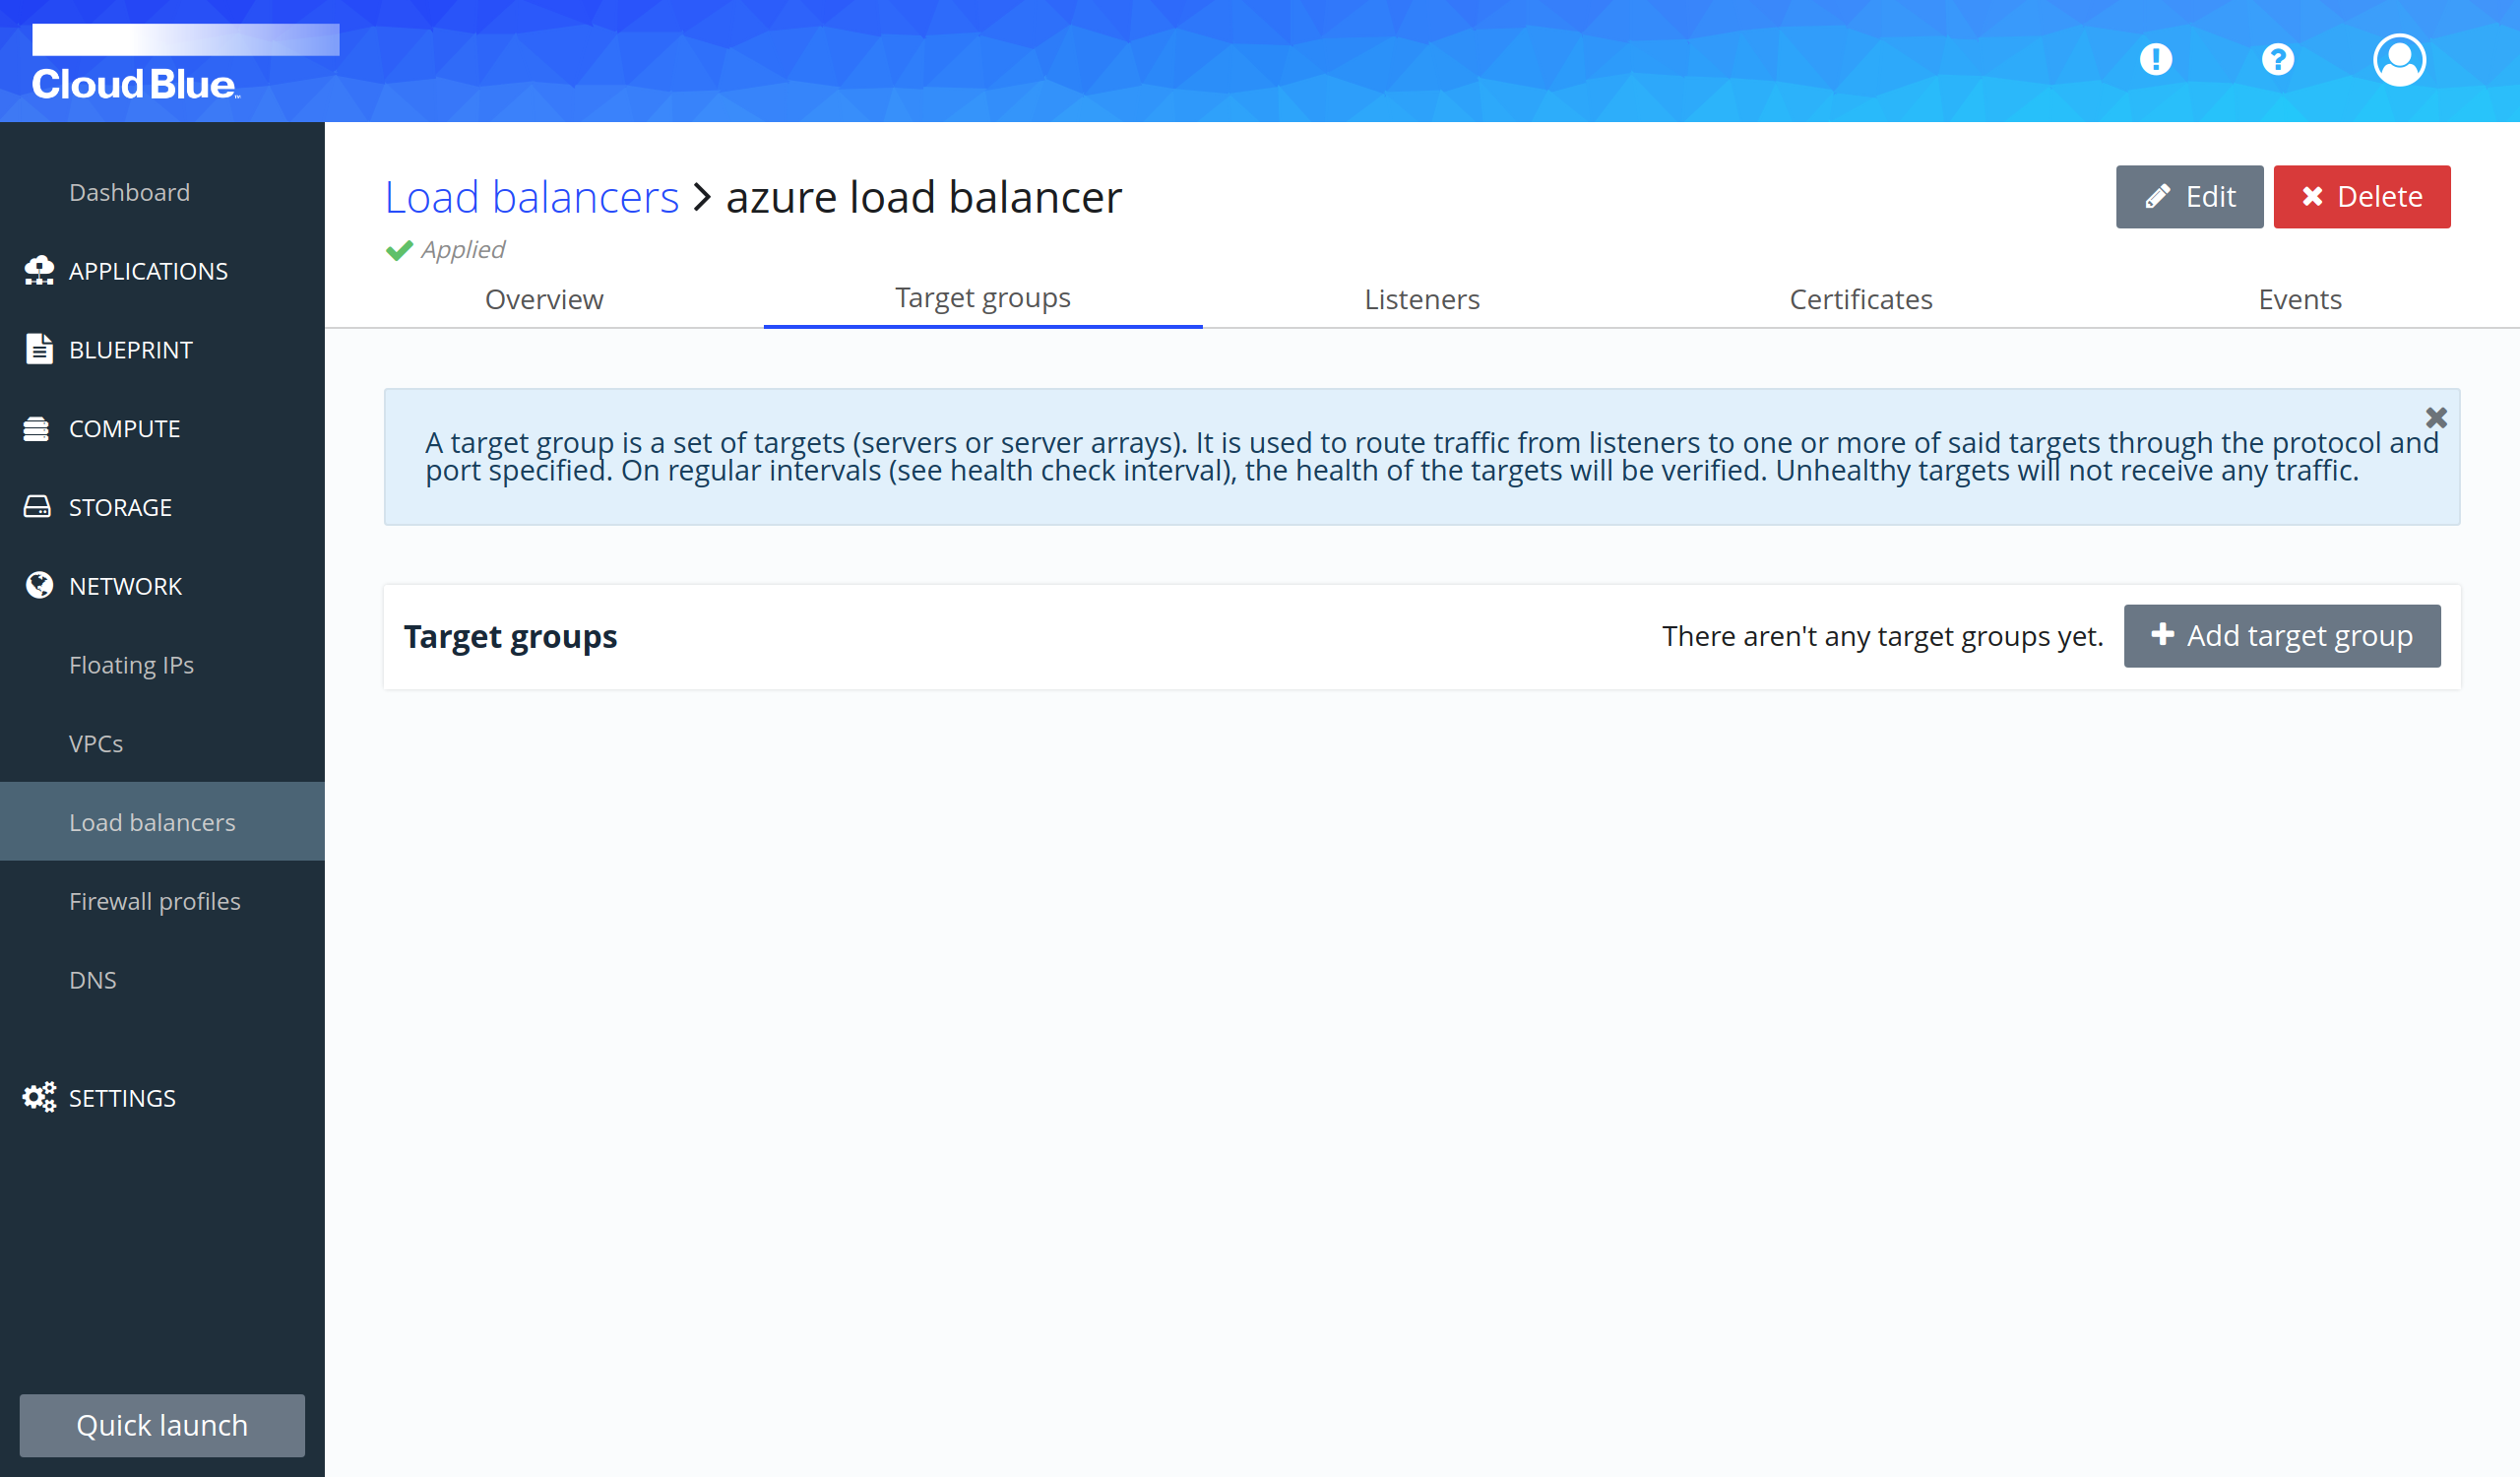
- Press the "Add target group" button.
- Provide all mandatory fields and press the "Add target group" button.
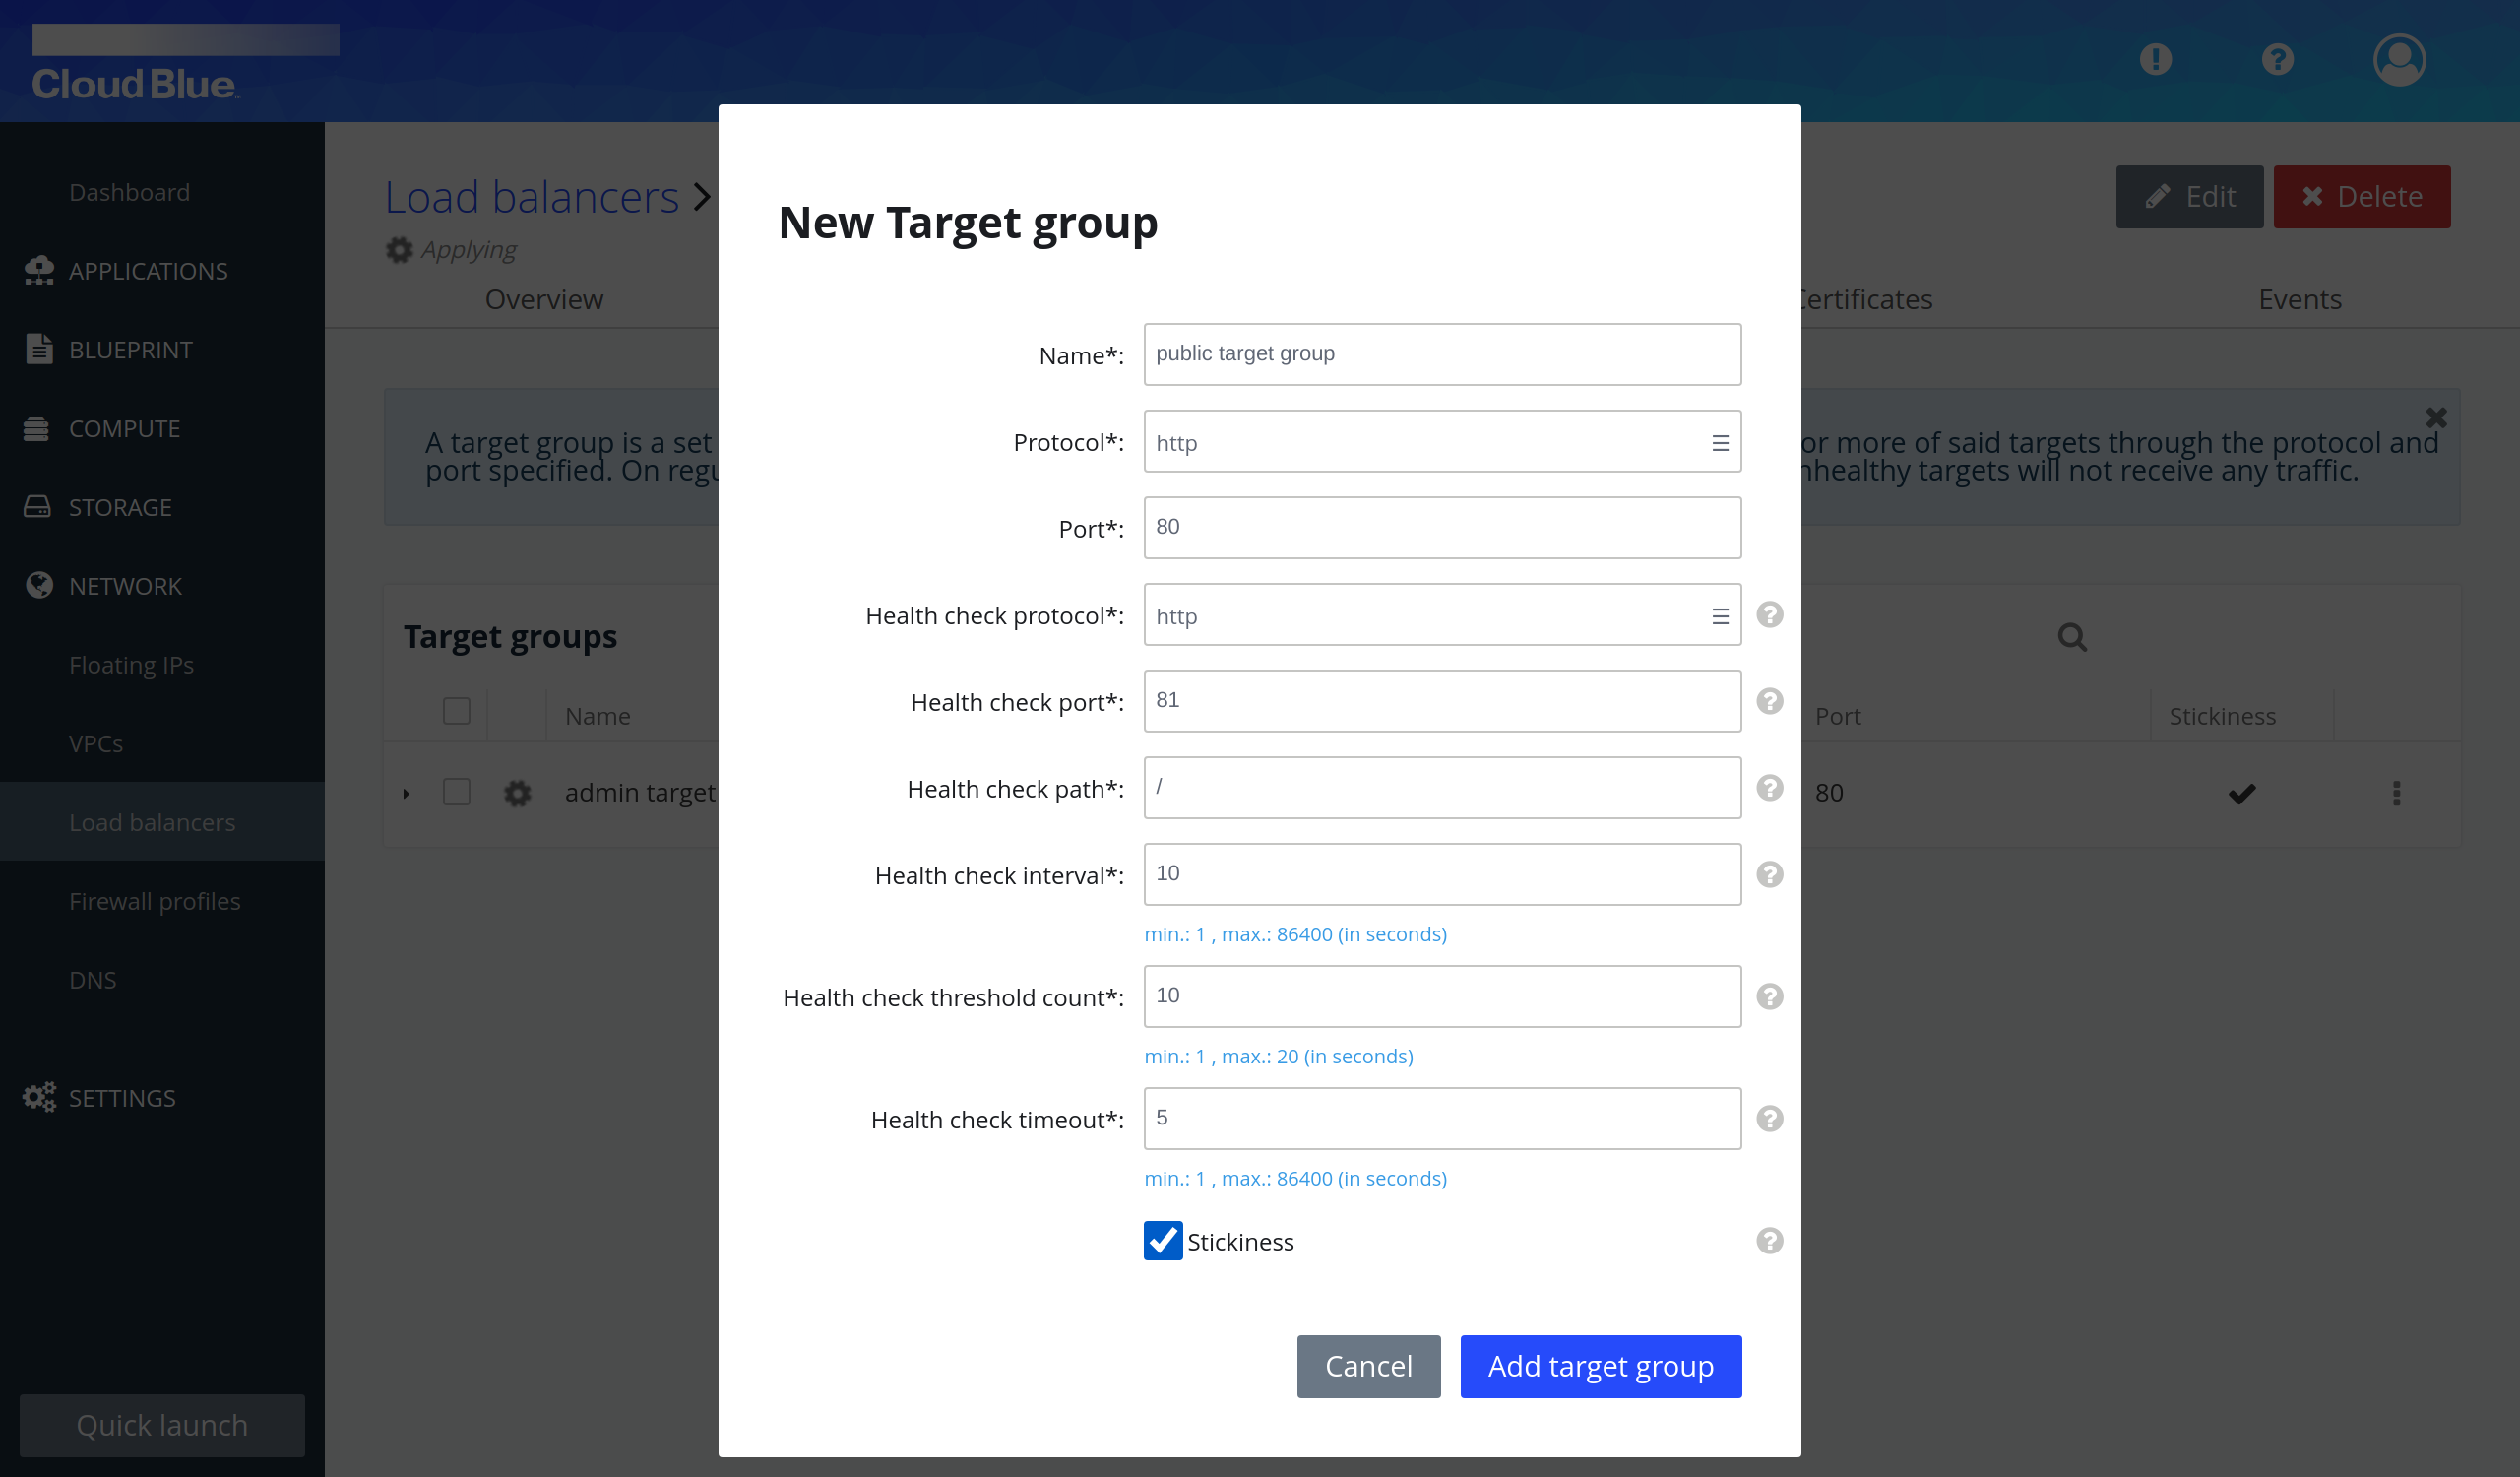
- Wait until the target group is in the "Applied" state.
- Repeat again the previous steps to create another target group.
- Target groups have been created in the load balancer.
Create a listener
- Click on the name of the load balancer to view the details.
- Go to the "Listeners" tab.
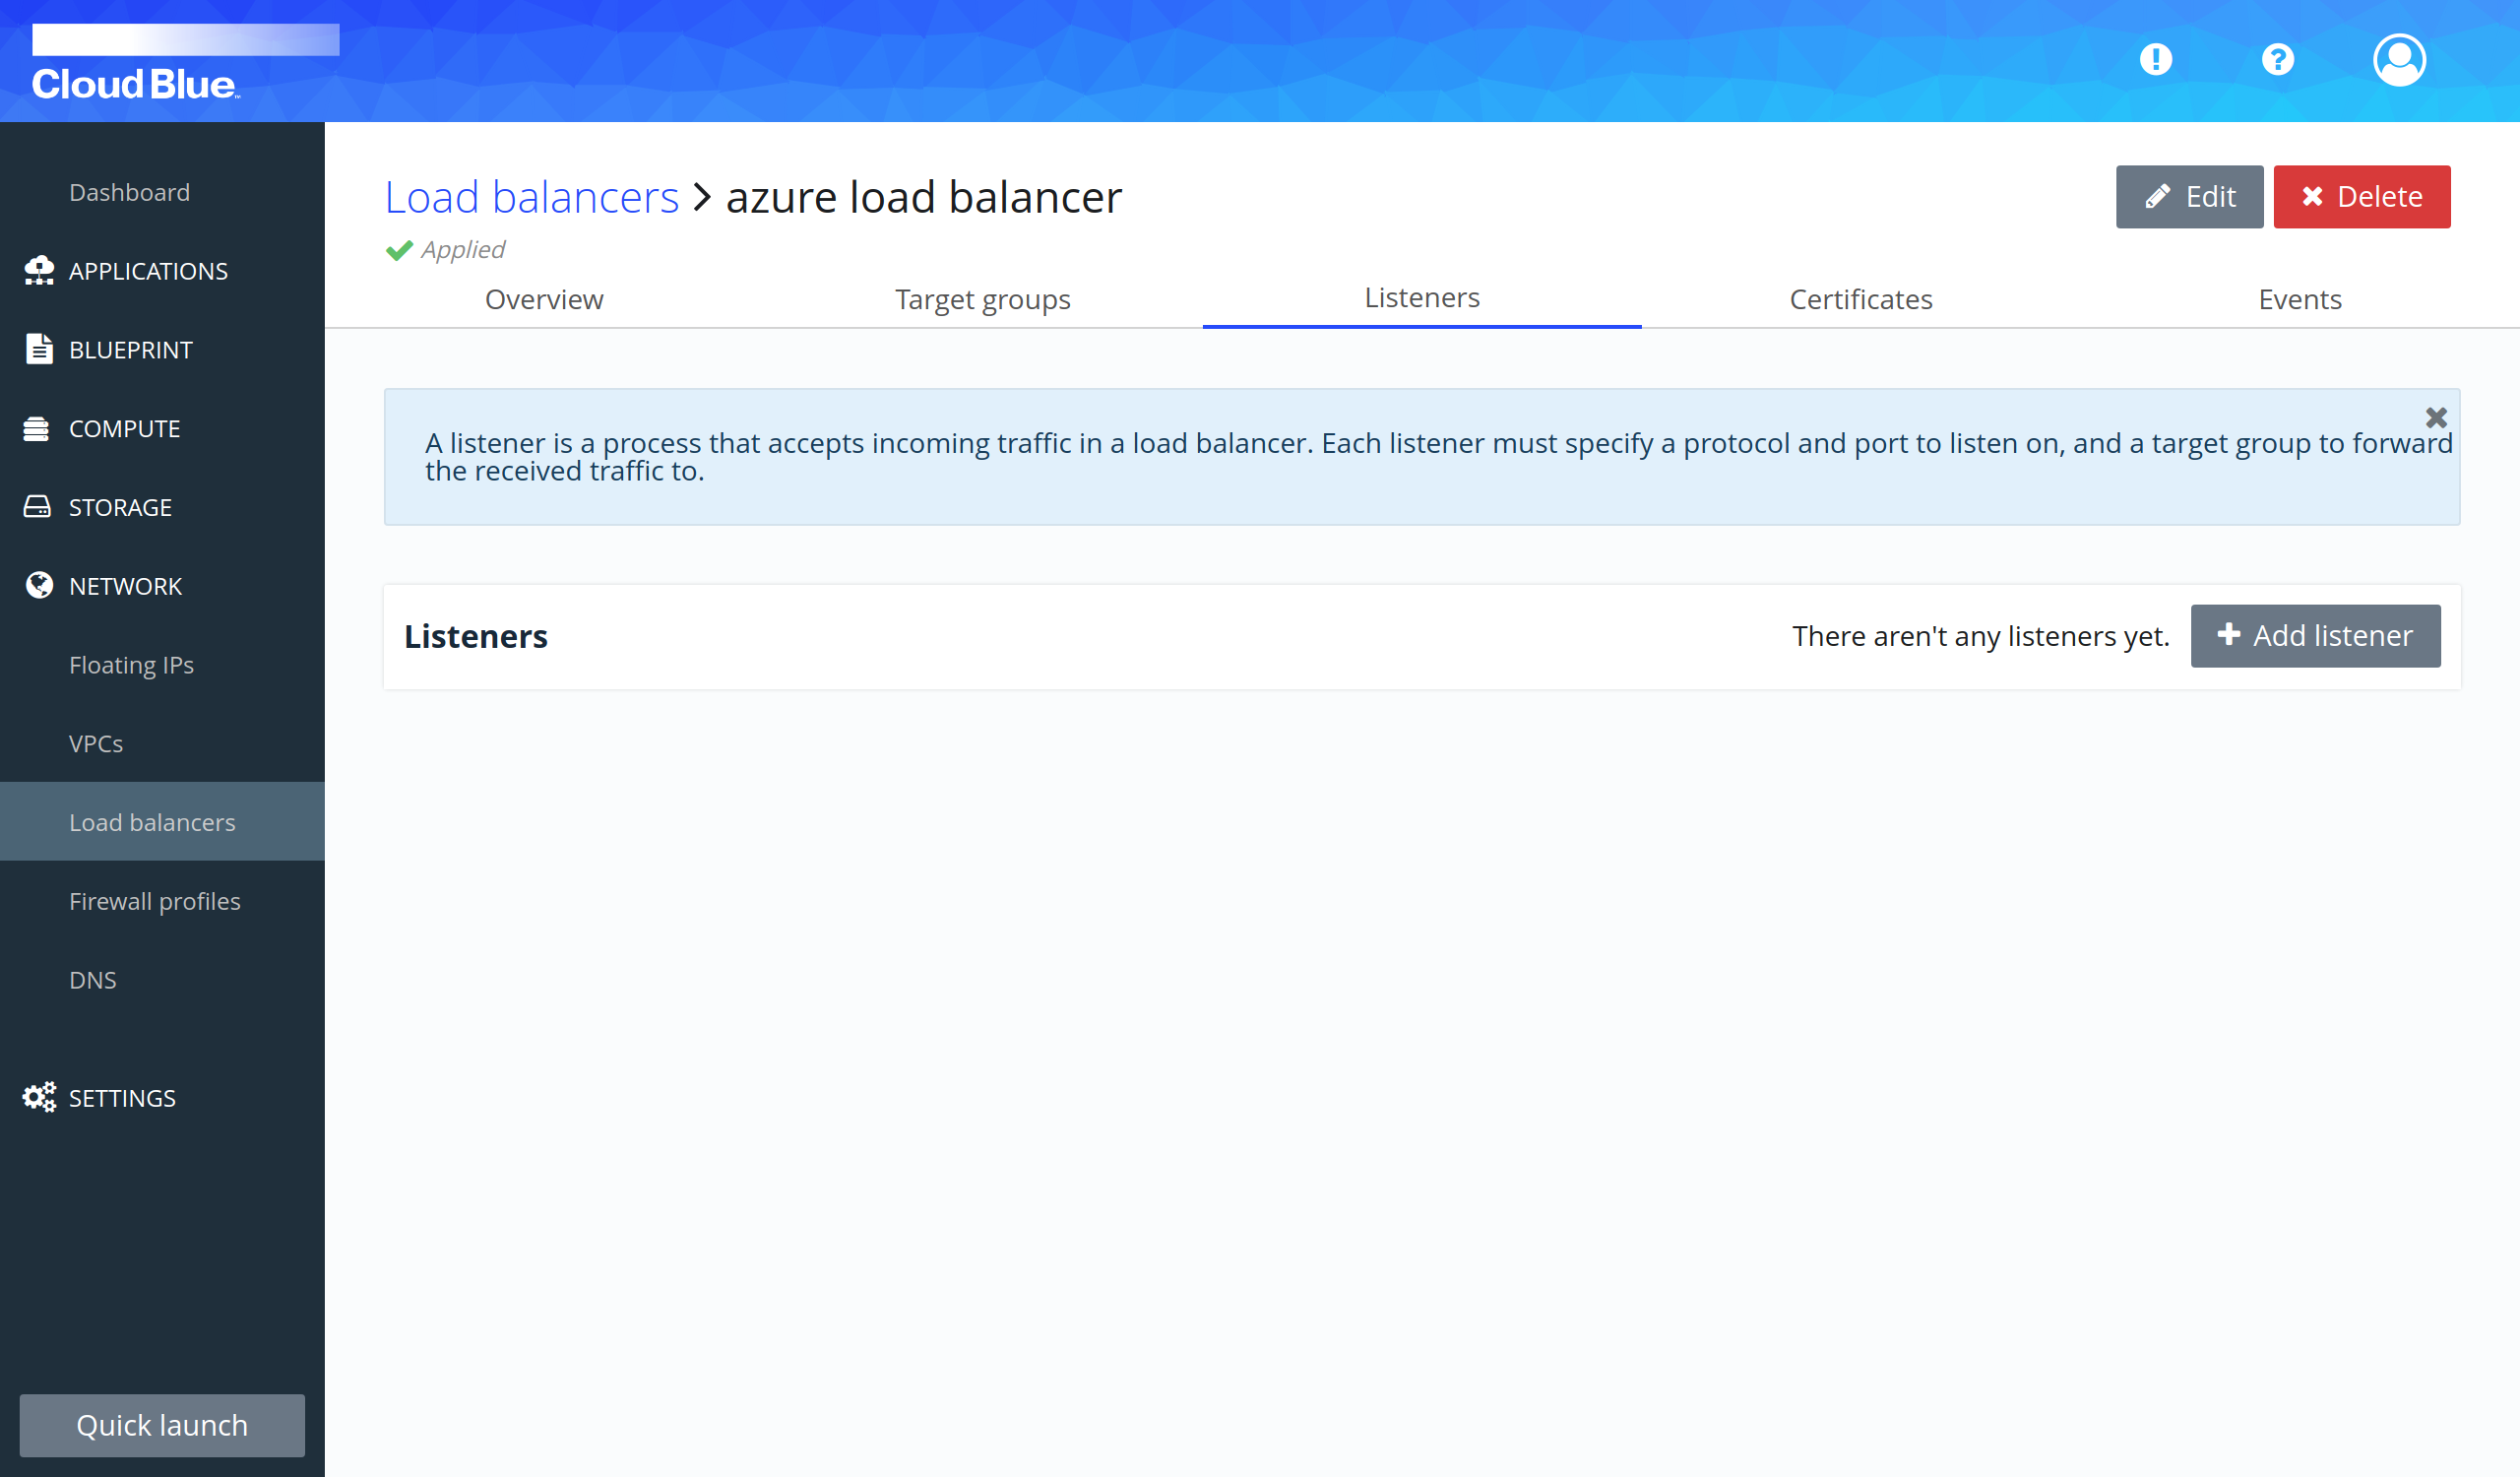
- Press the "Add listener" button.
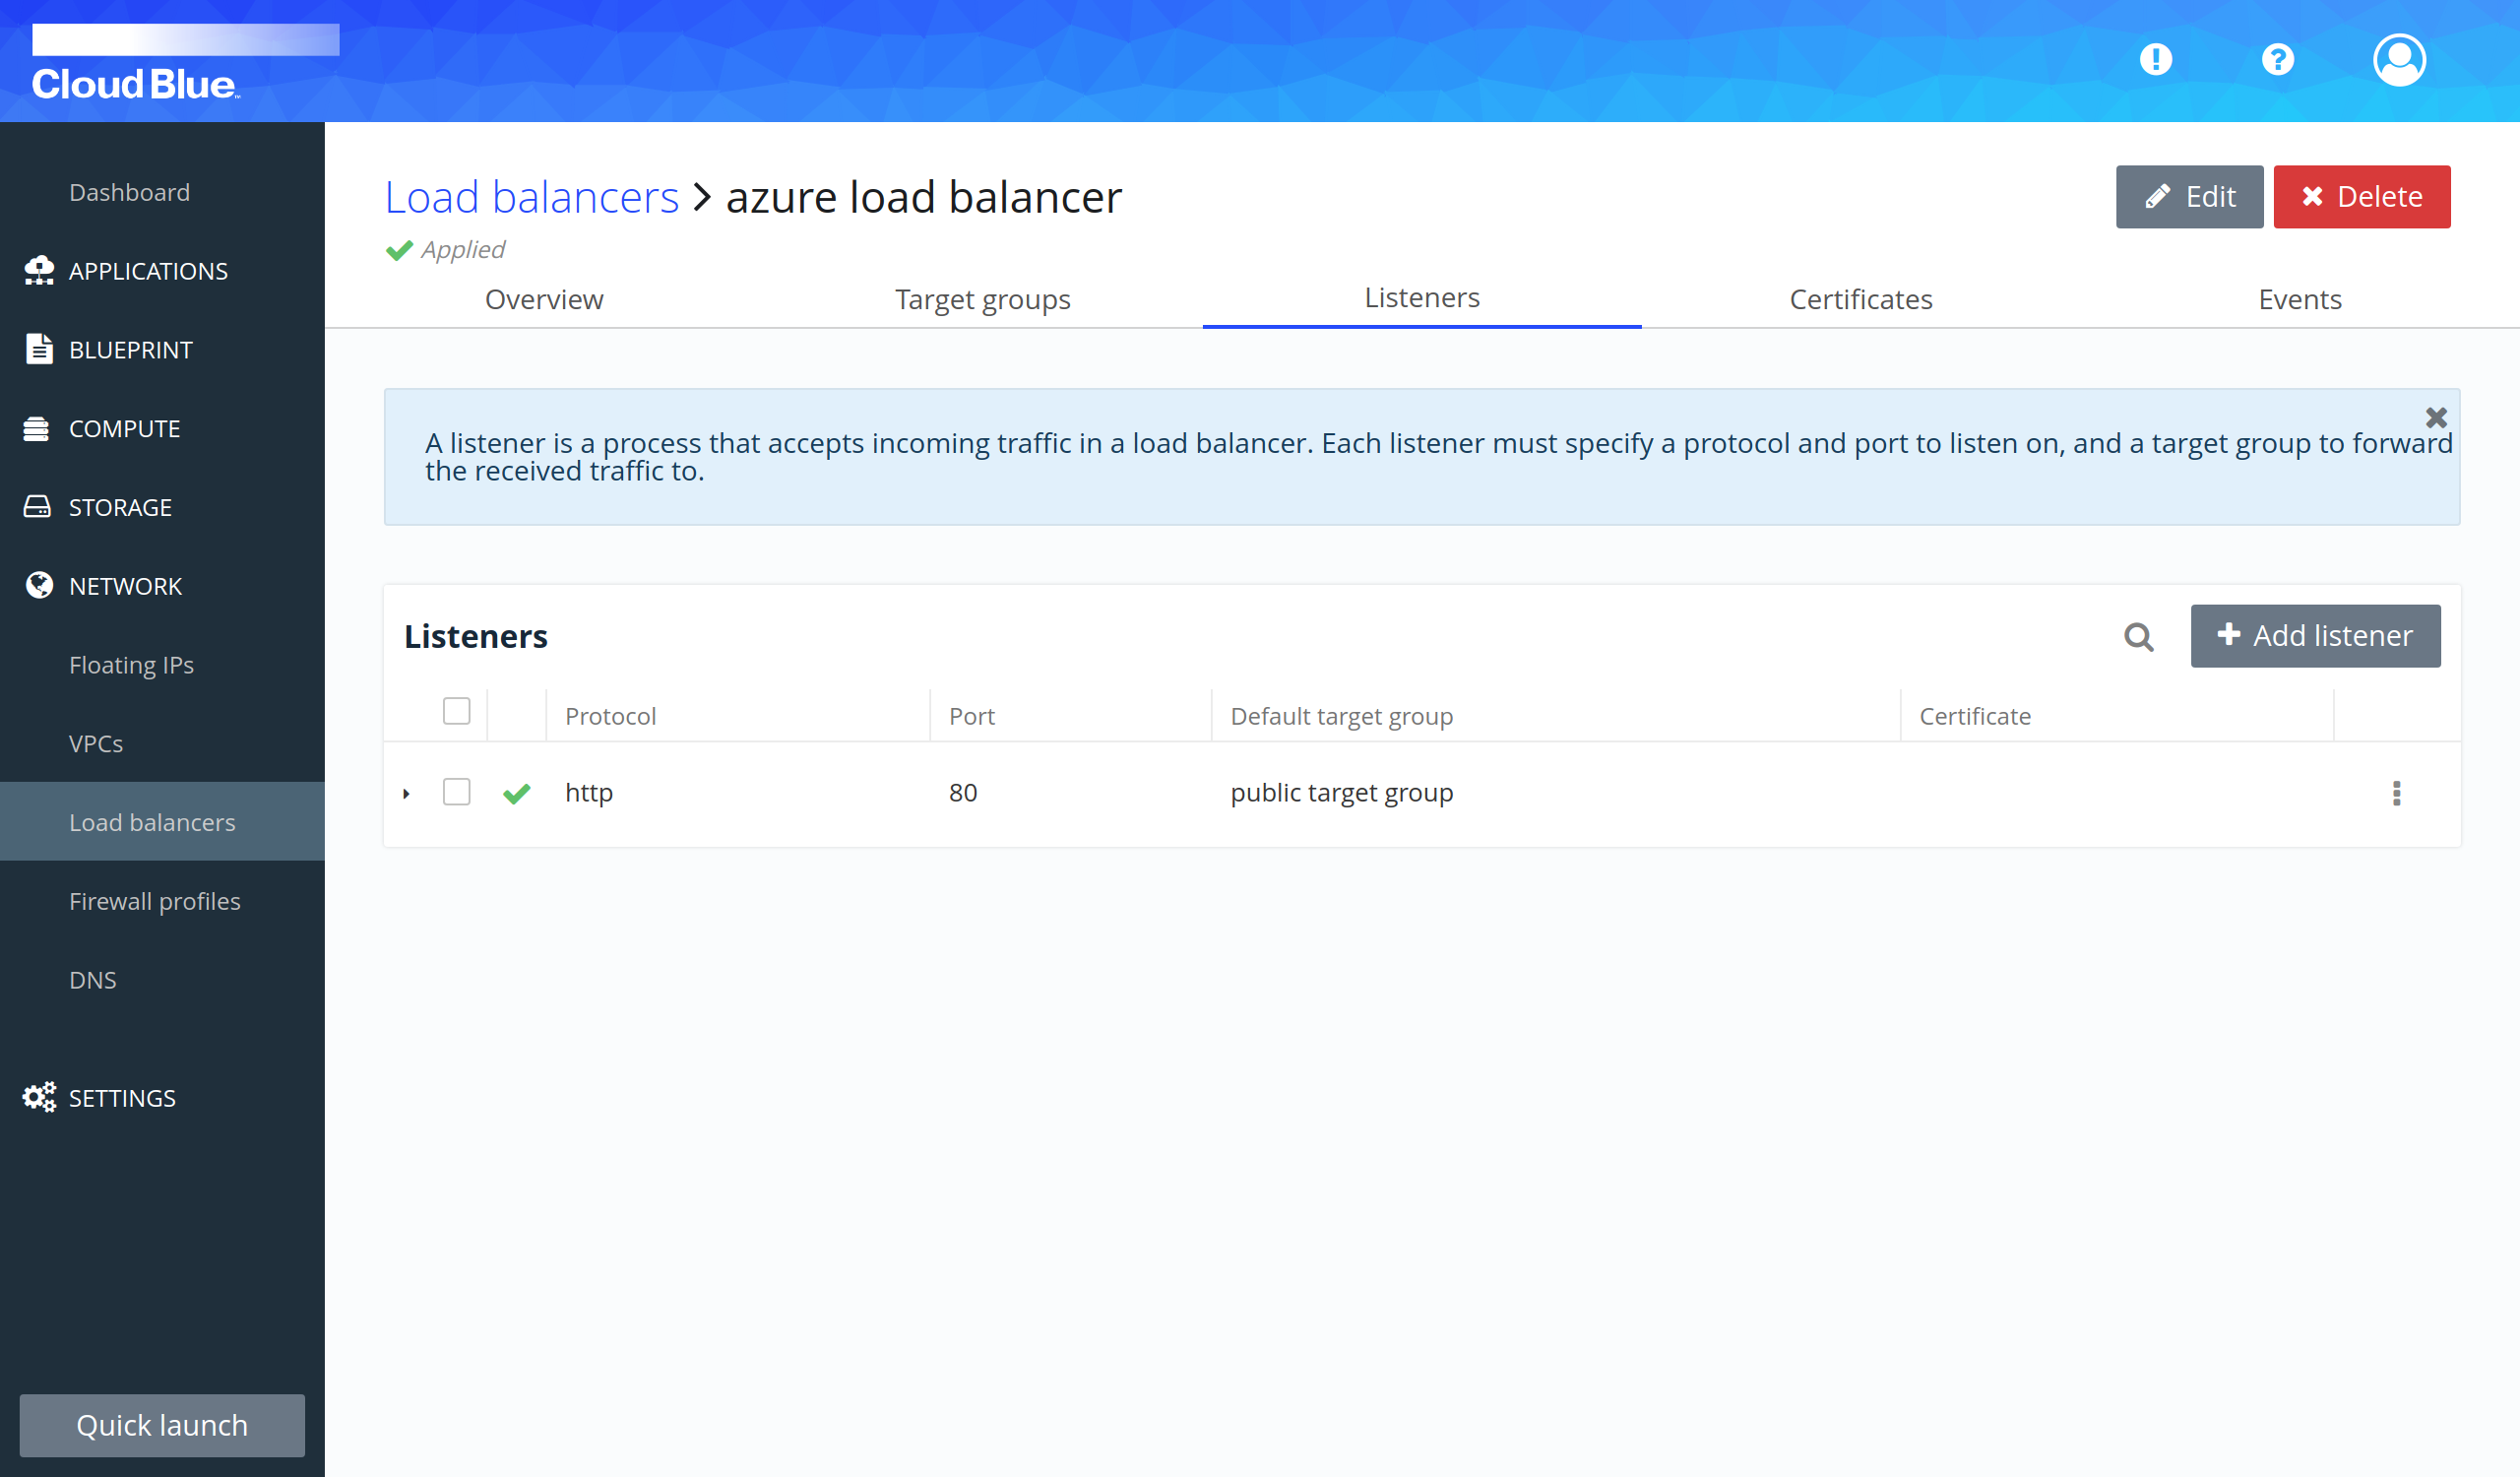
- Provide all mandatory fields and press the "Add listener" button.
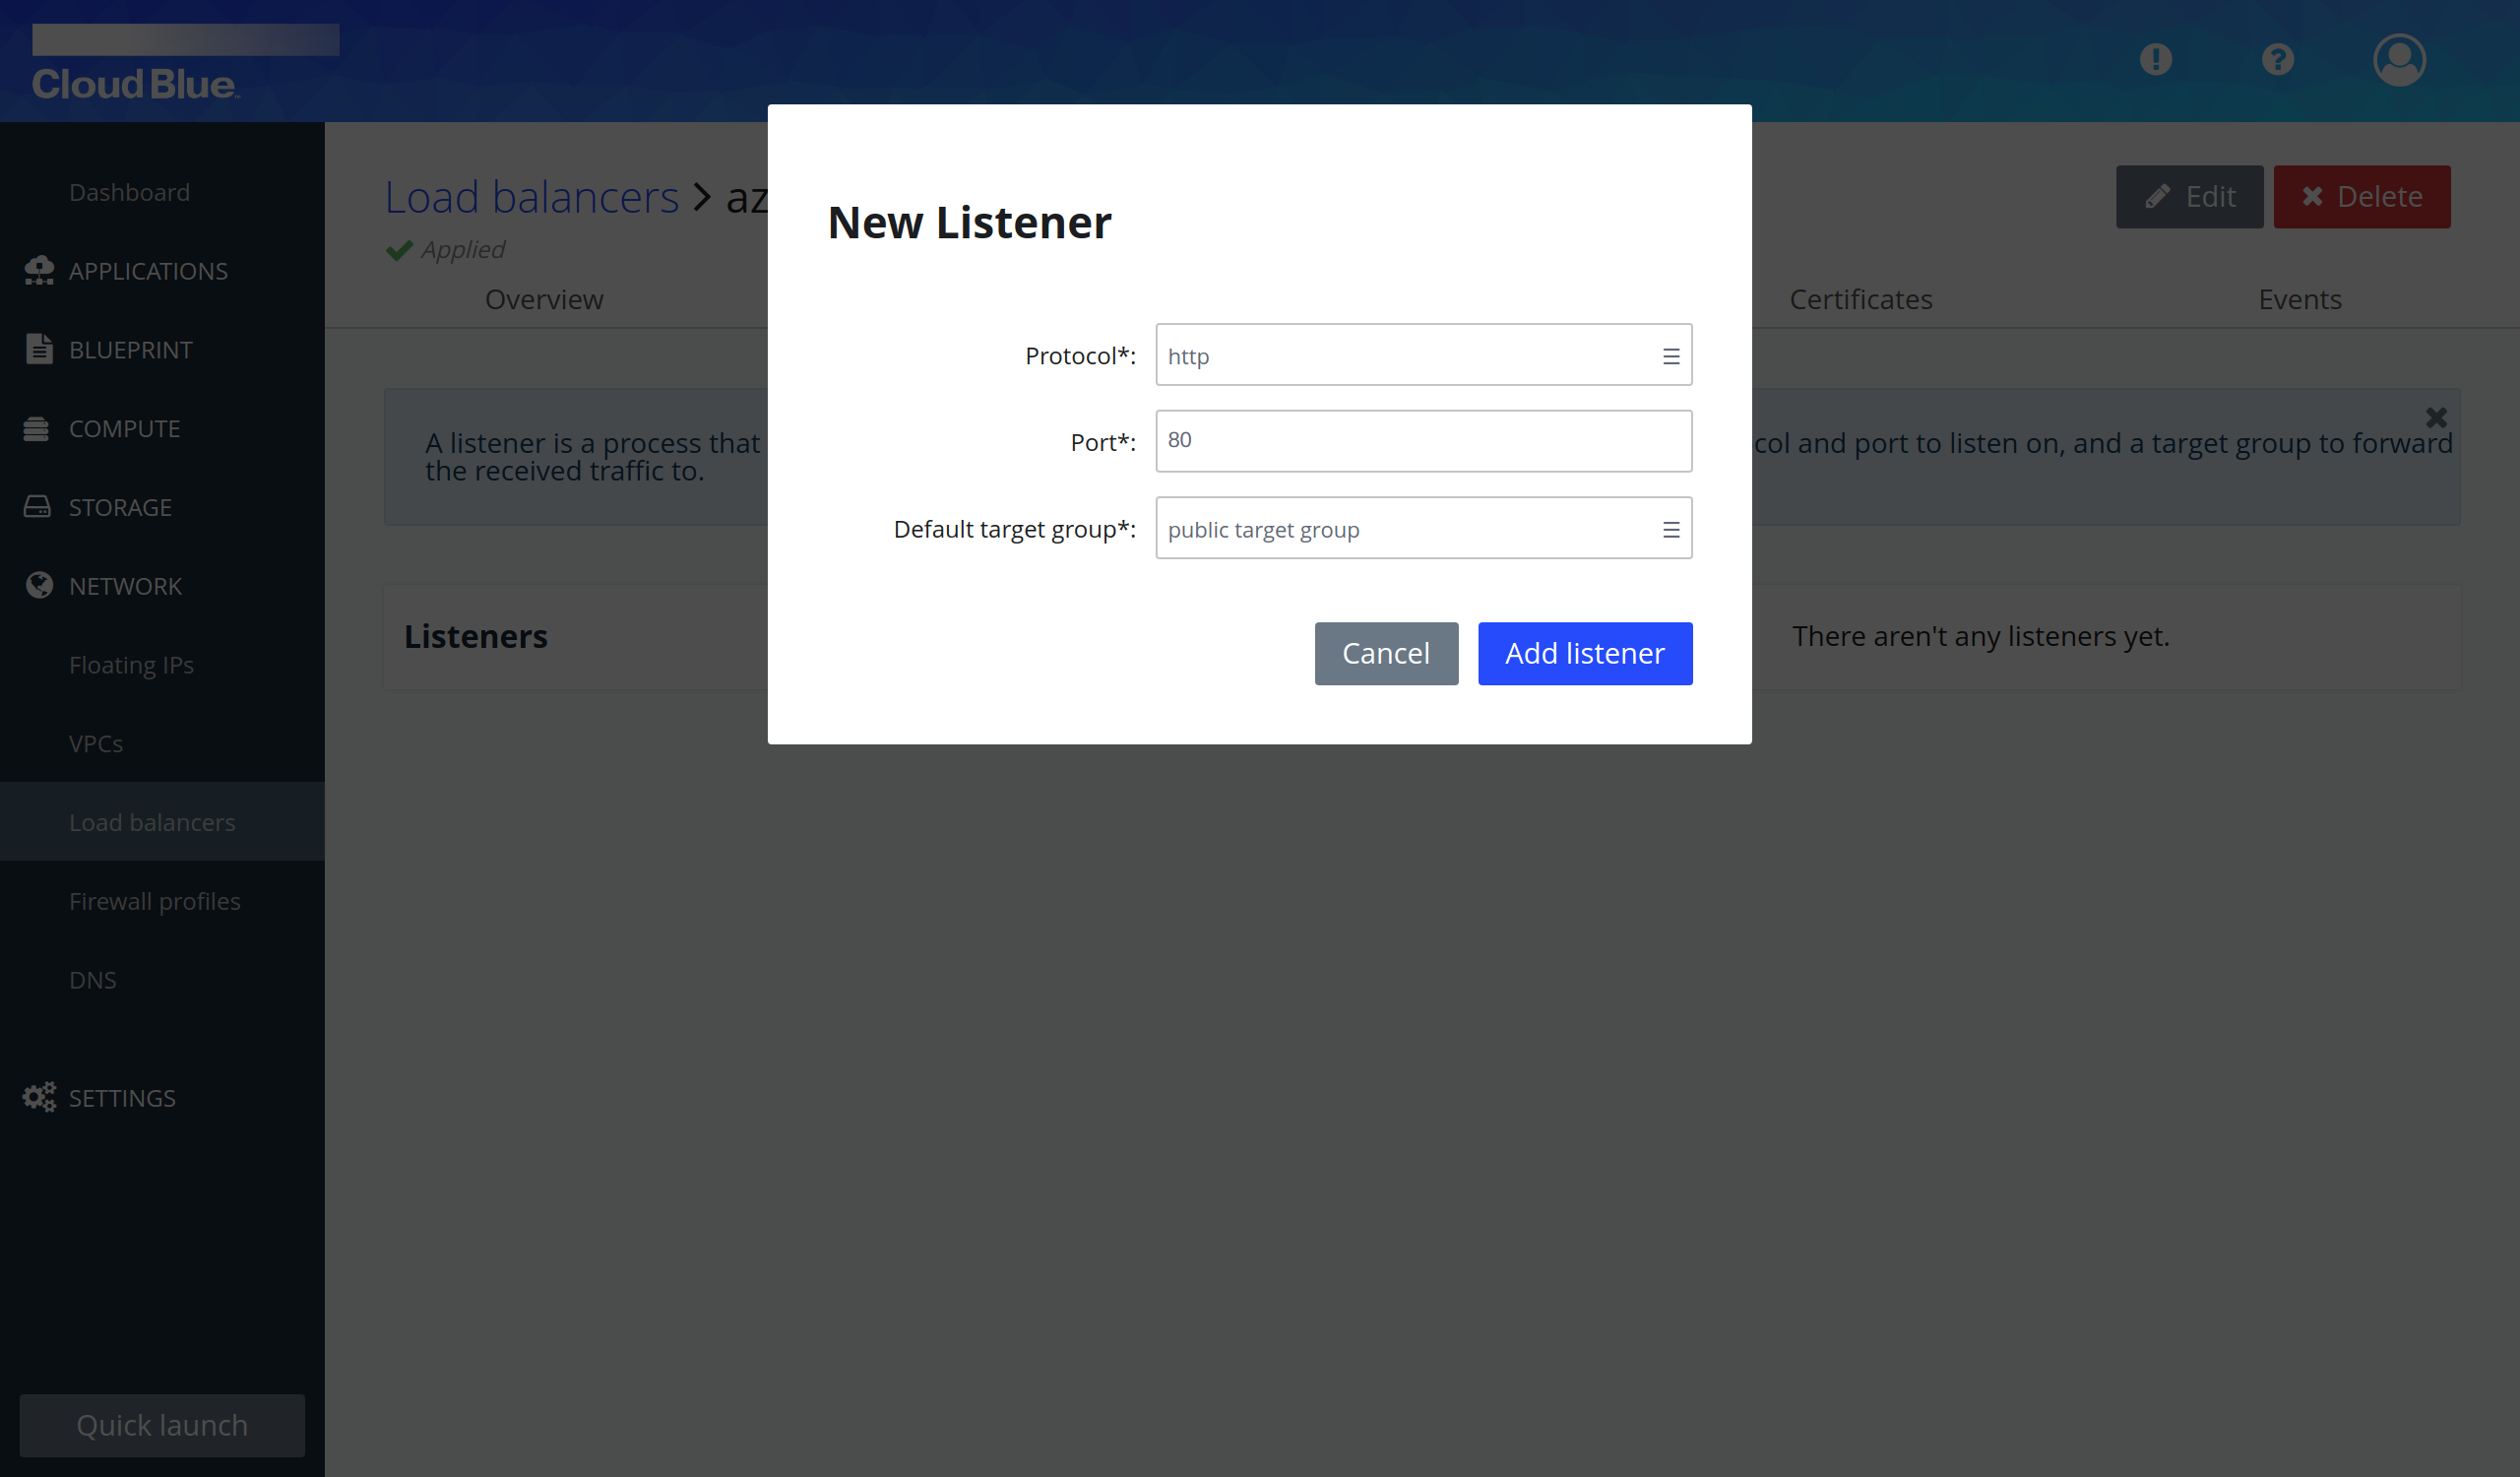
- Wait until the listener is in the "Applied" state.
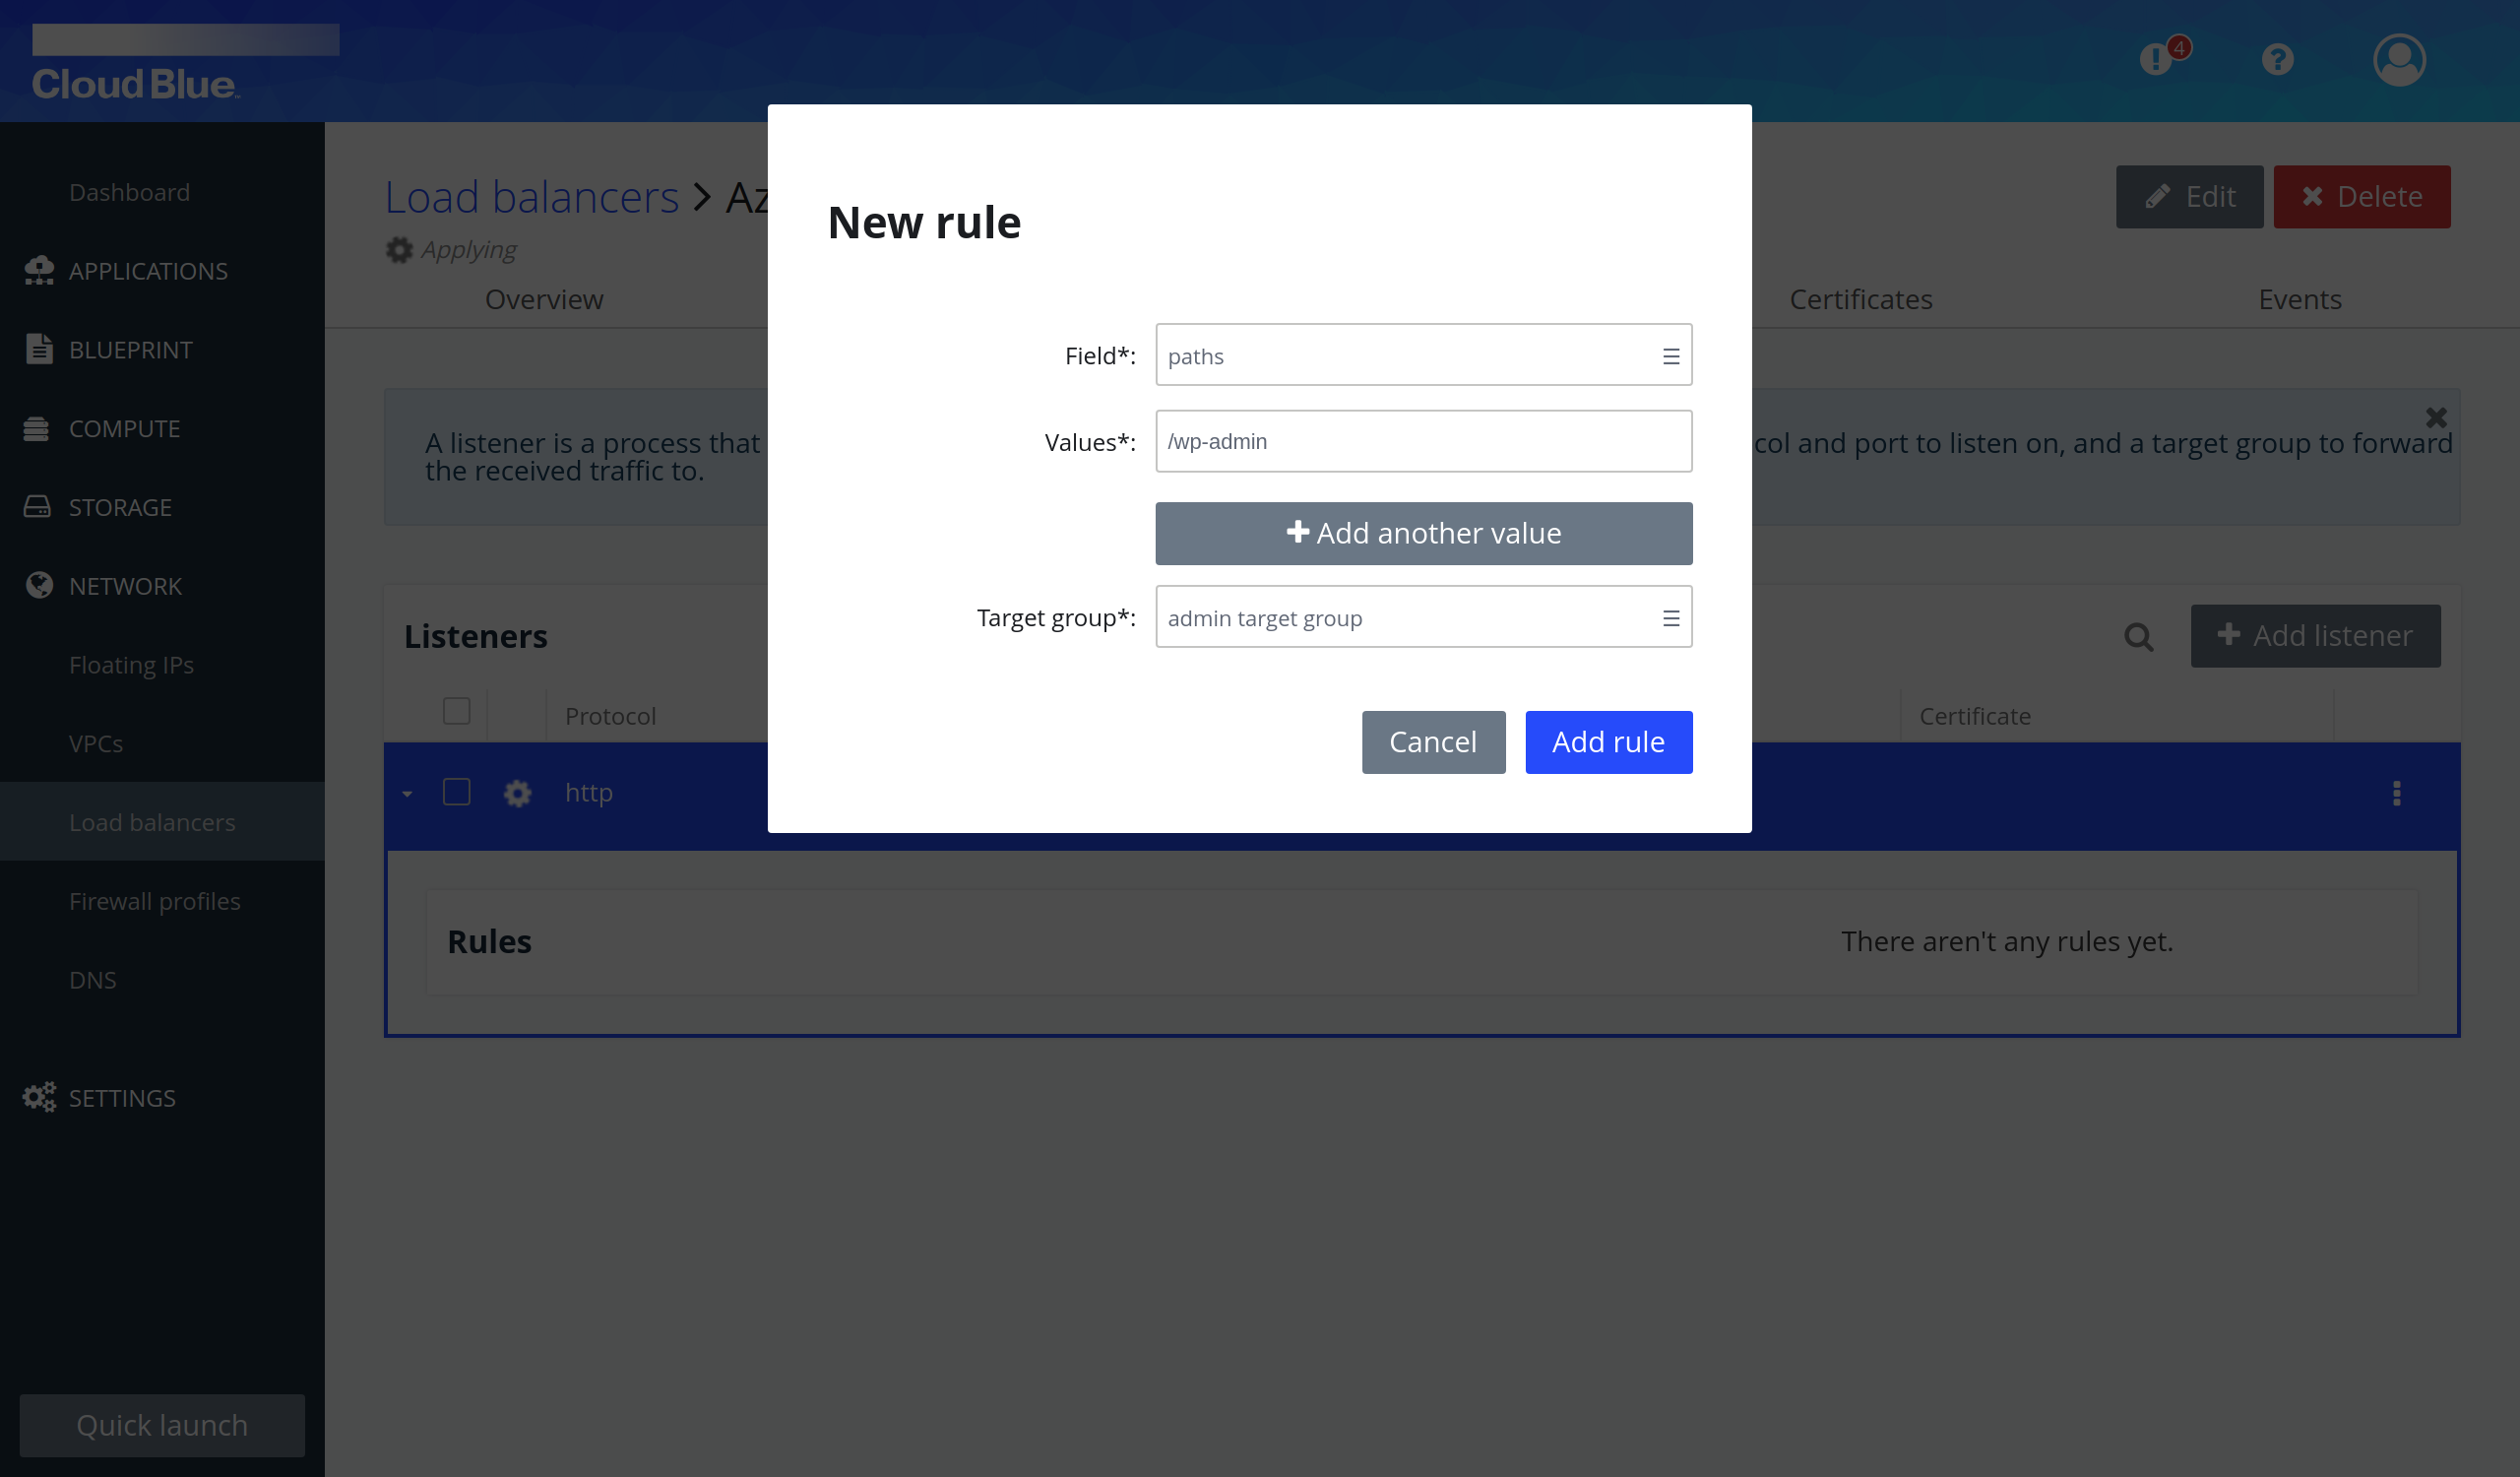
Add rule to listener
- Click on the name of the listener to view the details.
- Press the "Add rule" button.
- Provide all mandatory fields and press the "Add rule" button.
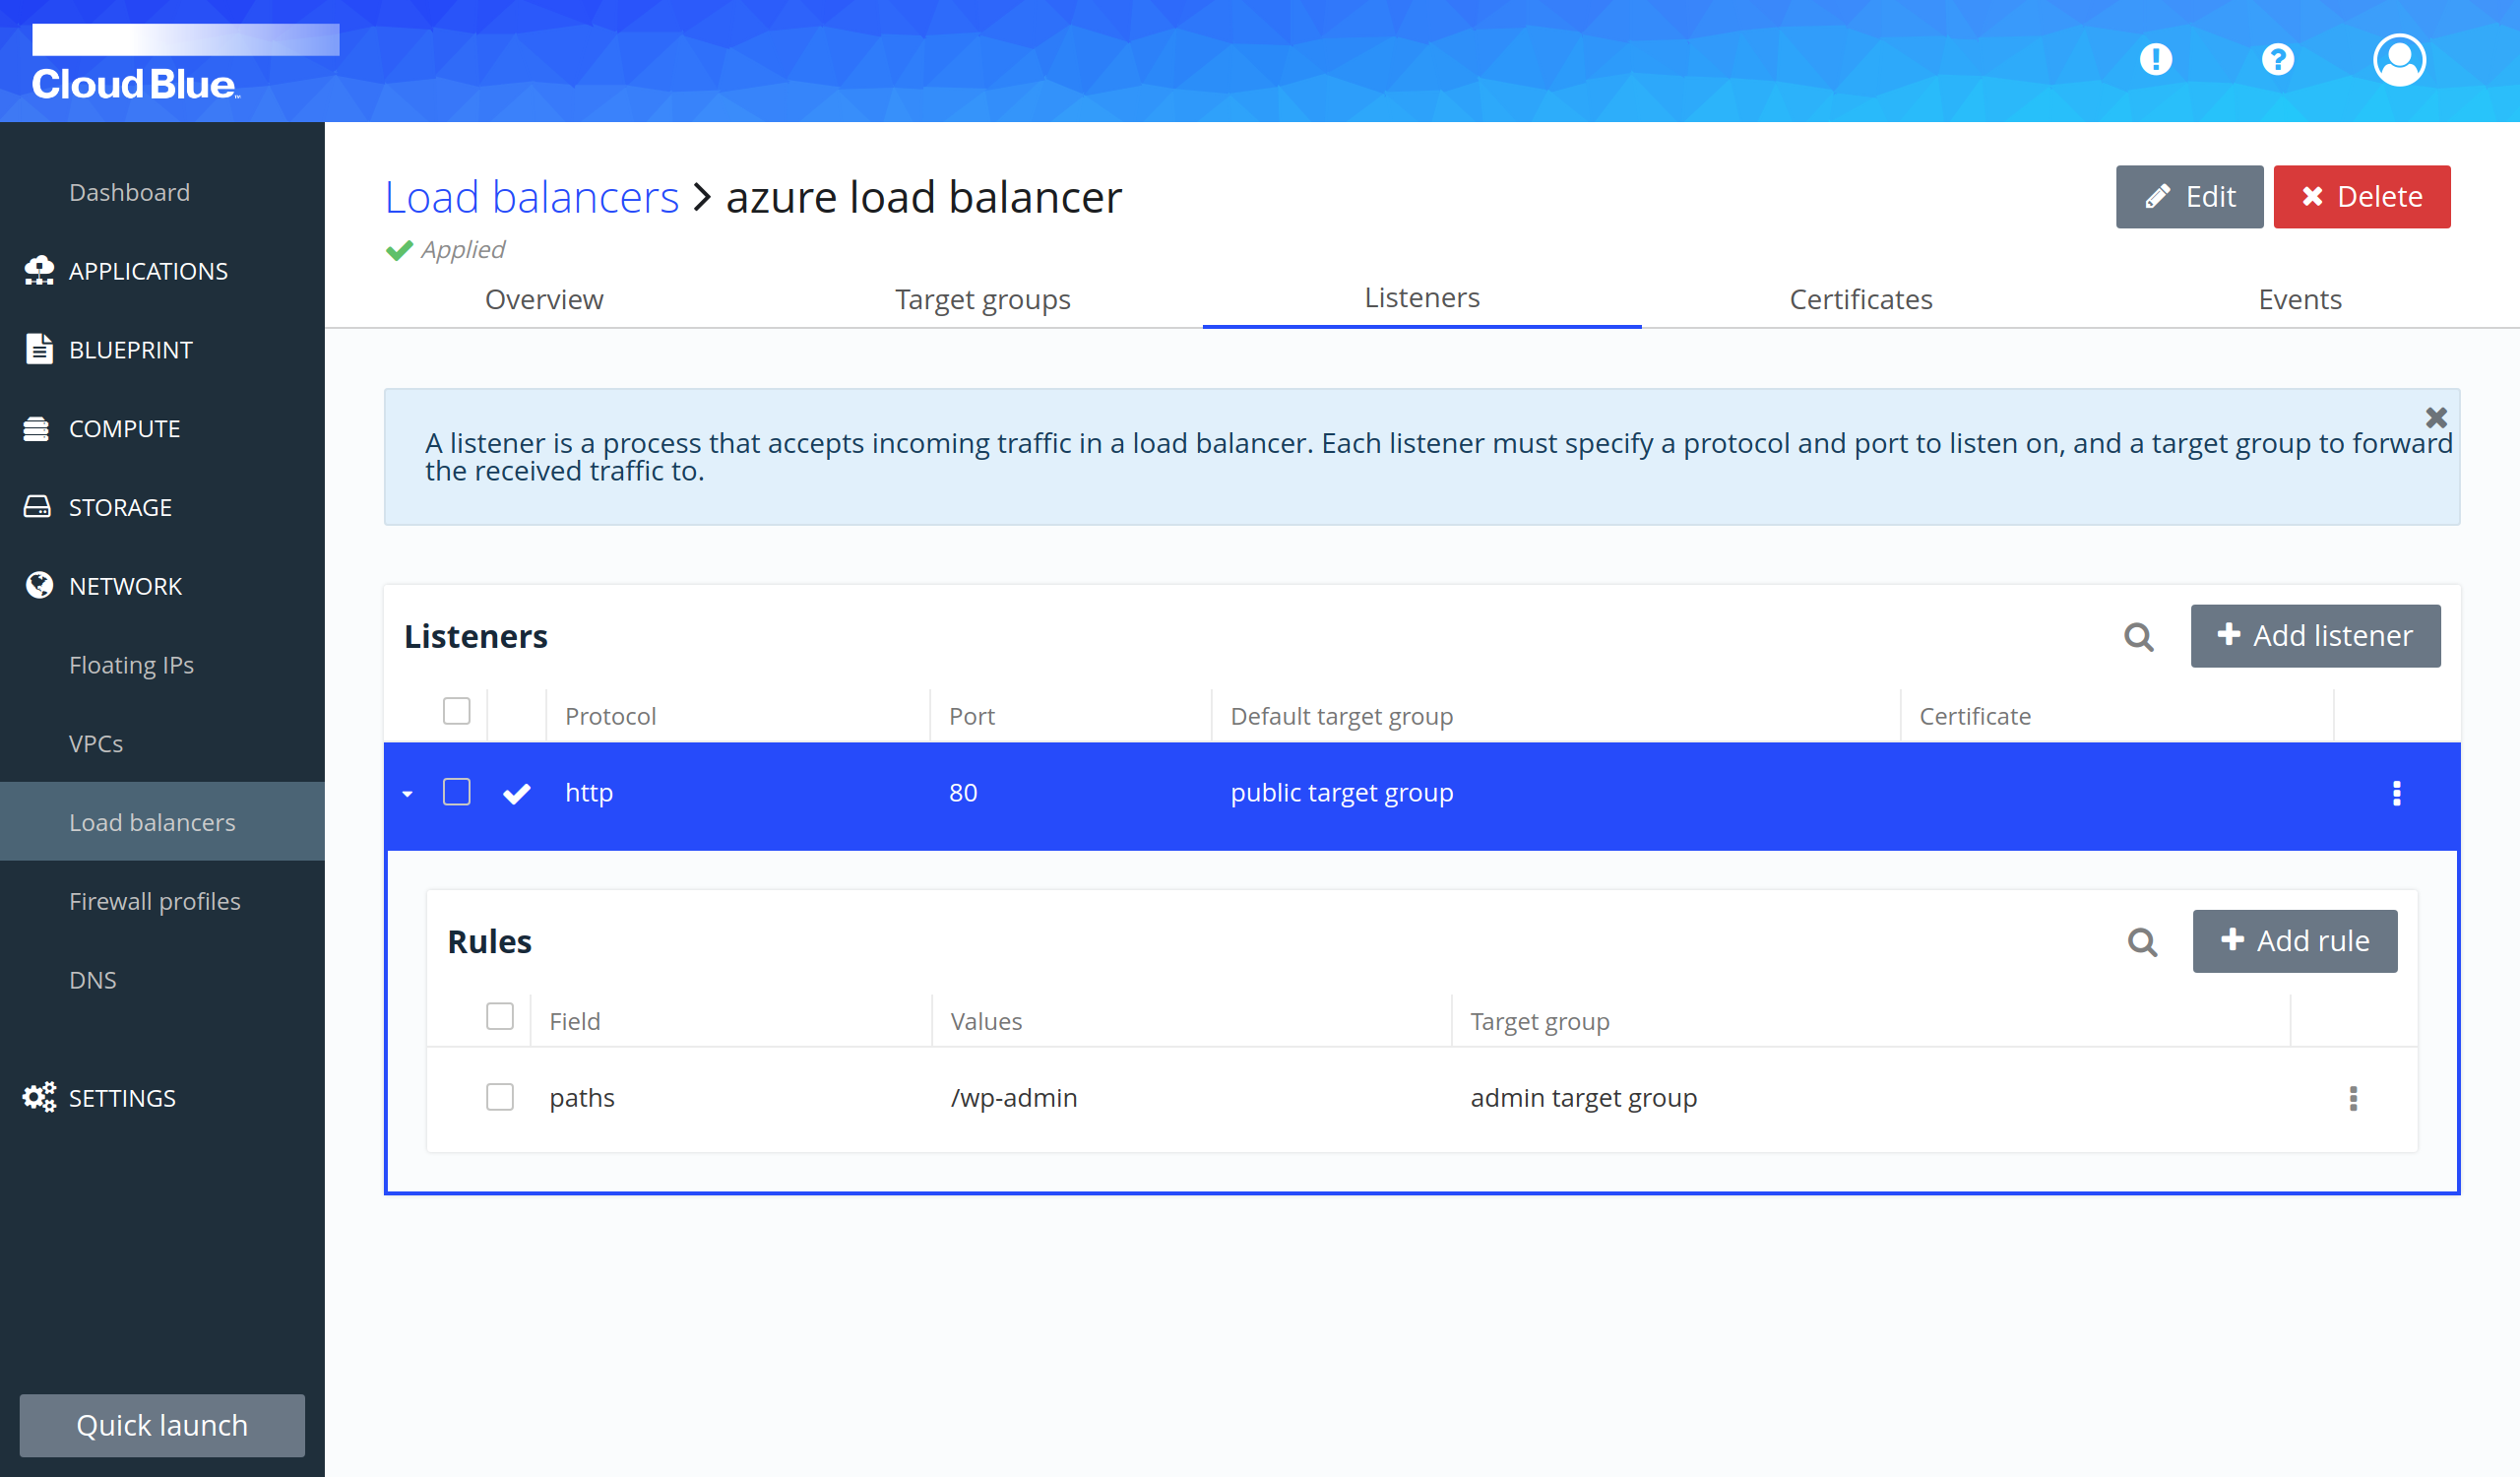
- Wait until the listener is in the "Applied" state.
- Repeat again the previous steps to create another rule.
- Rules have been created in the listener.
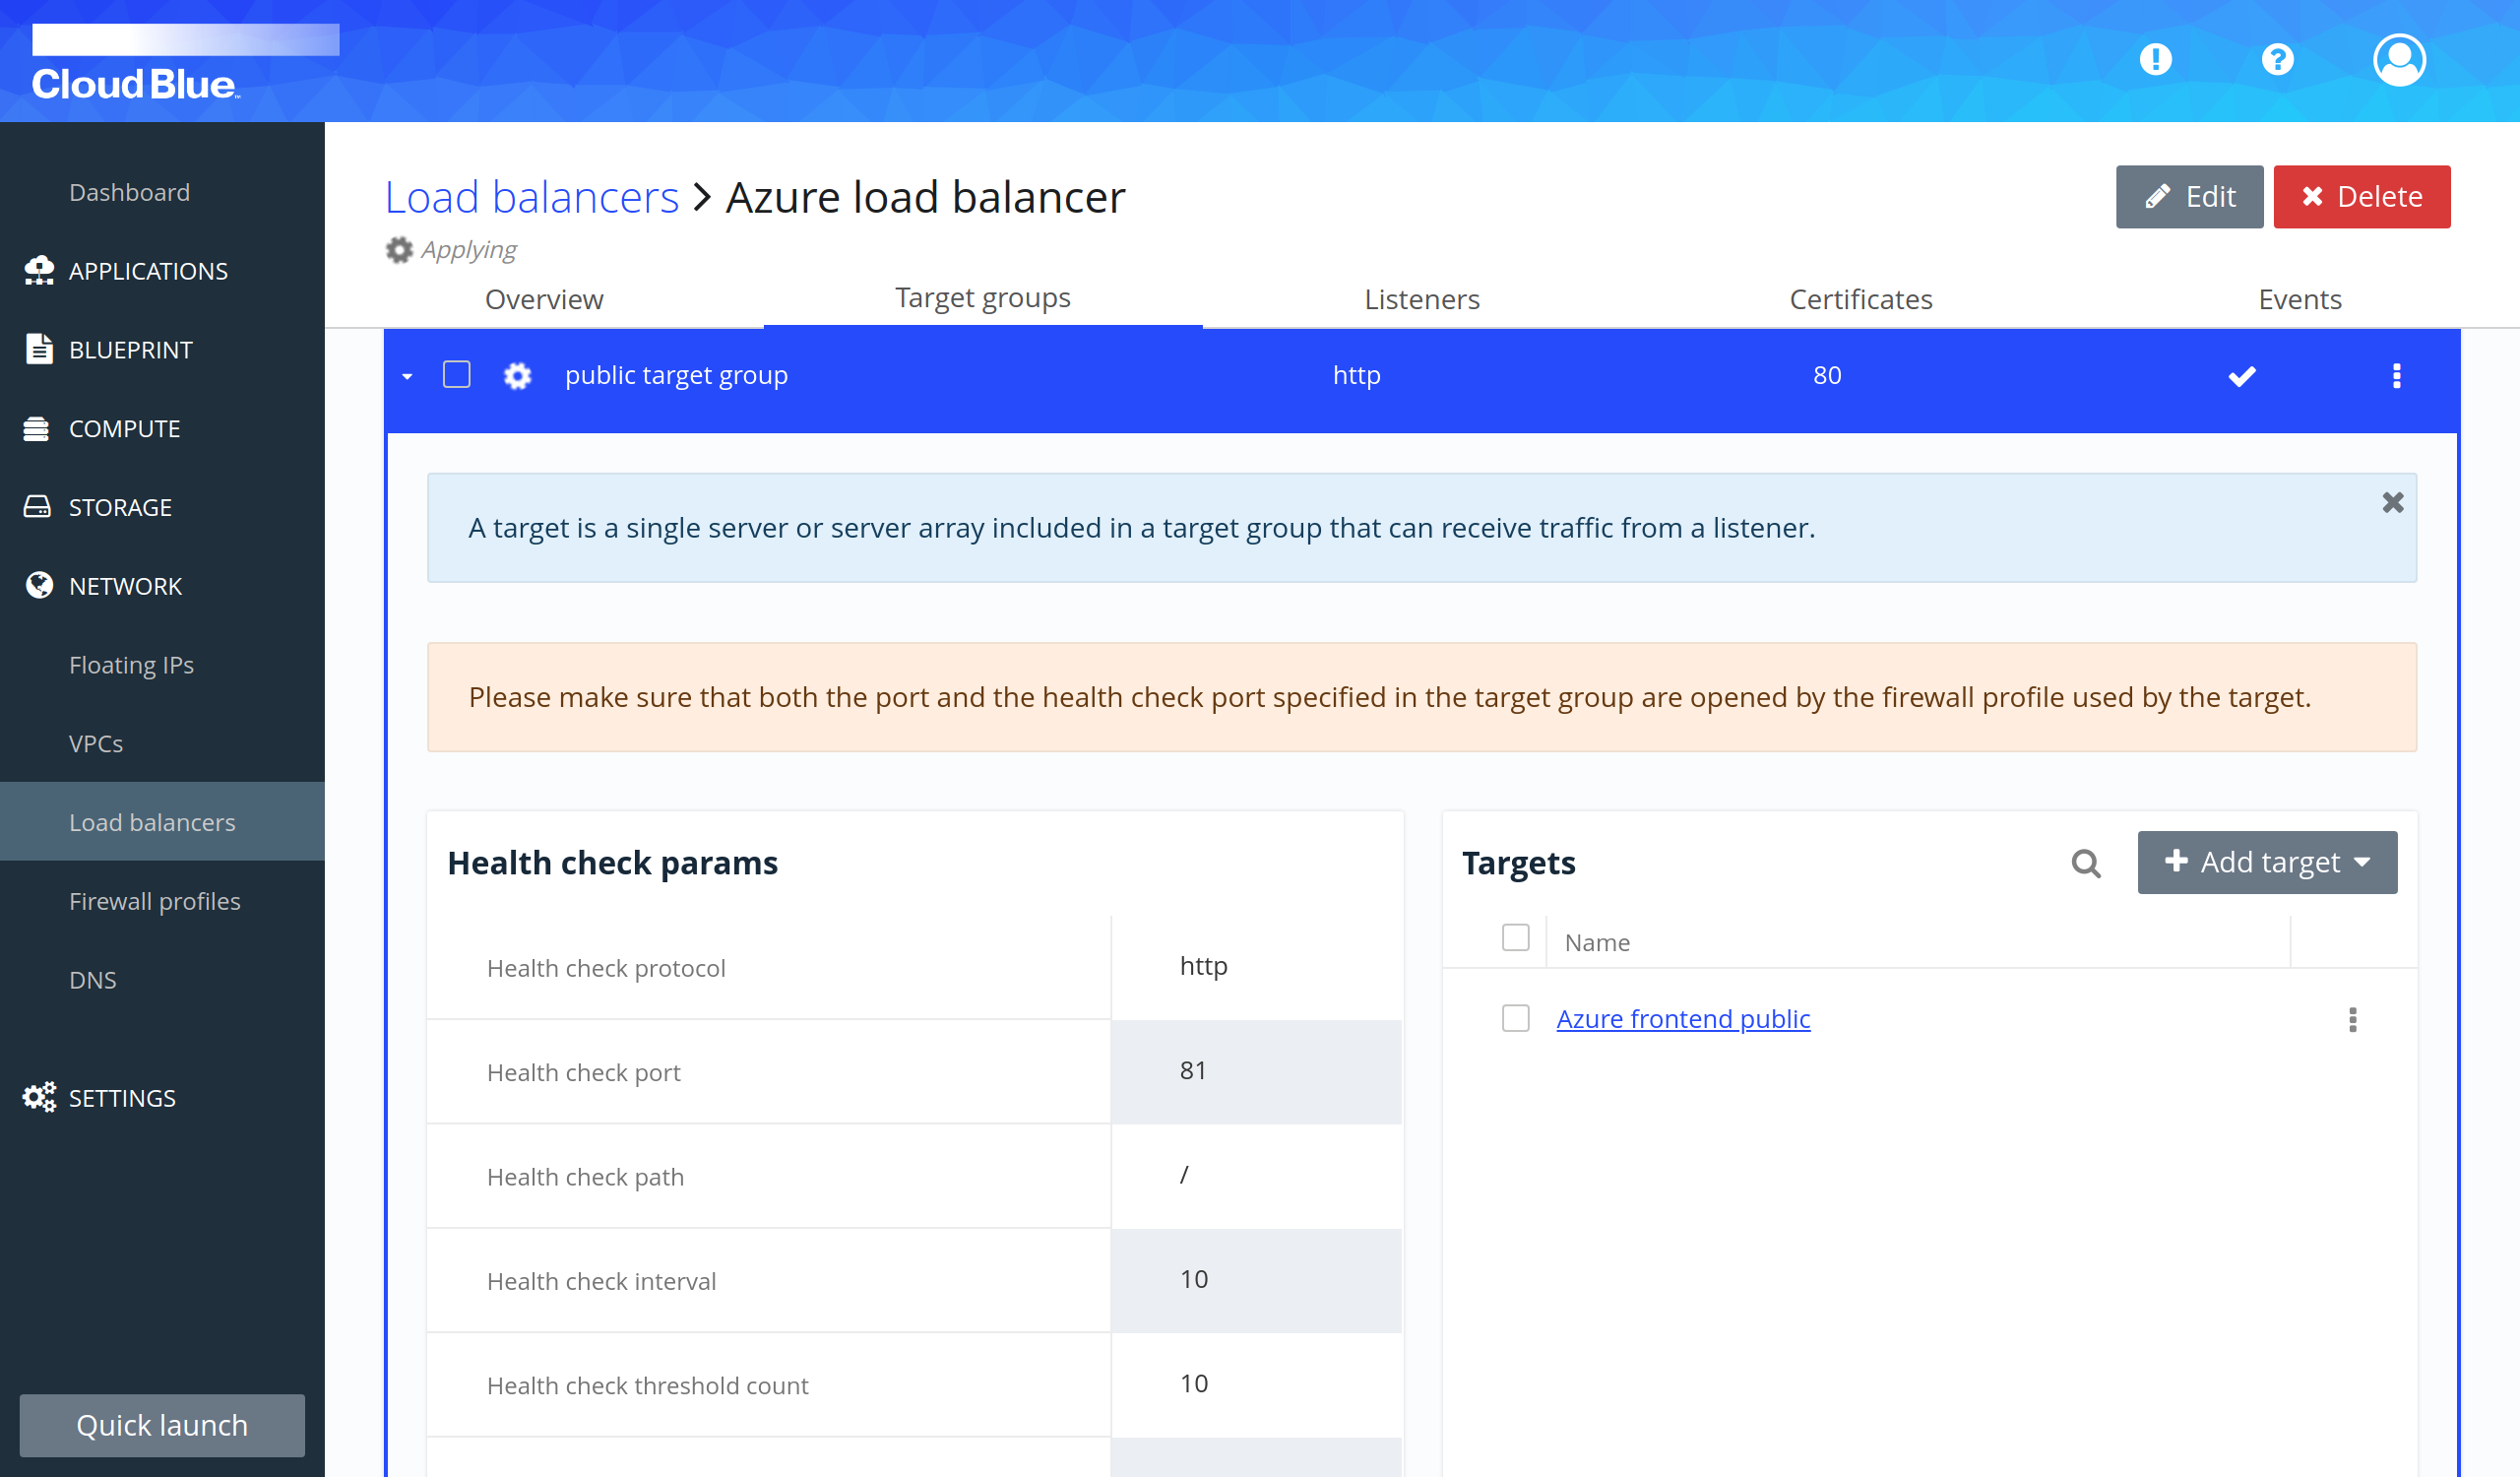
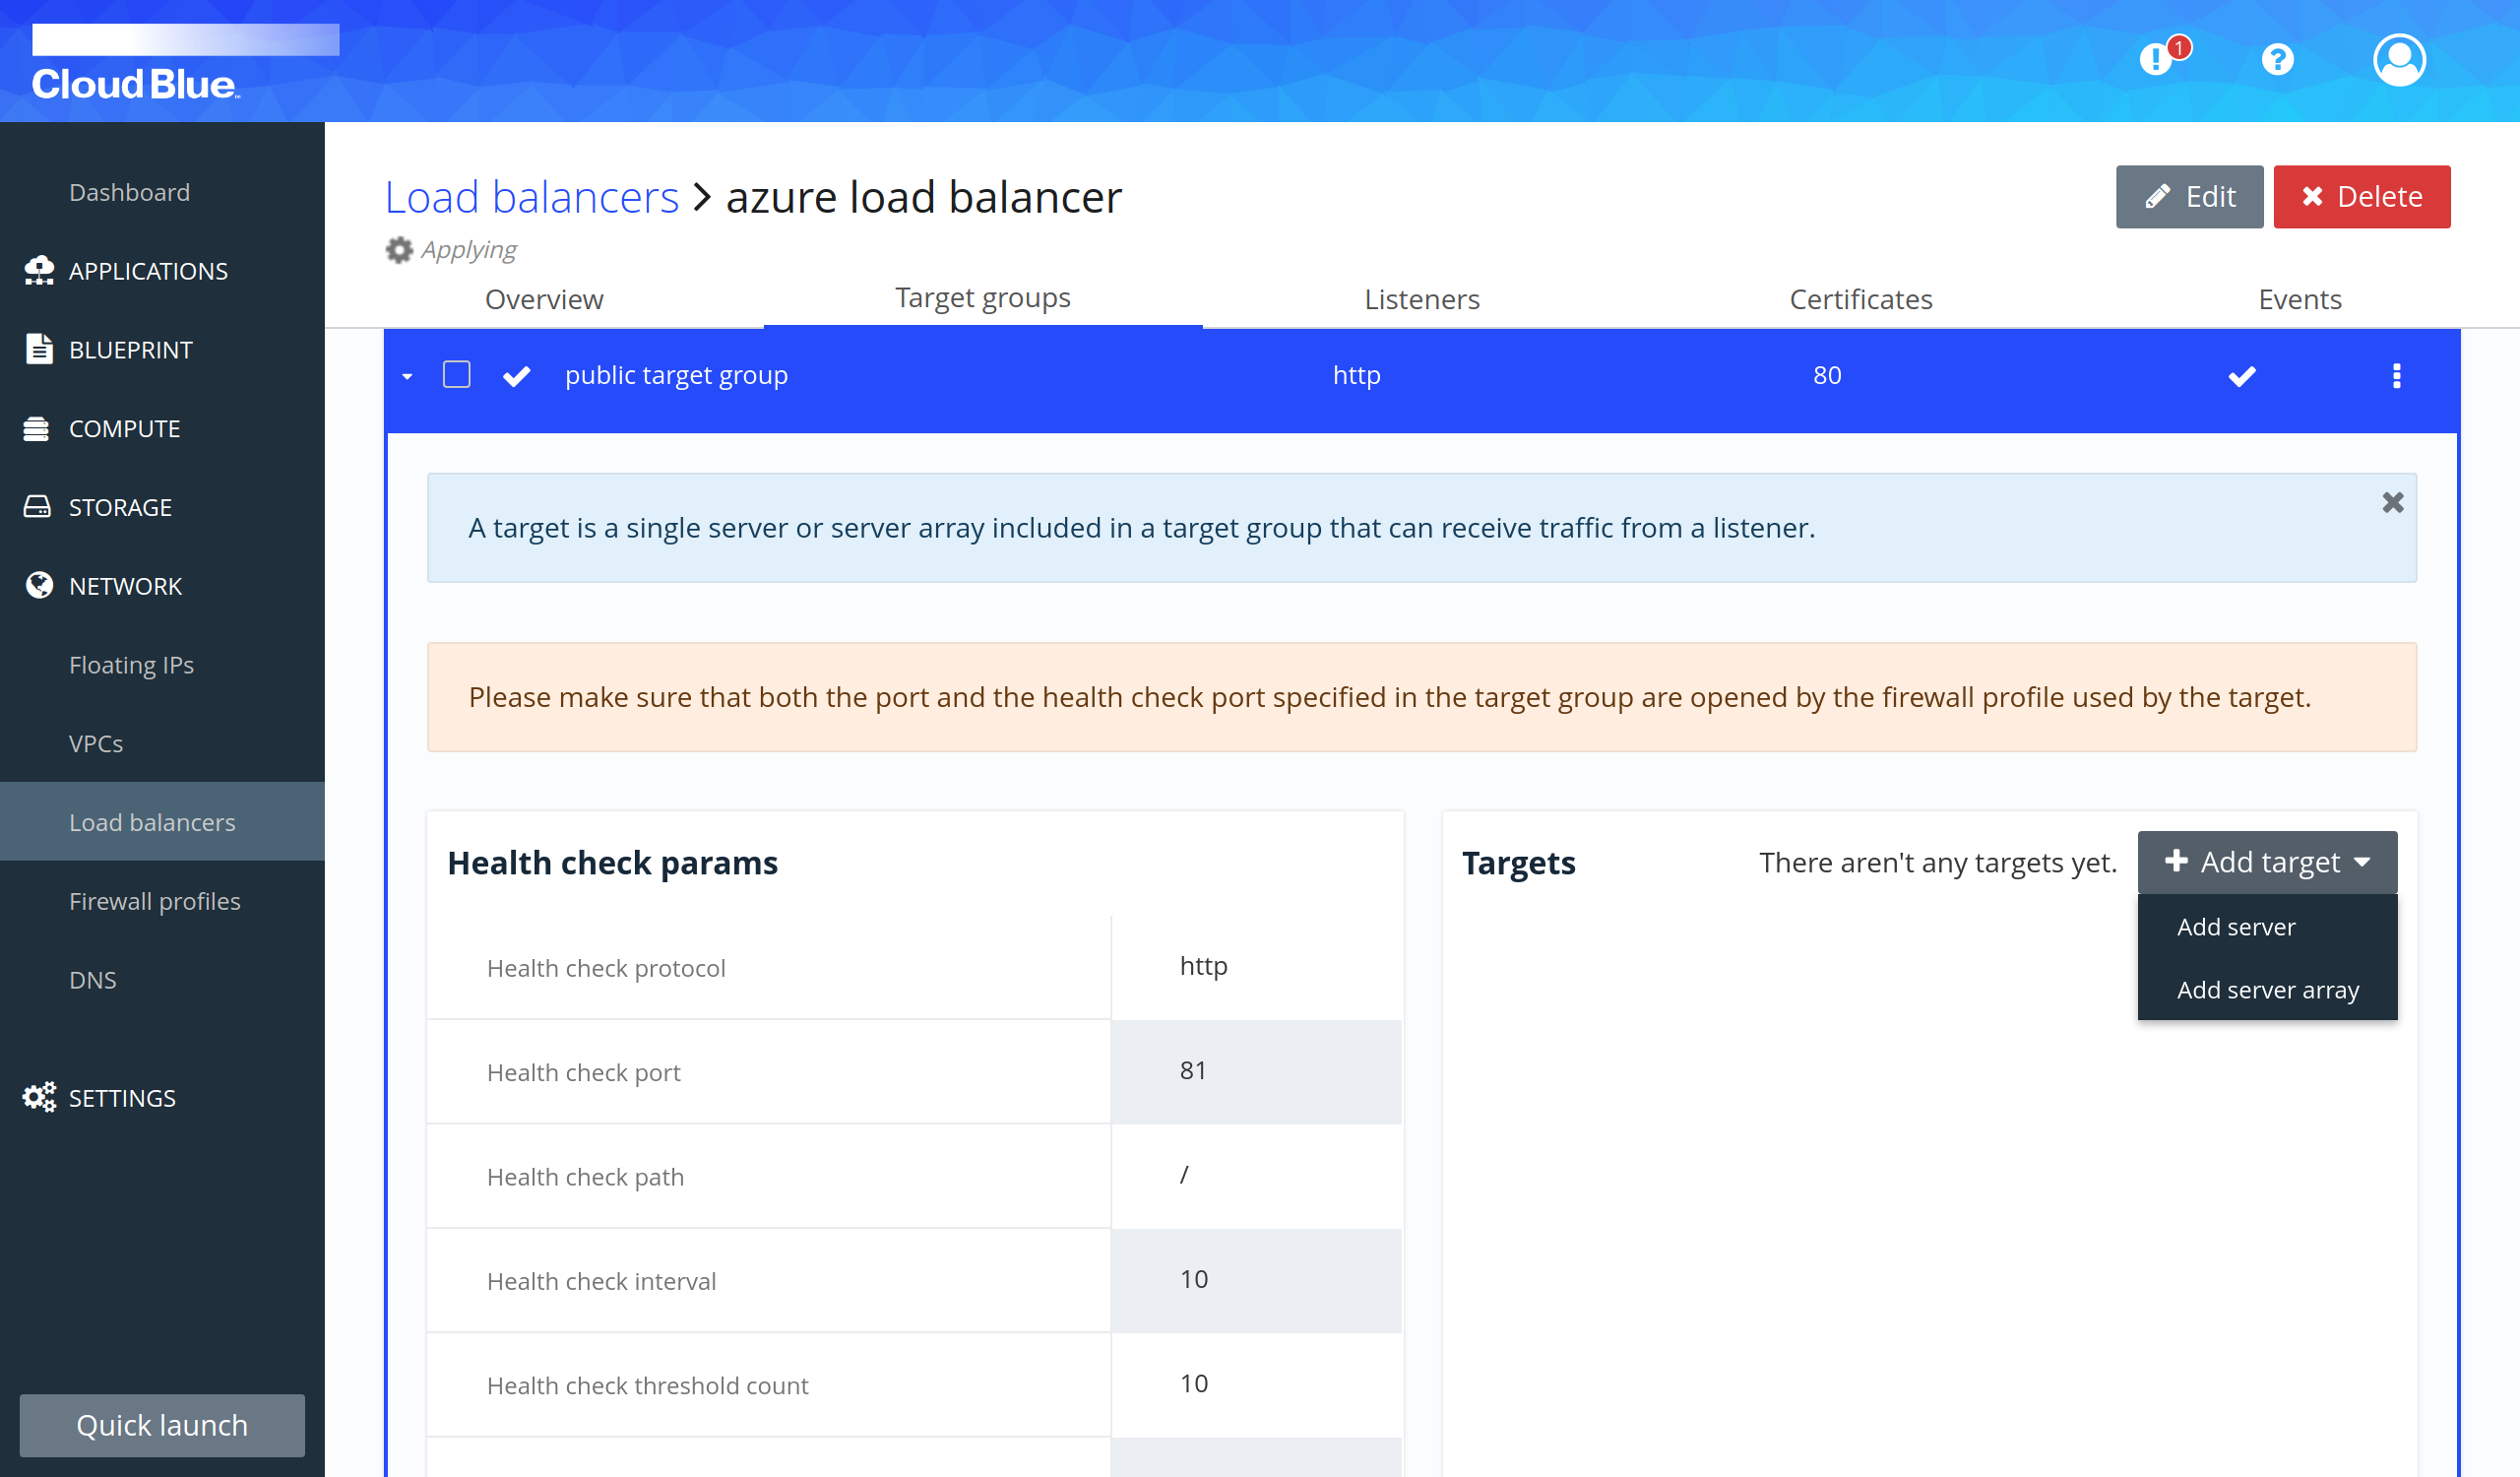
Add servers as a target of a target group
- Click on the target group to view the details.
- Select the "Add server" option in the "Add target" selectable.
- Select the server to add and press the "Add server" button.
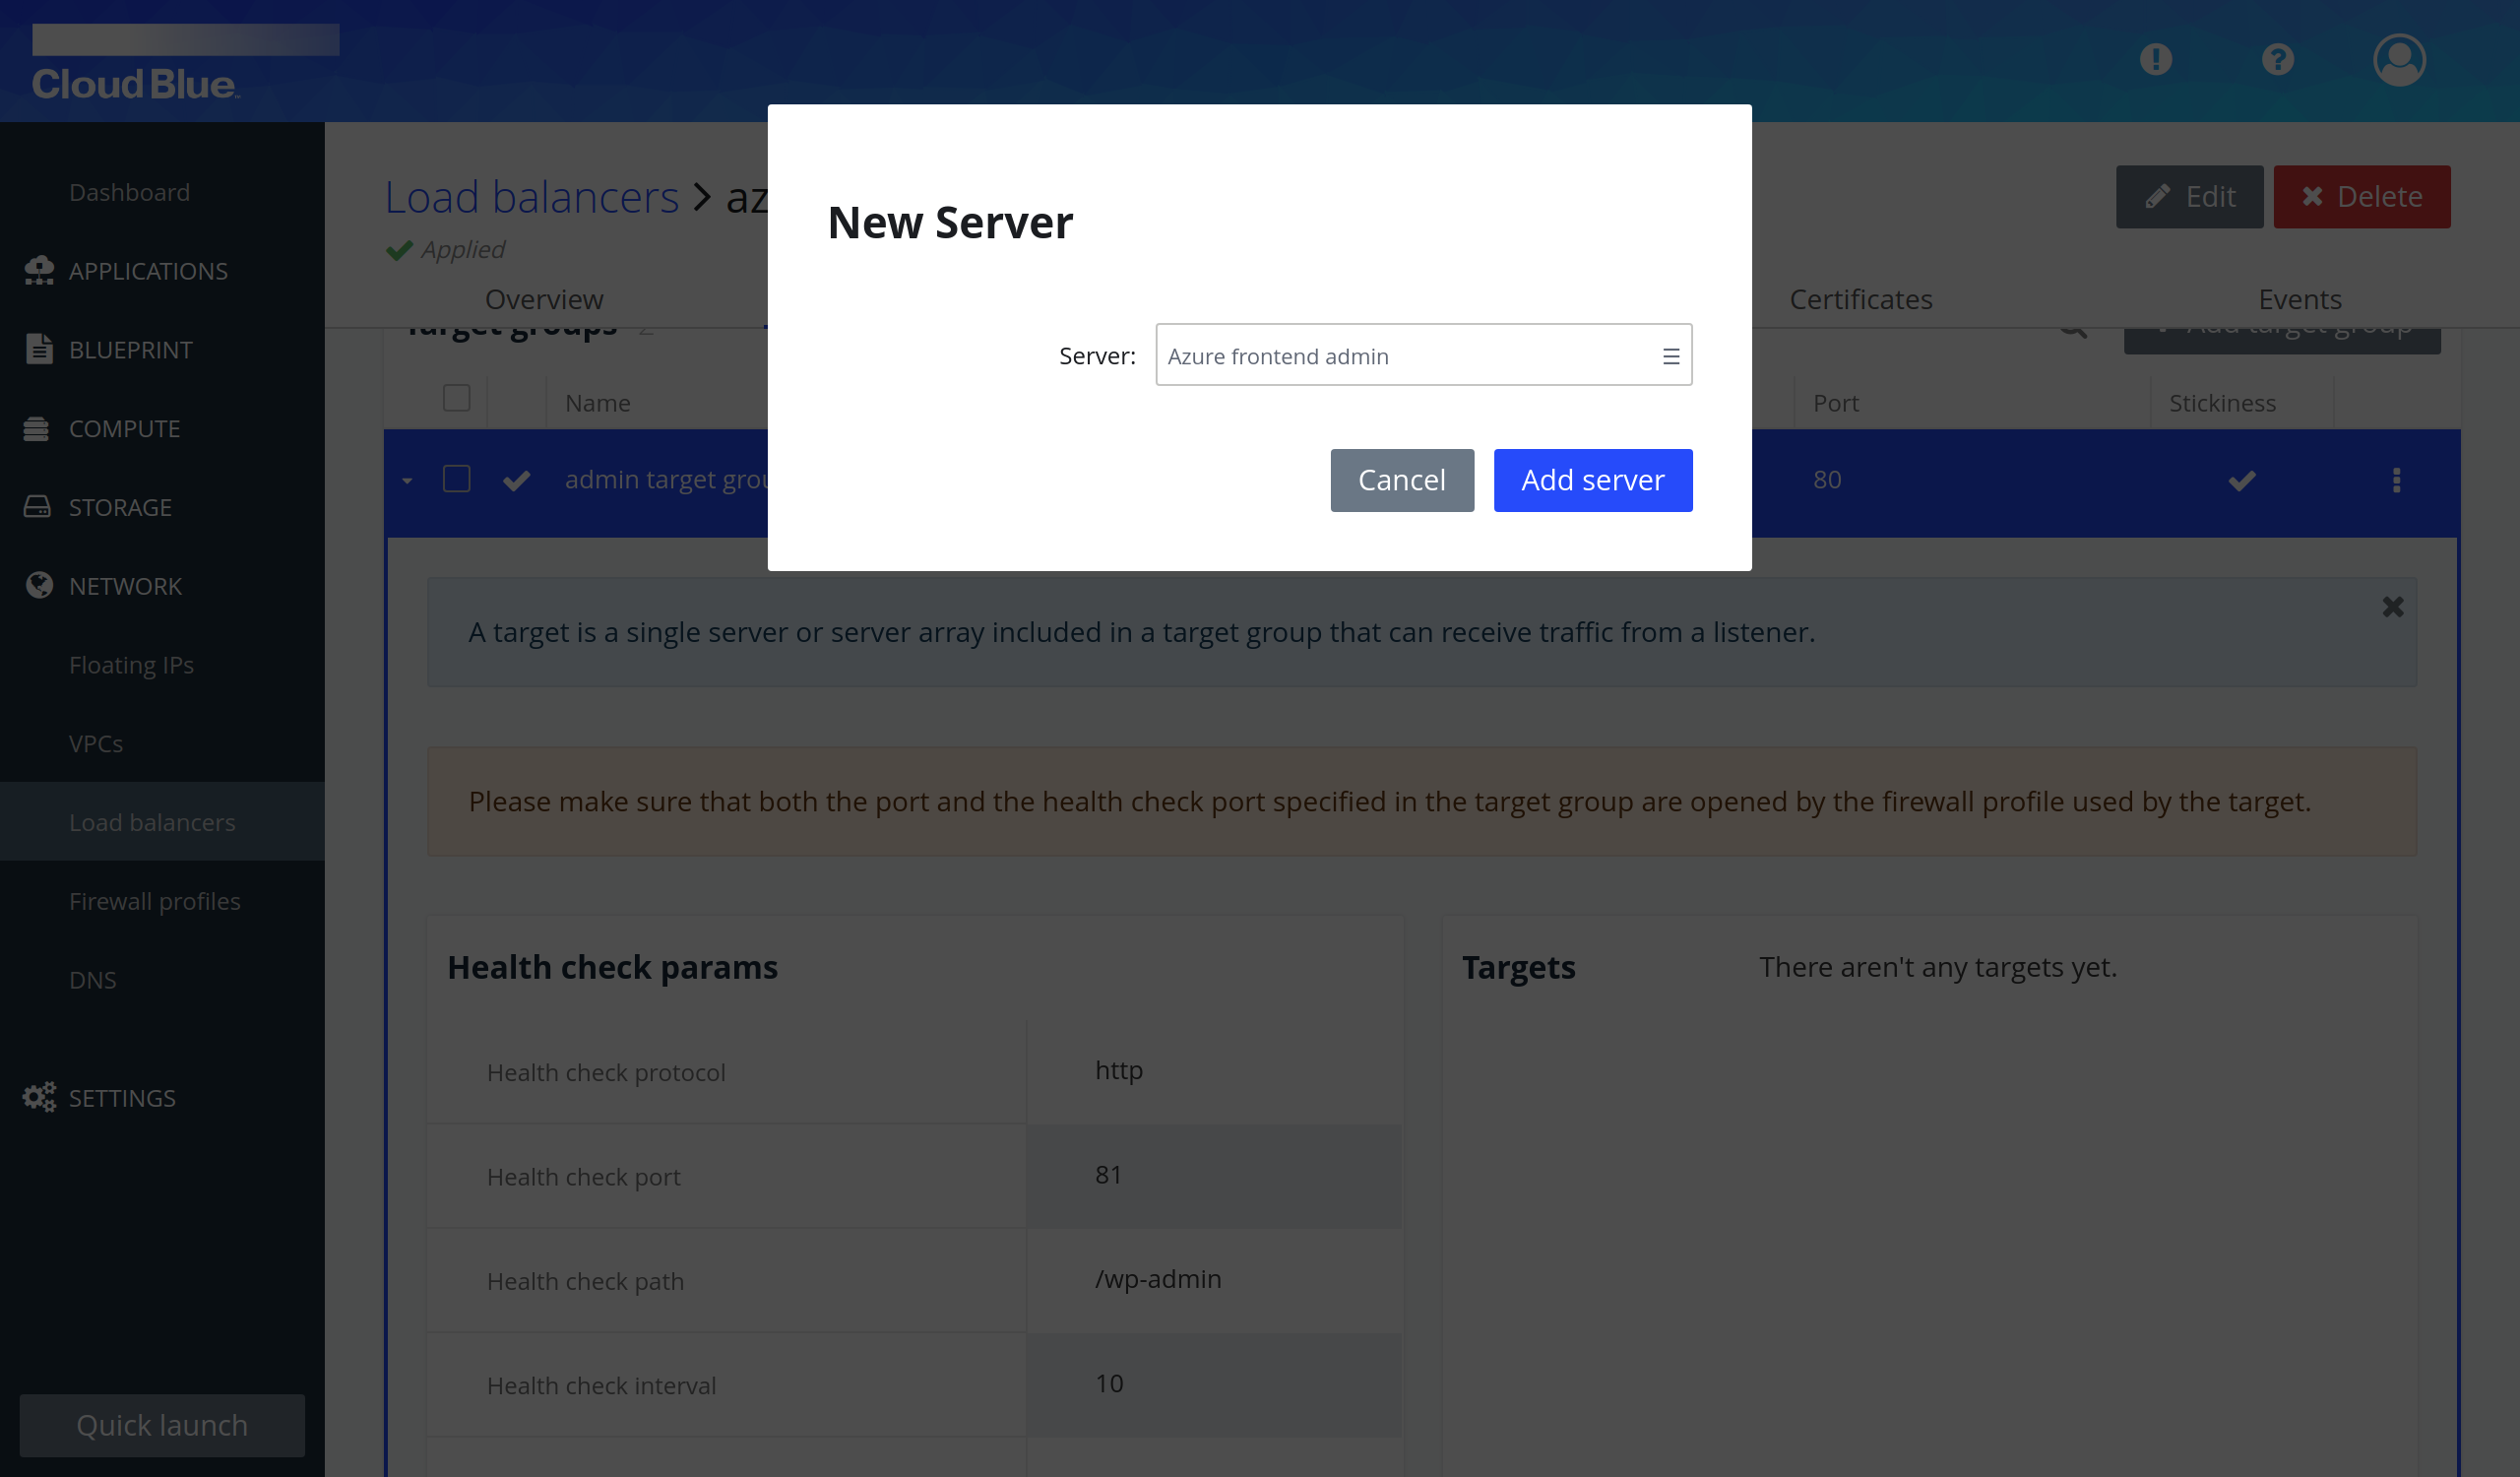
- Wait until the target group is in the "Applied" state.
- Repeat again the previous steps to create another target group.
- The servers have been added as a target to the target group.