How to create and attach a volume in a server
The volume feature lets you dynamically provision and manage block storage volumes. You can create, attach, detach and move volumes, as needed, to meet your storage, performance, and application requirements. After you attach and connect a volume to an instance, you can use the volume like a regular hard drive. You can also disconnect a volume and attach it to another instance without the loss of data.
Prerequisites
- Have a server created and running.
Create a volume
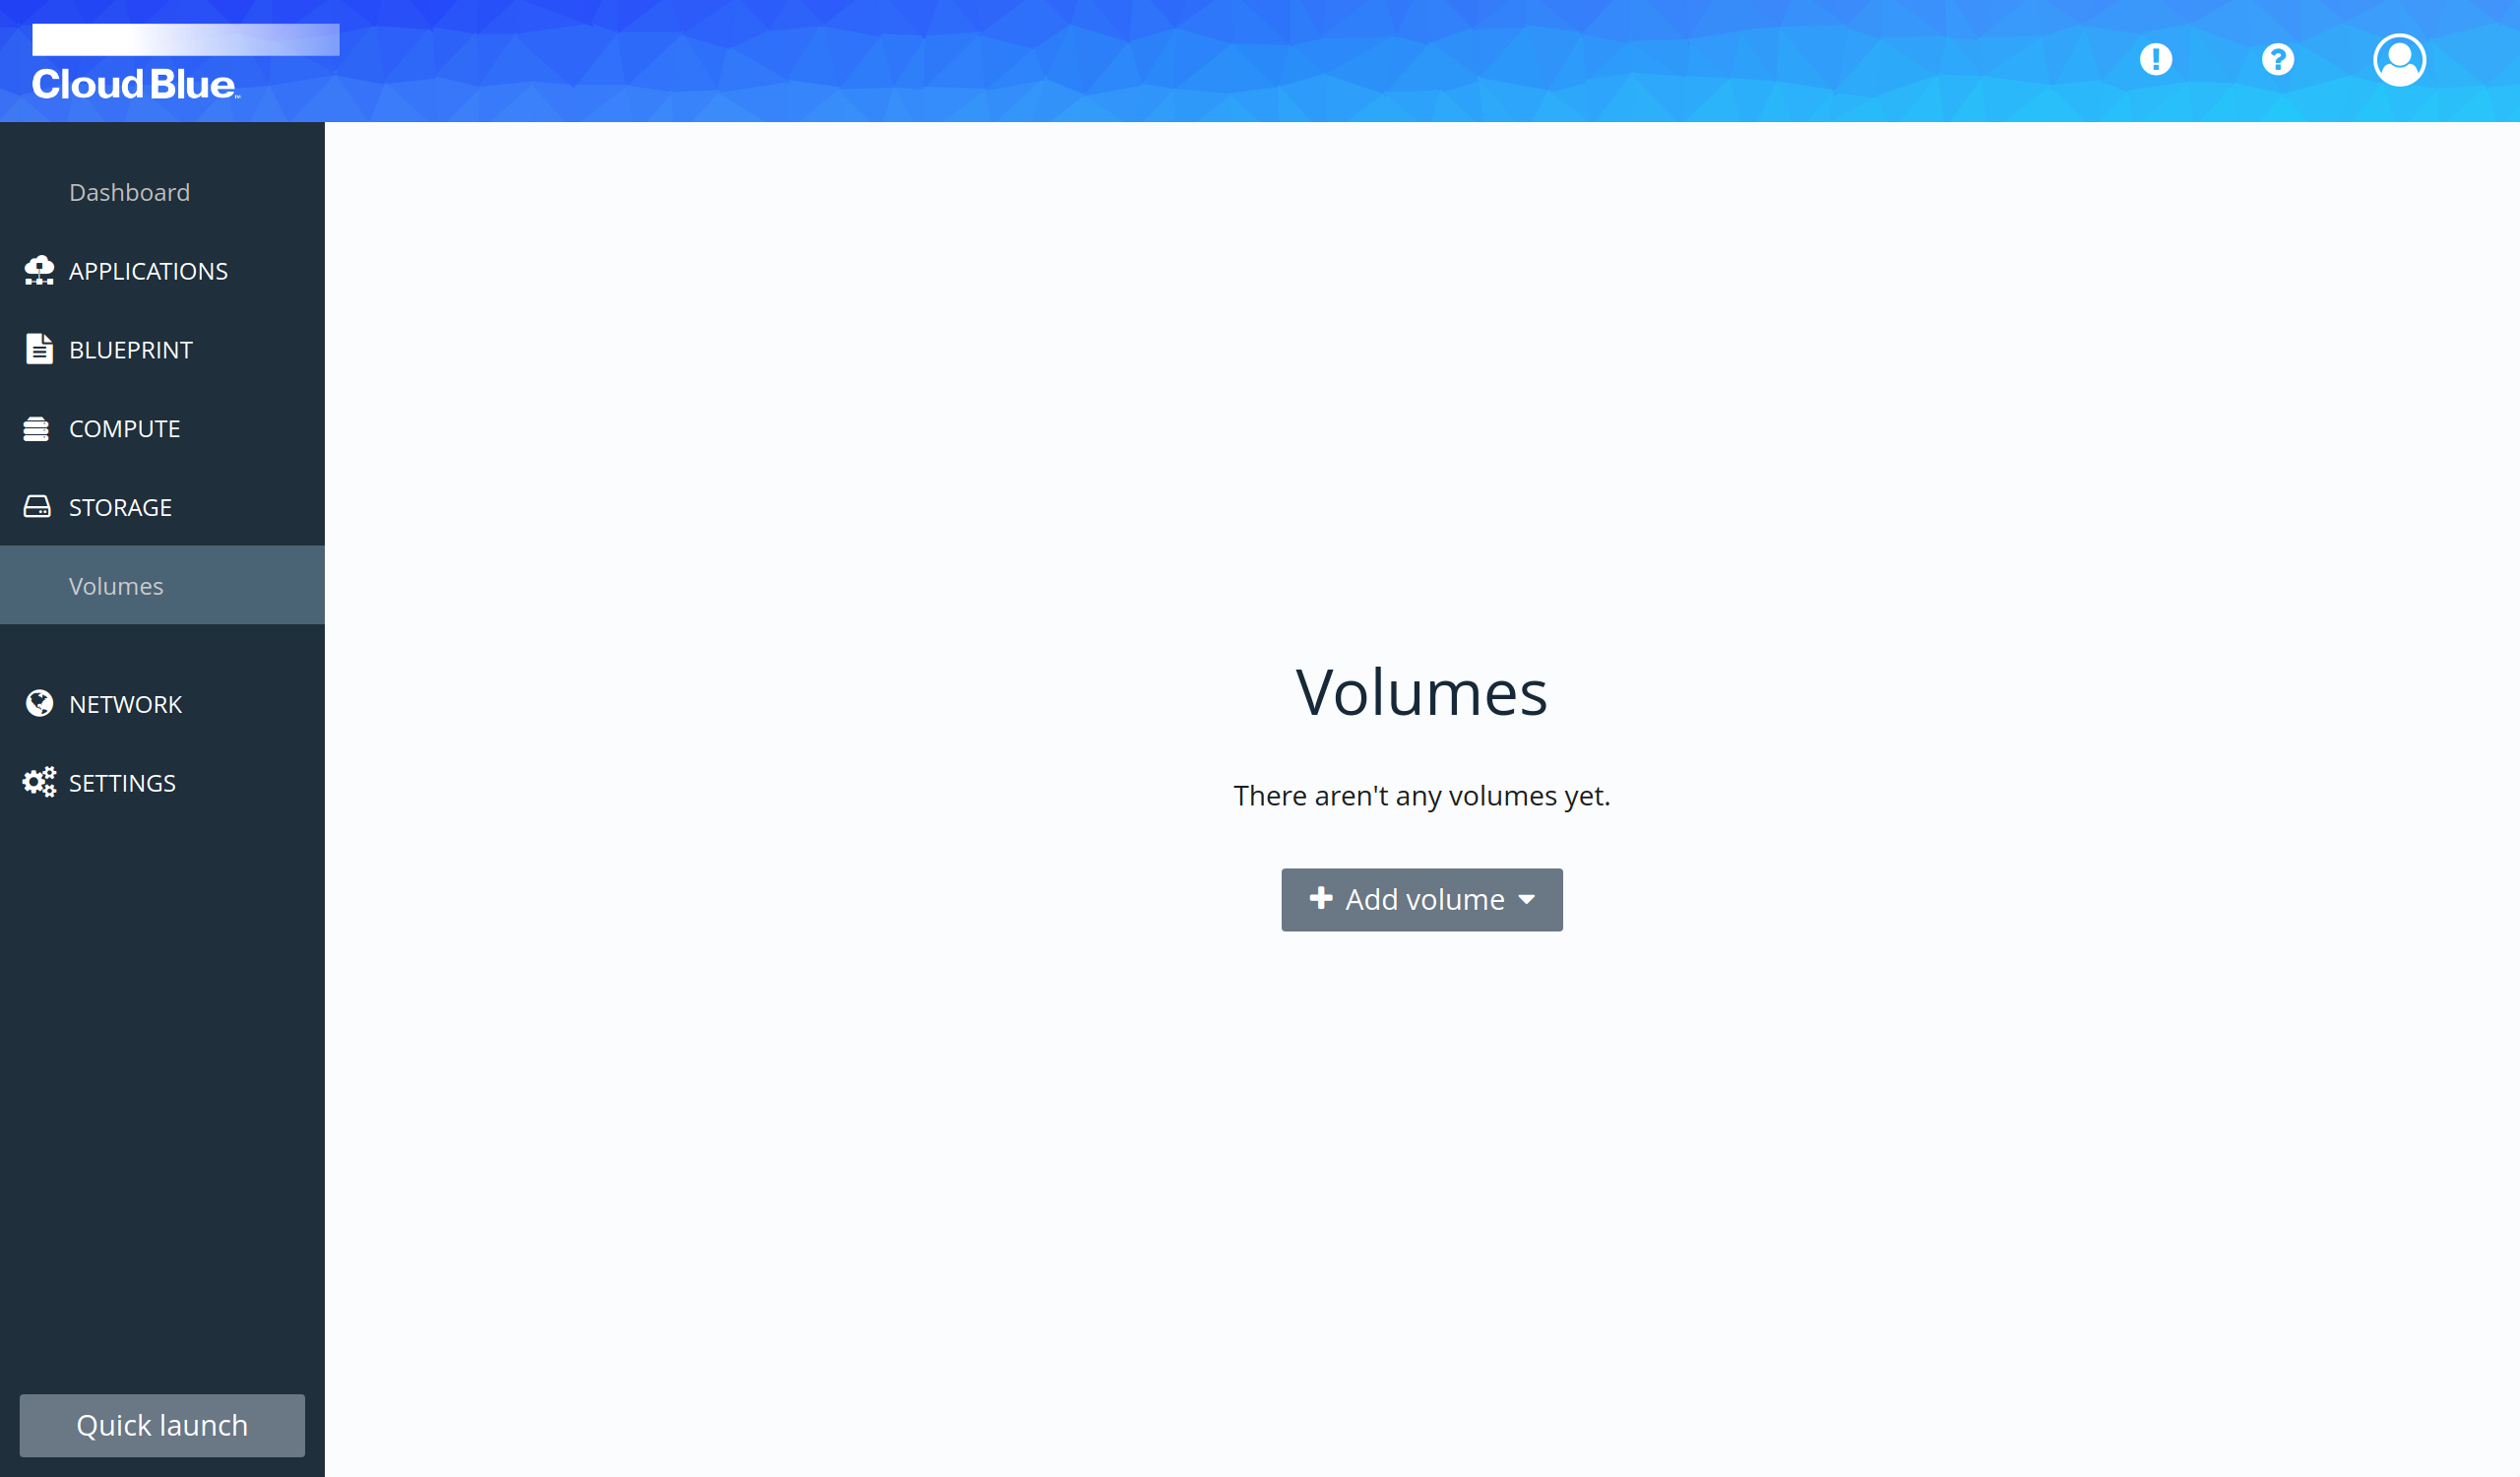
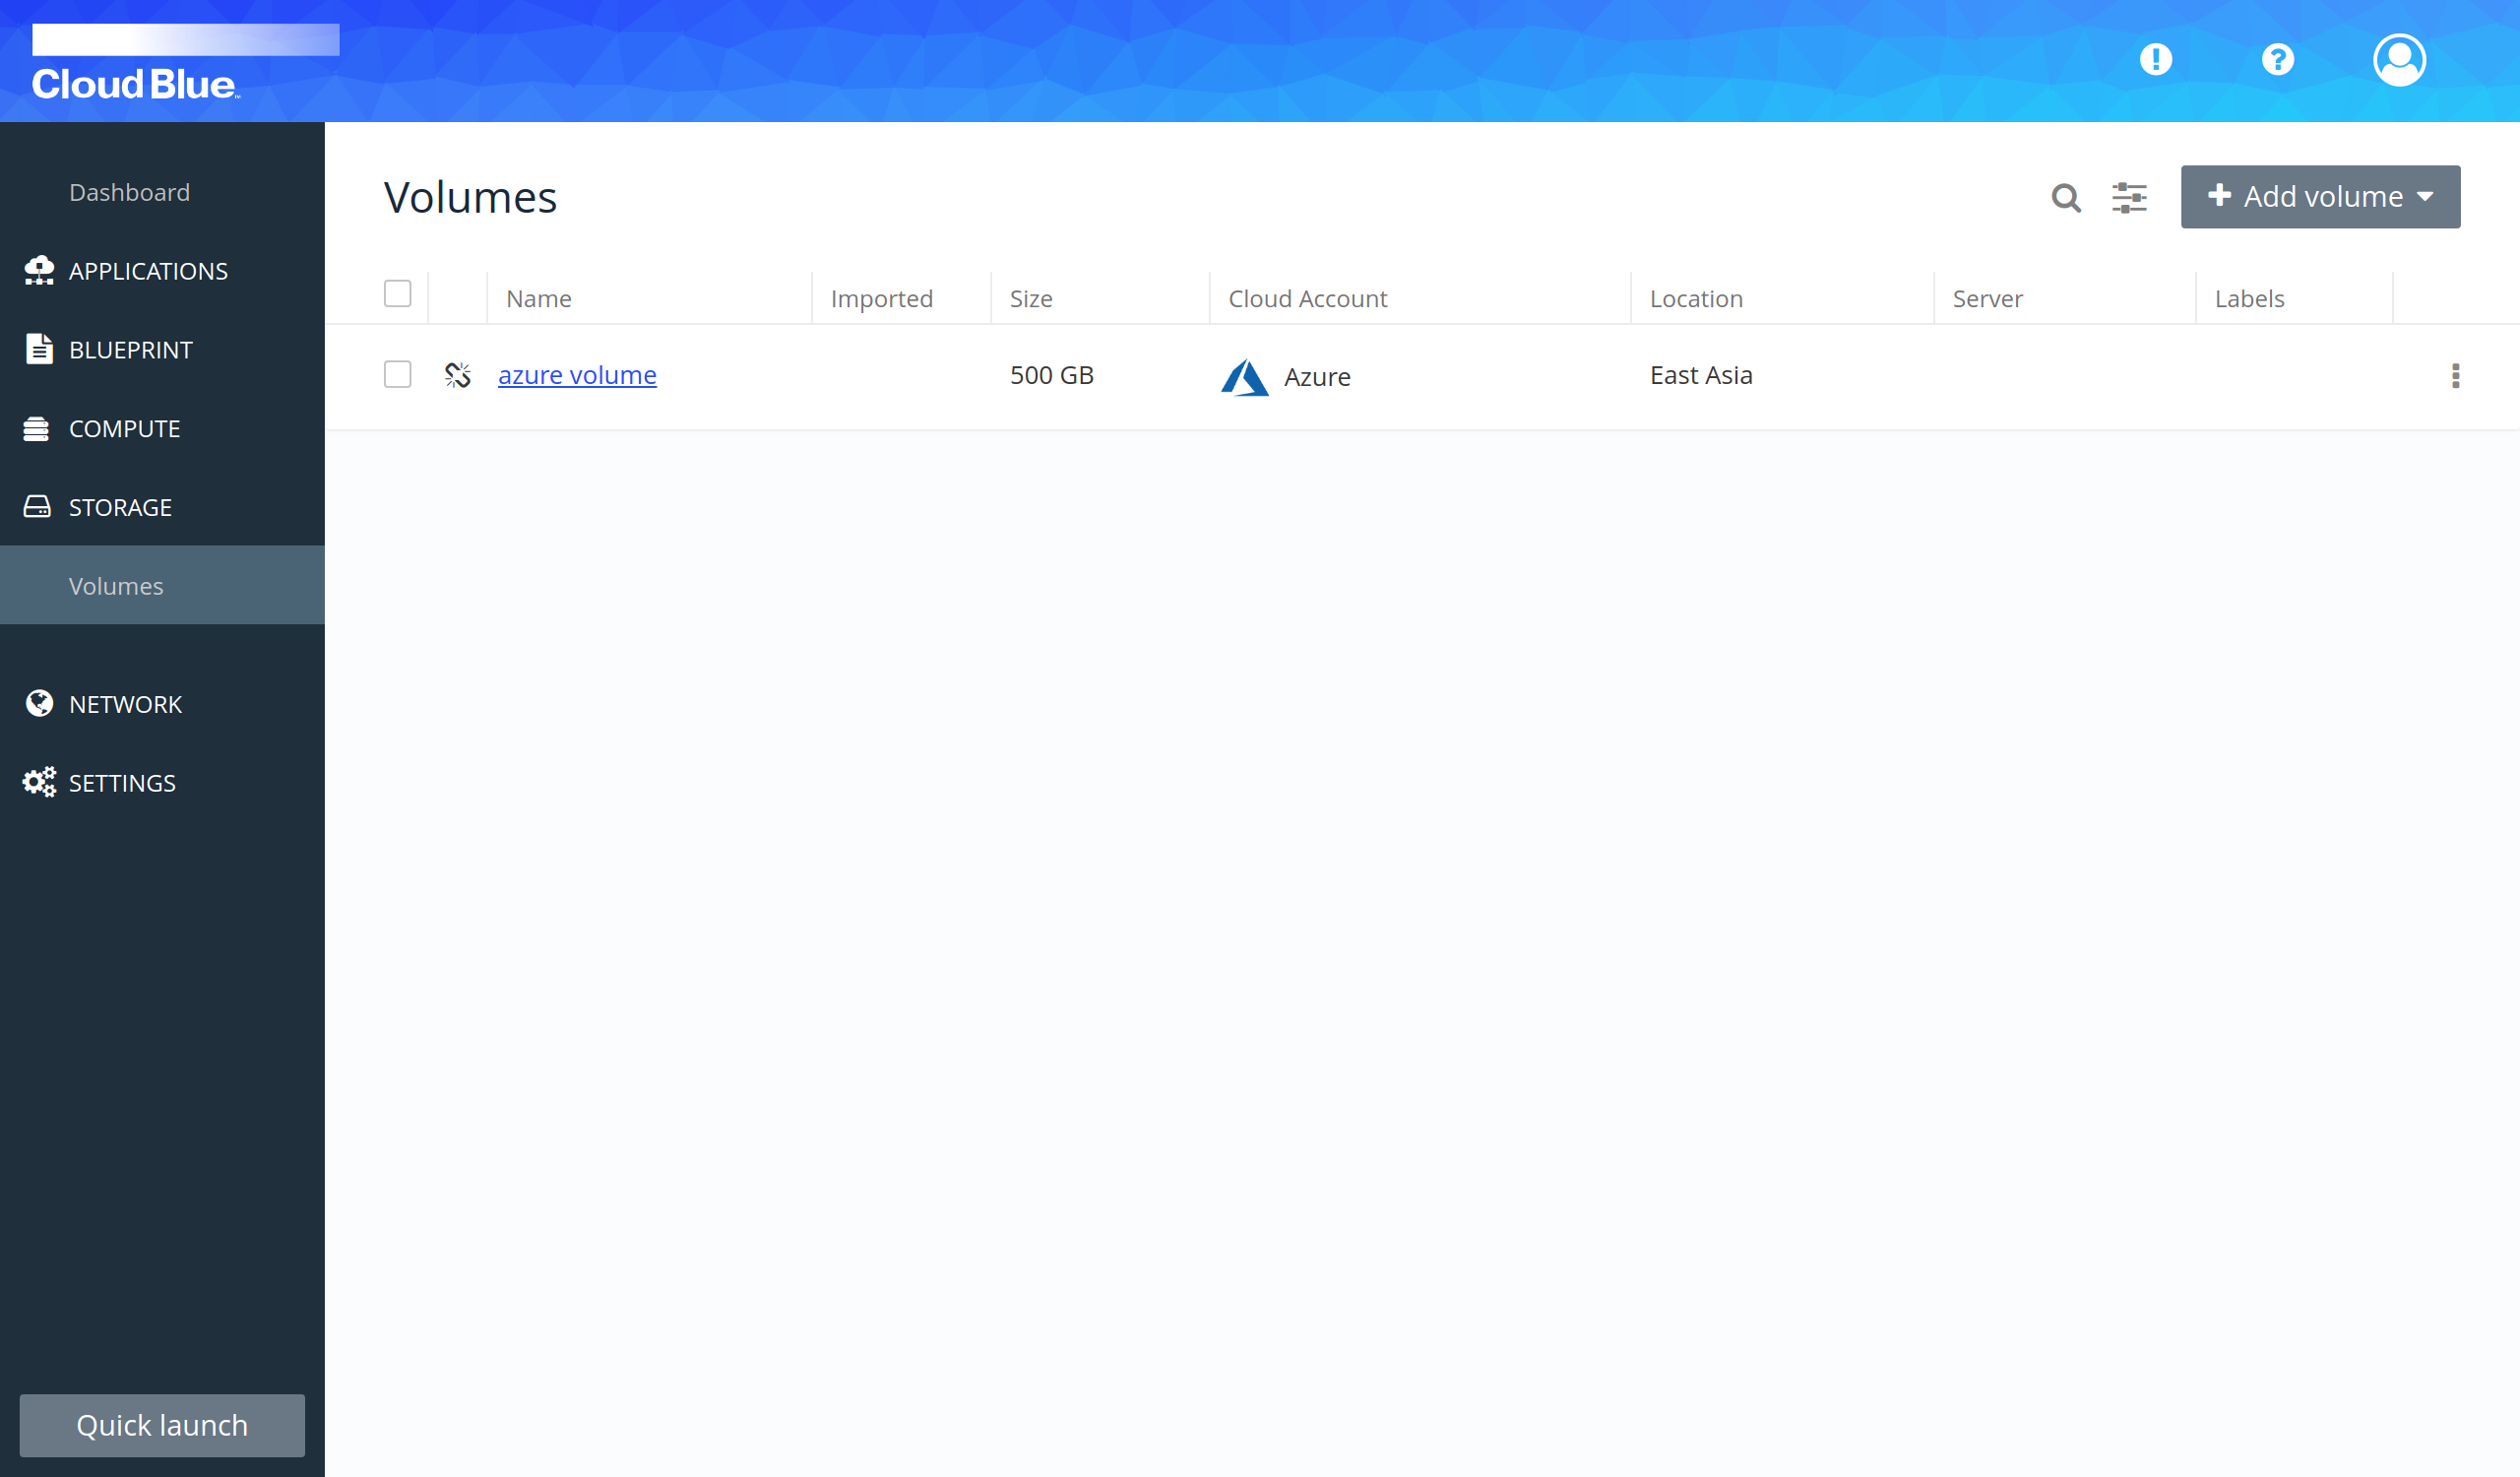
- Go to Storage -> Volumes.
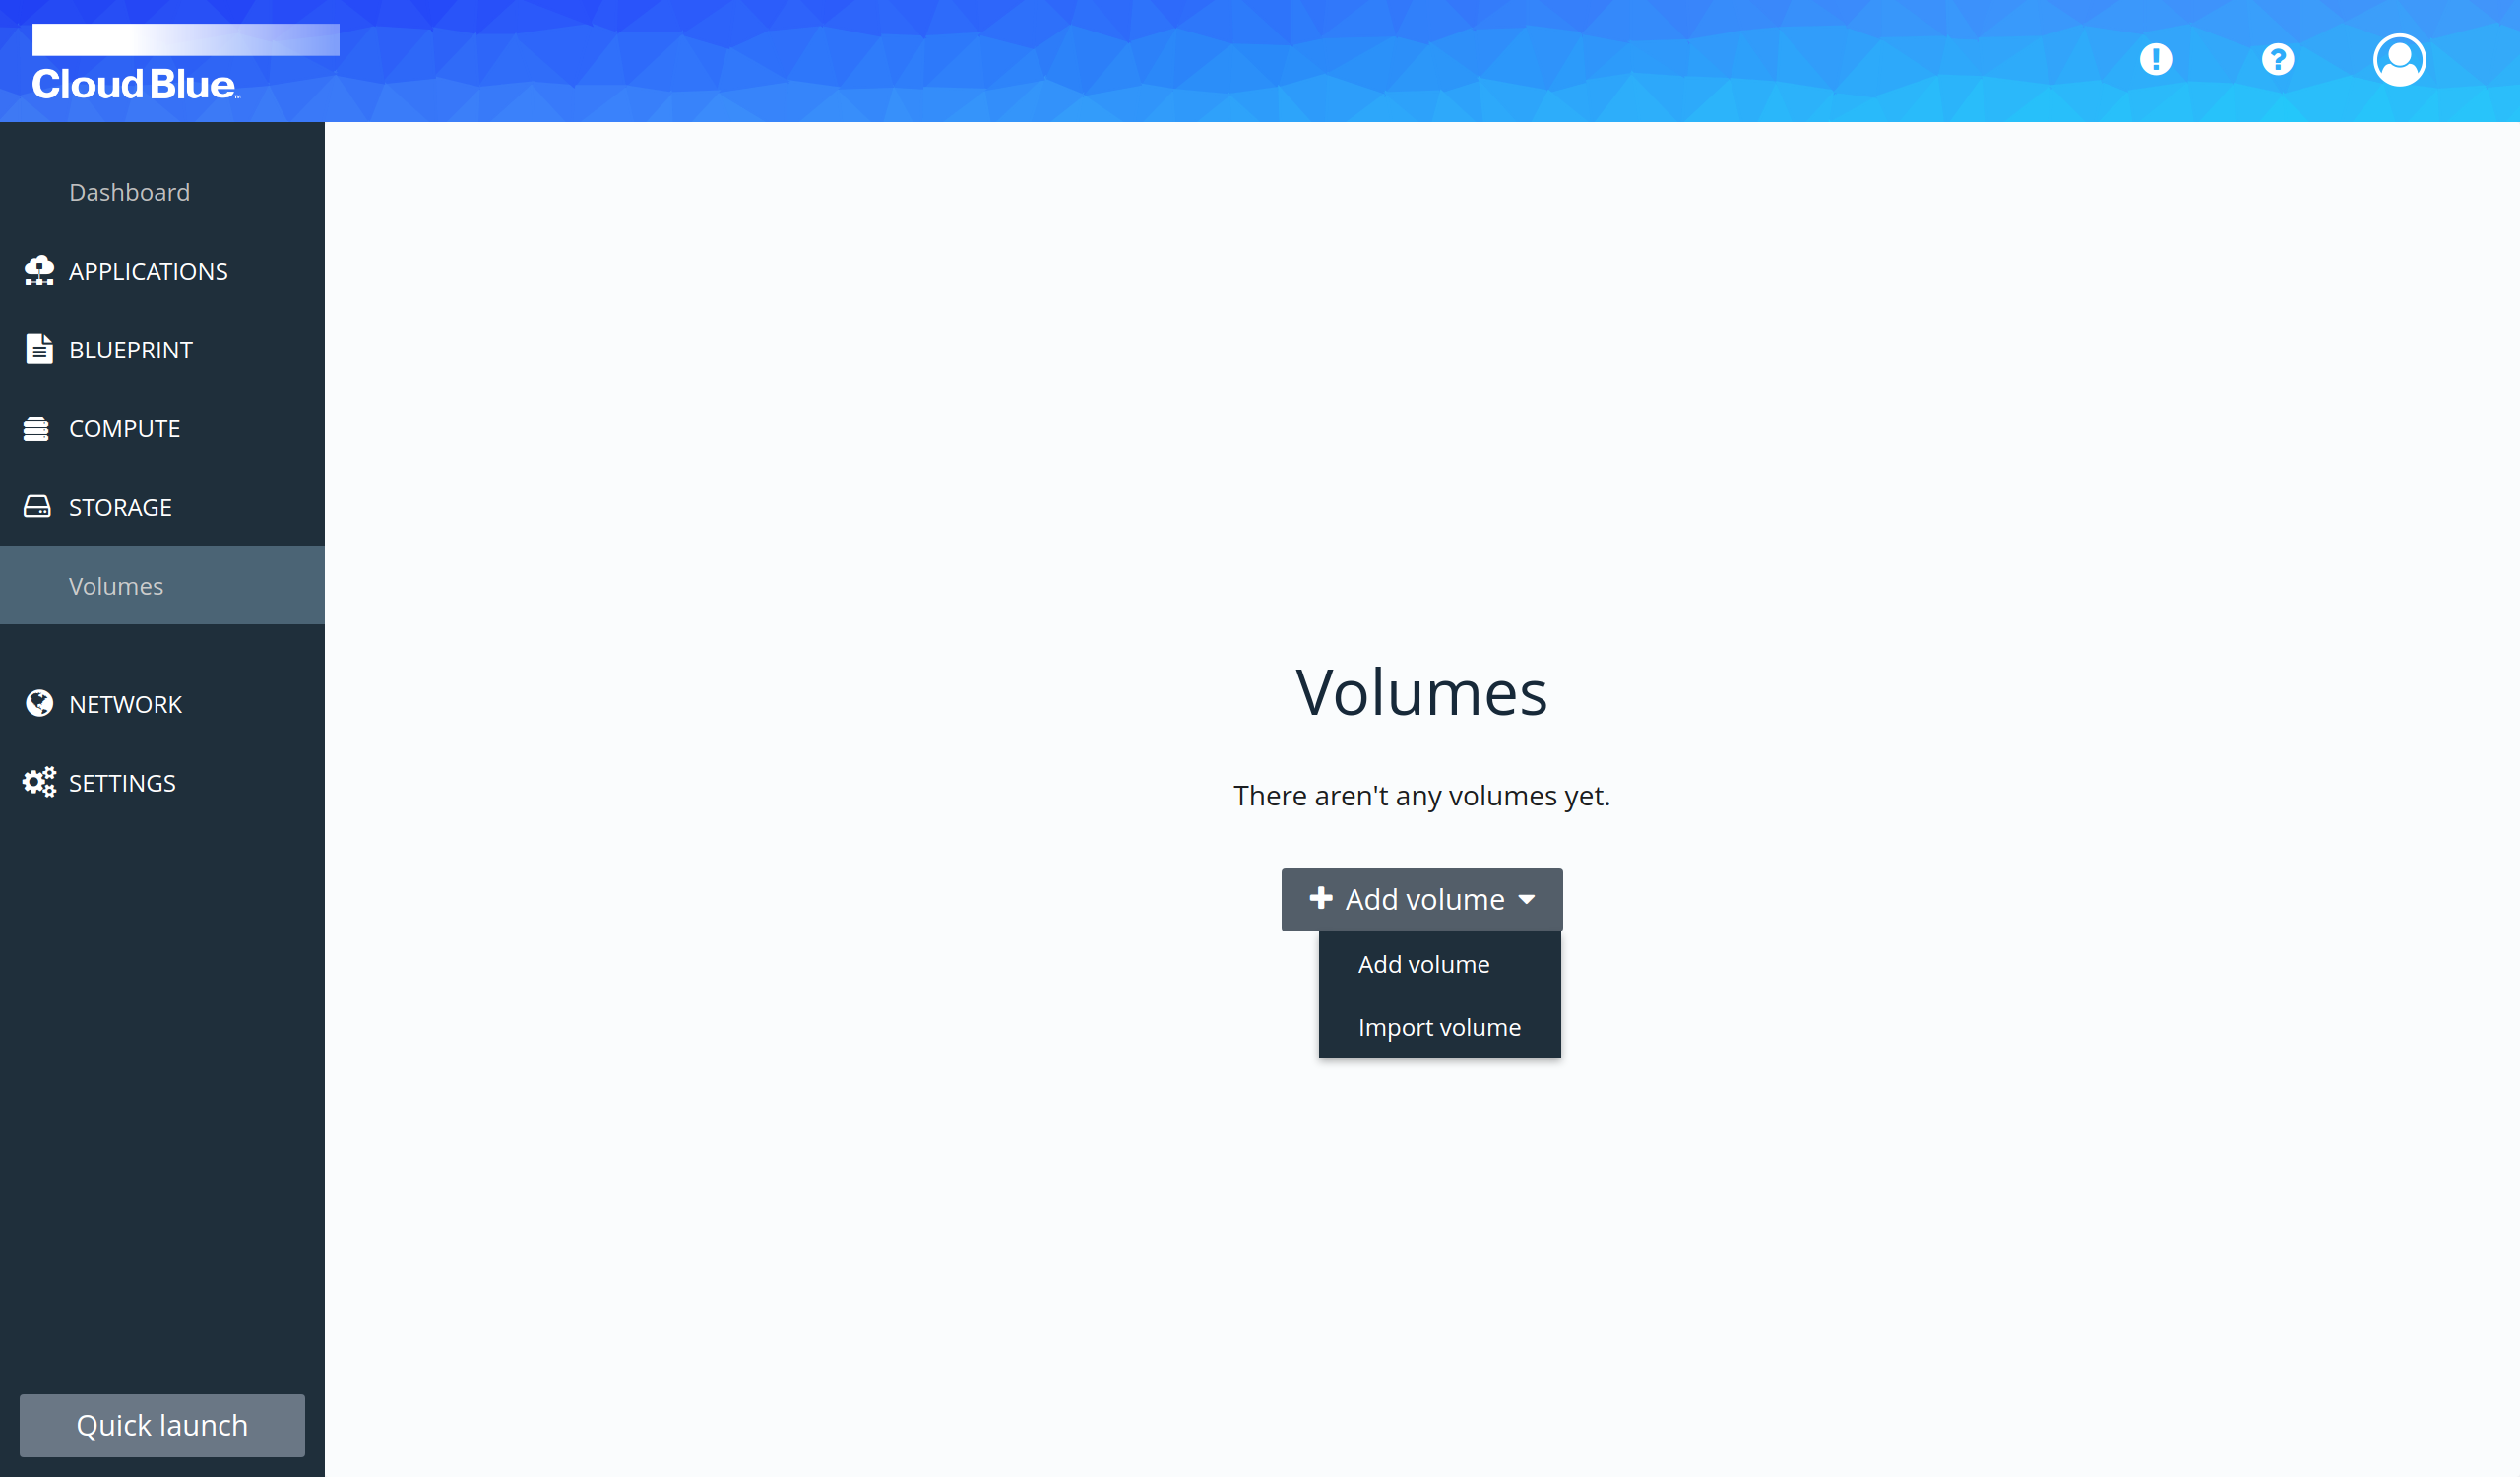
- Select the "Add volume" option in the "Add volume" selectable.
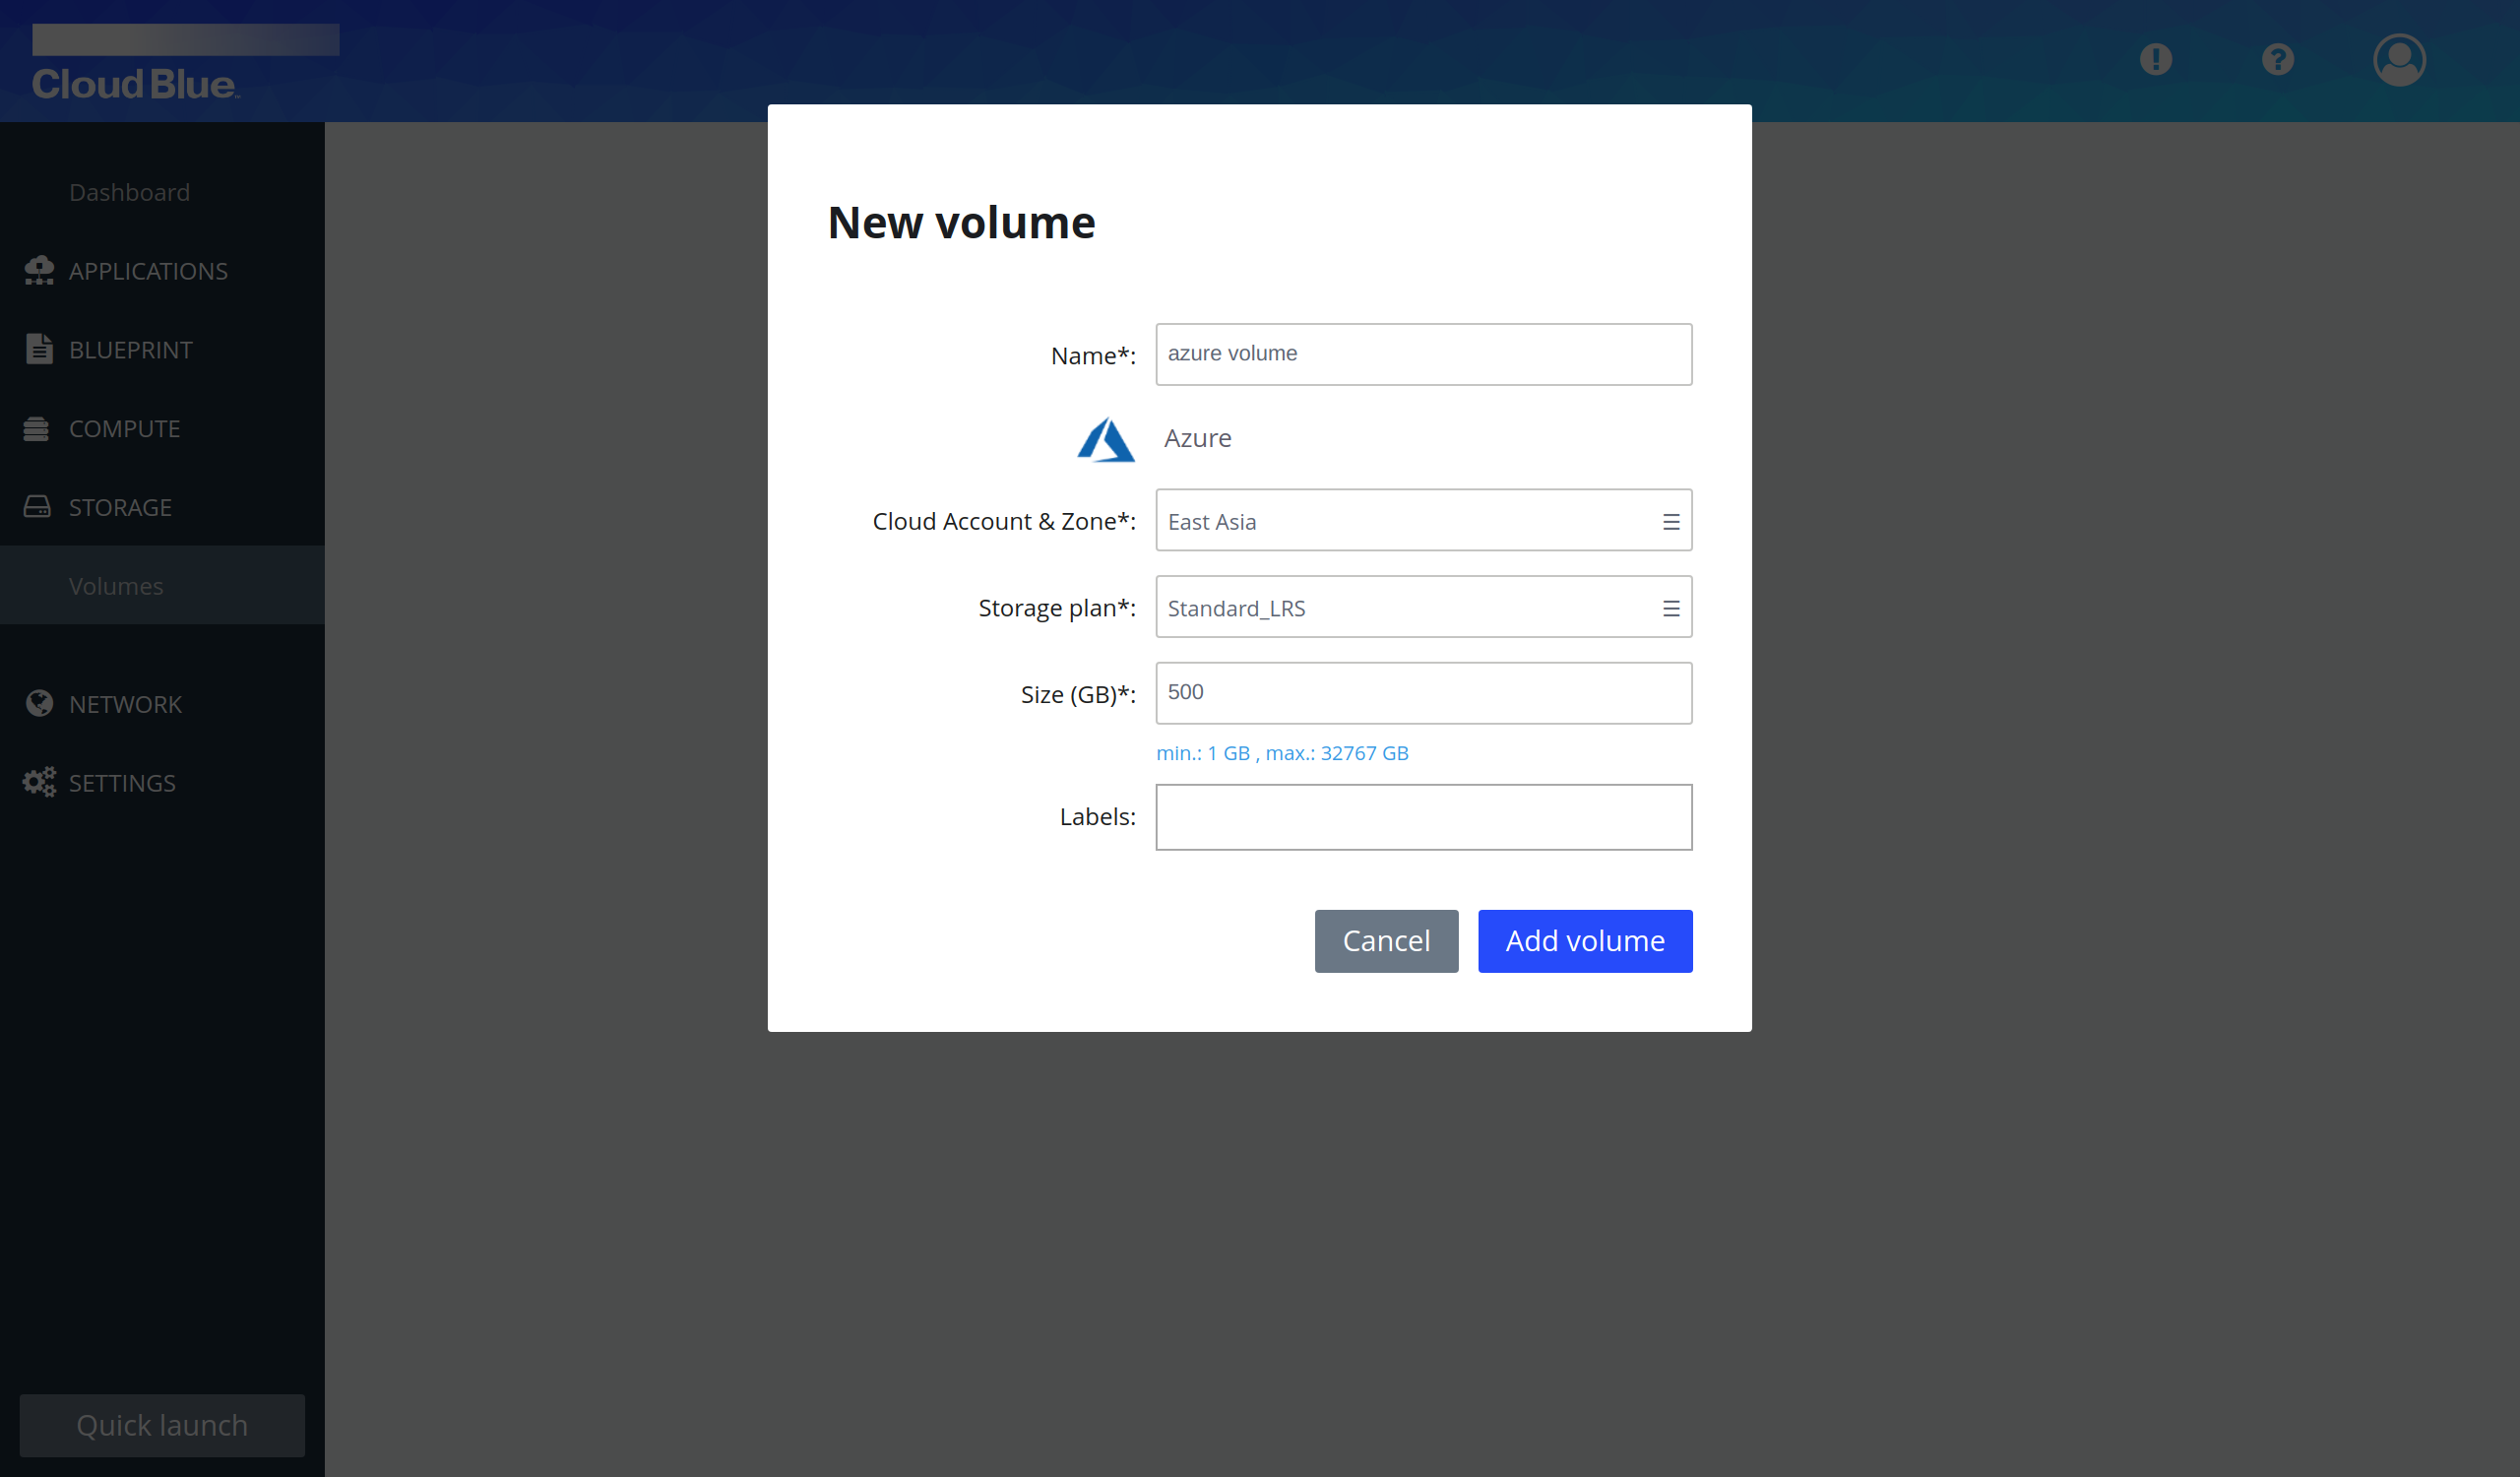
- Provide all mandatory fields and press the "Add volume" button. It is important to select the volume in the same region as the server.
- Wait until volume is in the "Detached" state.
Attach the volume to a server
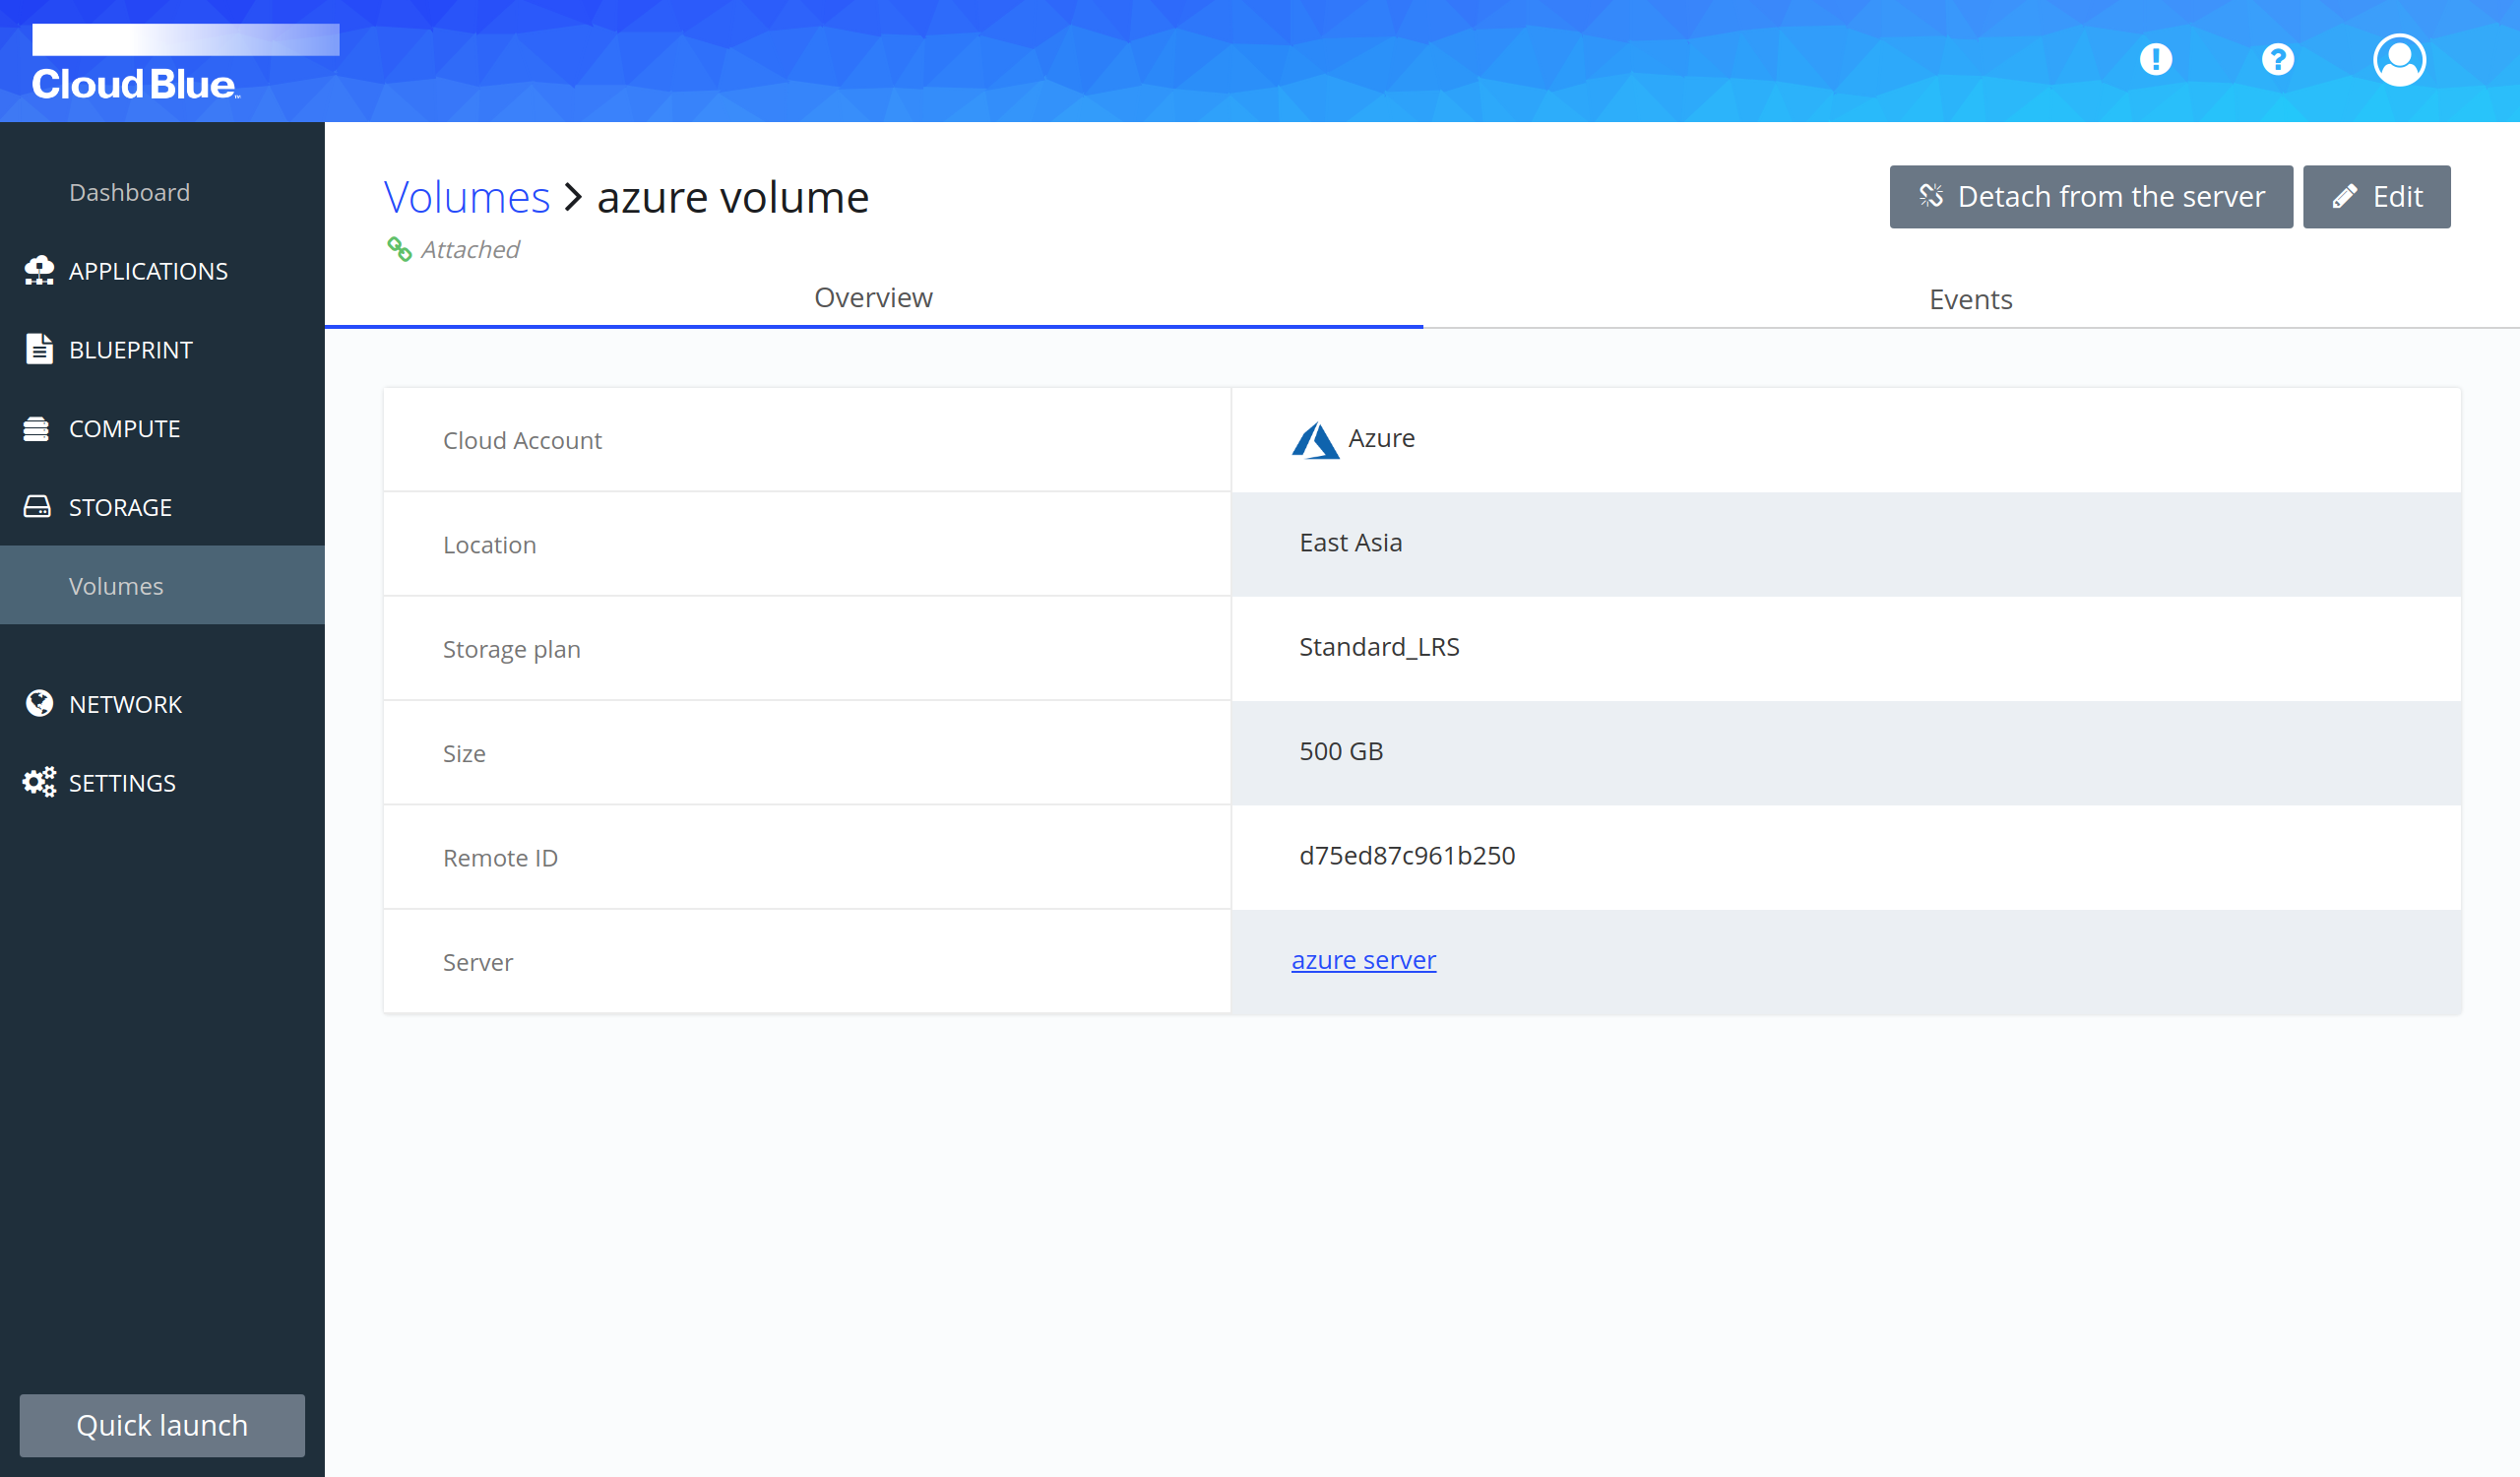
- Click on the name of the volume to view the details.
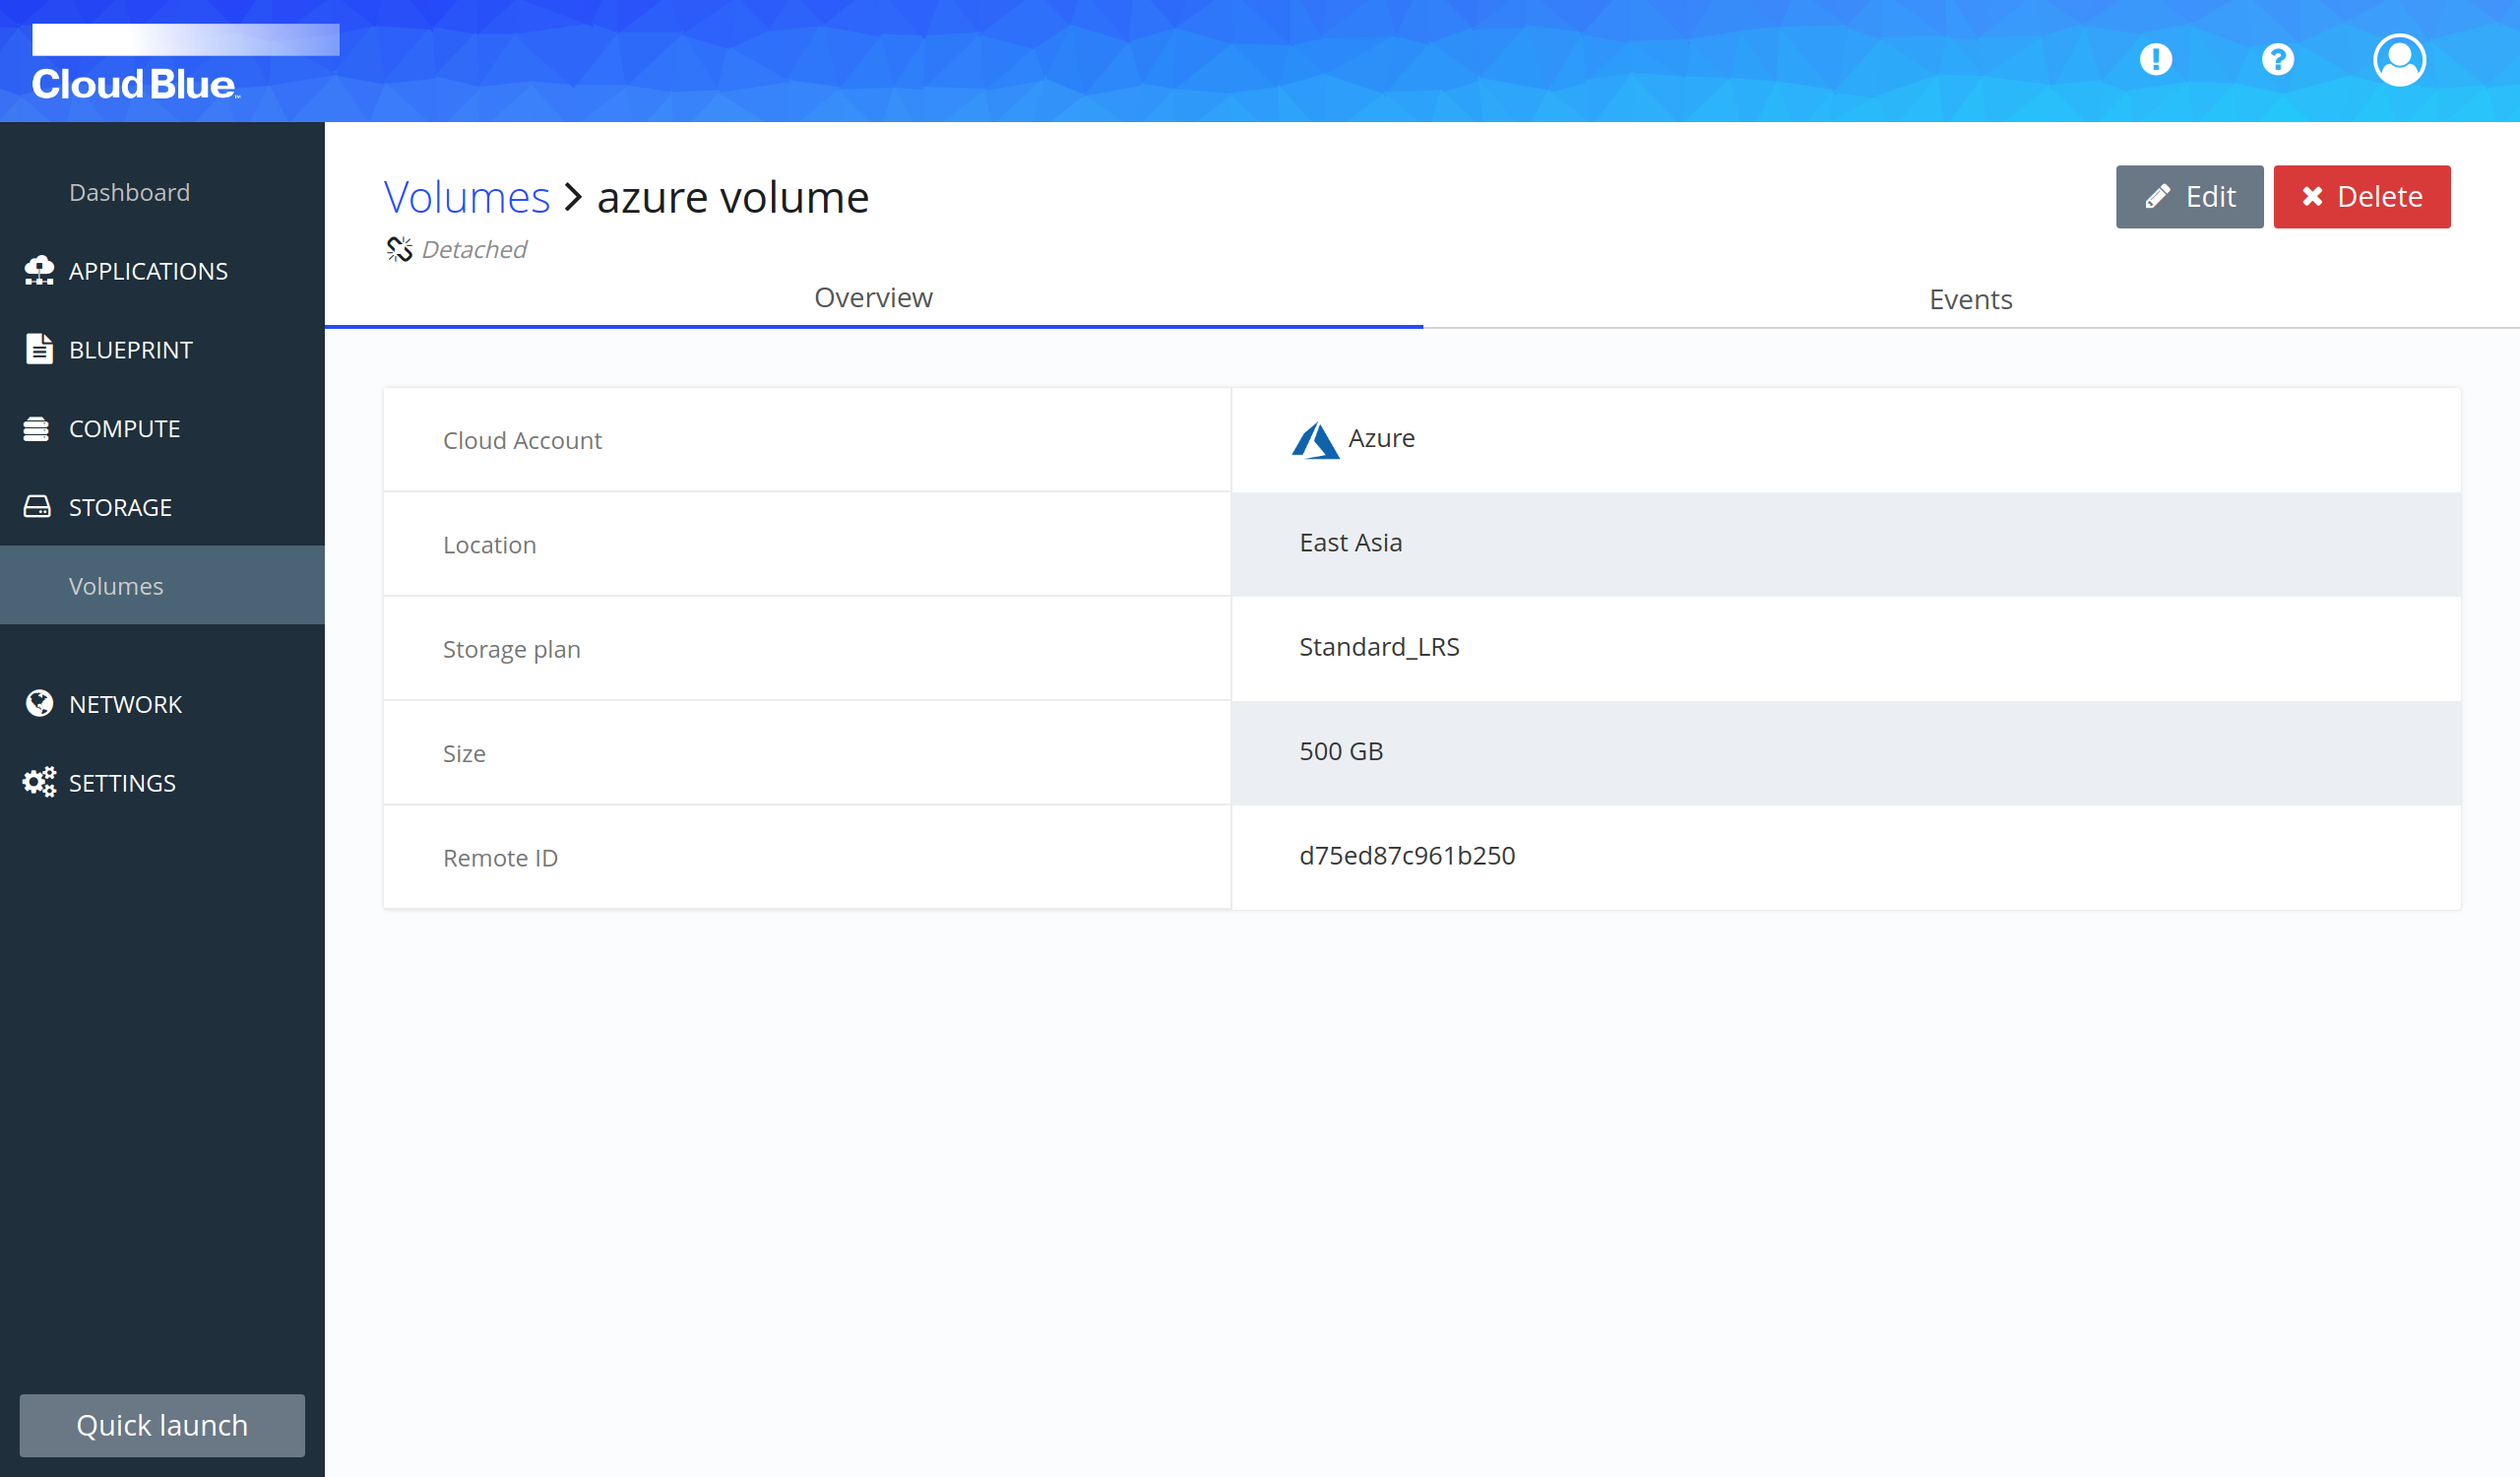
- Press the "Edit" button.
- Select the server in the "Server" selectable and press the "Update volume" button.
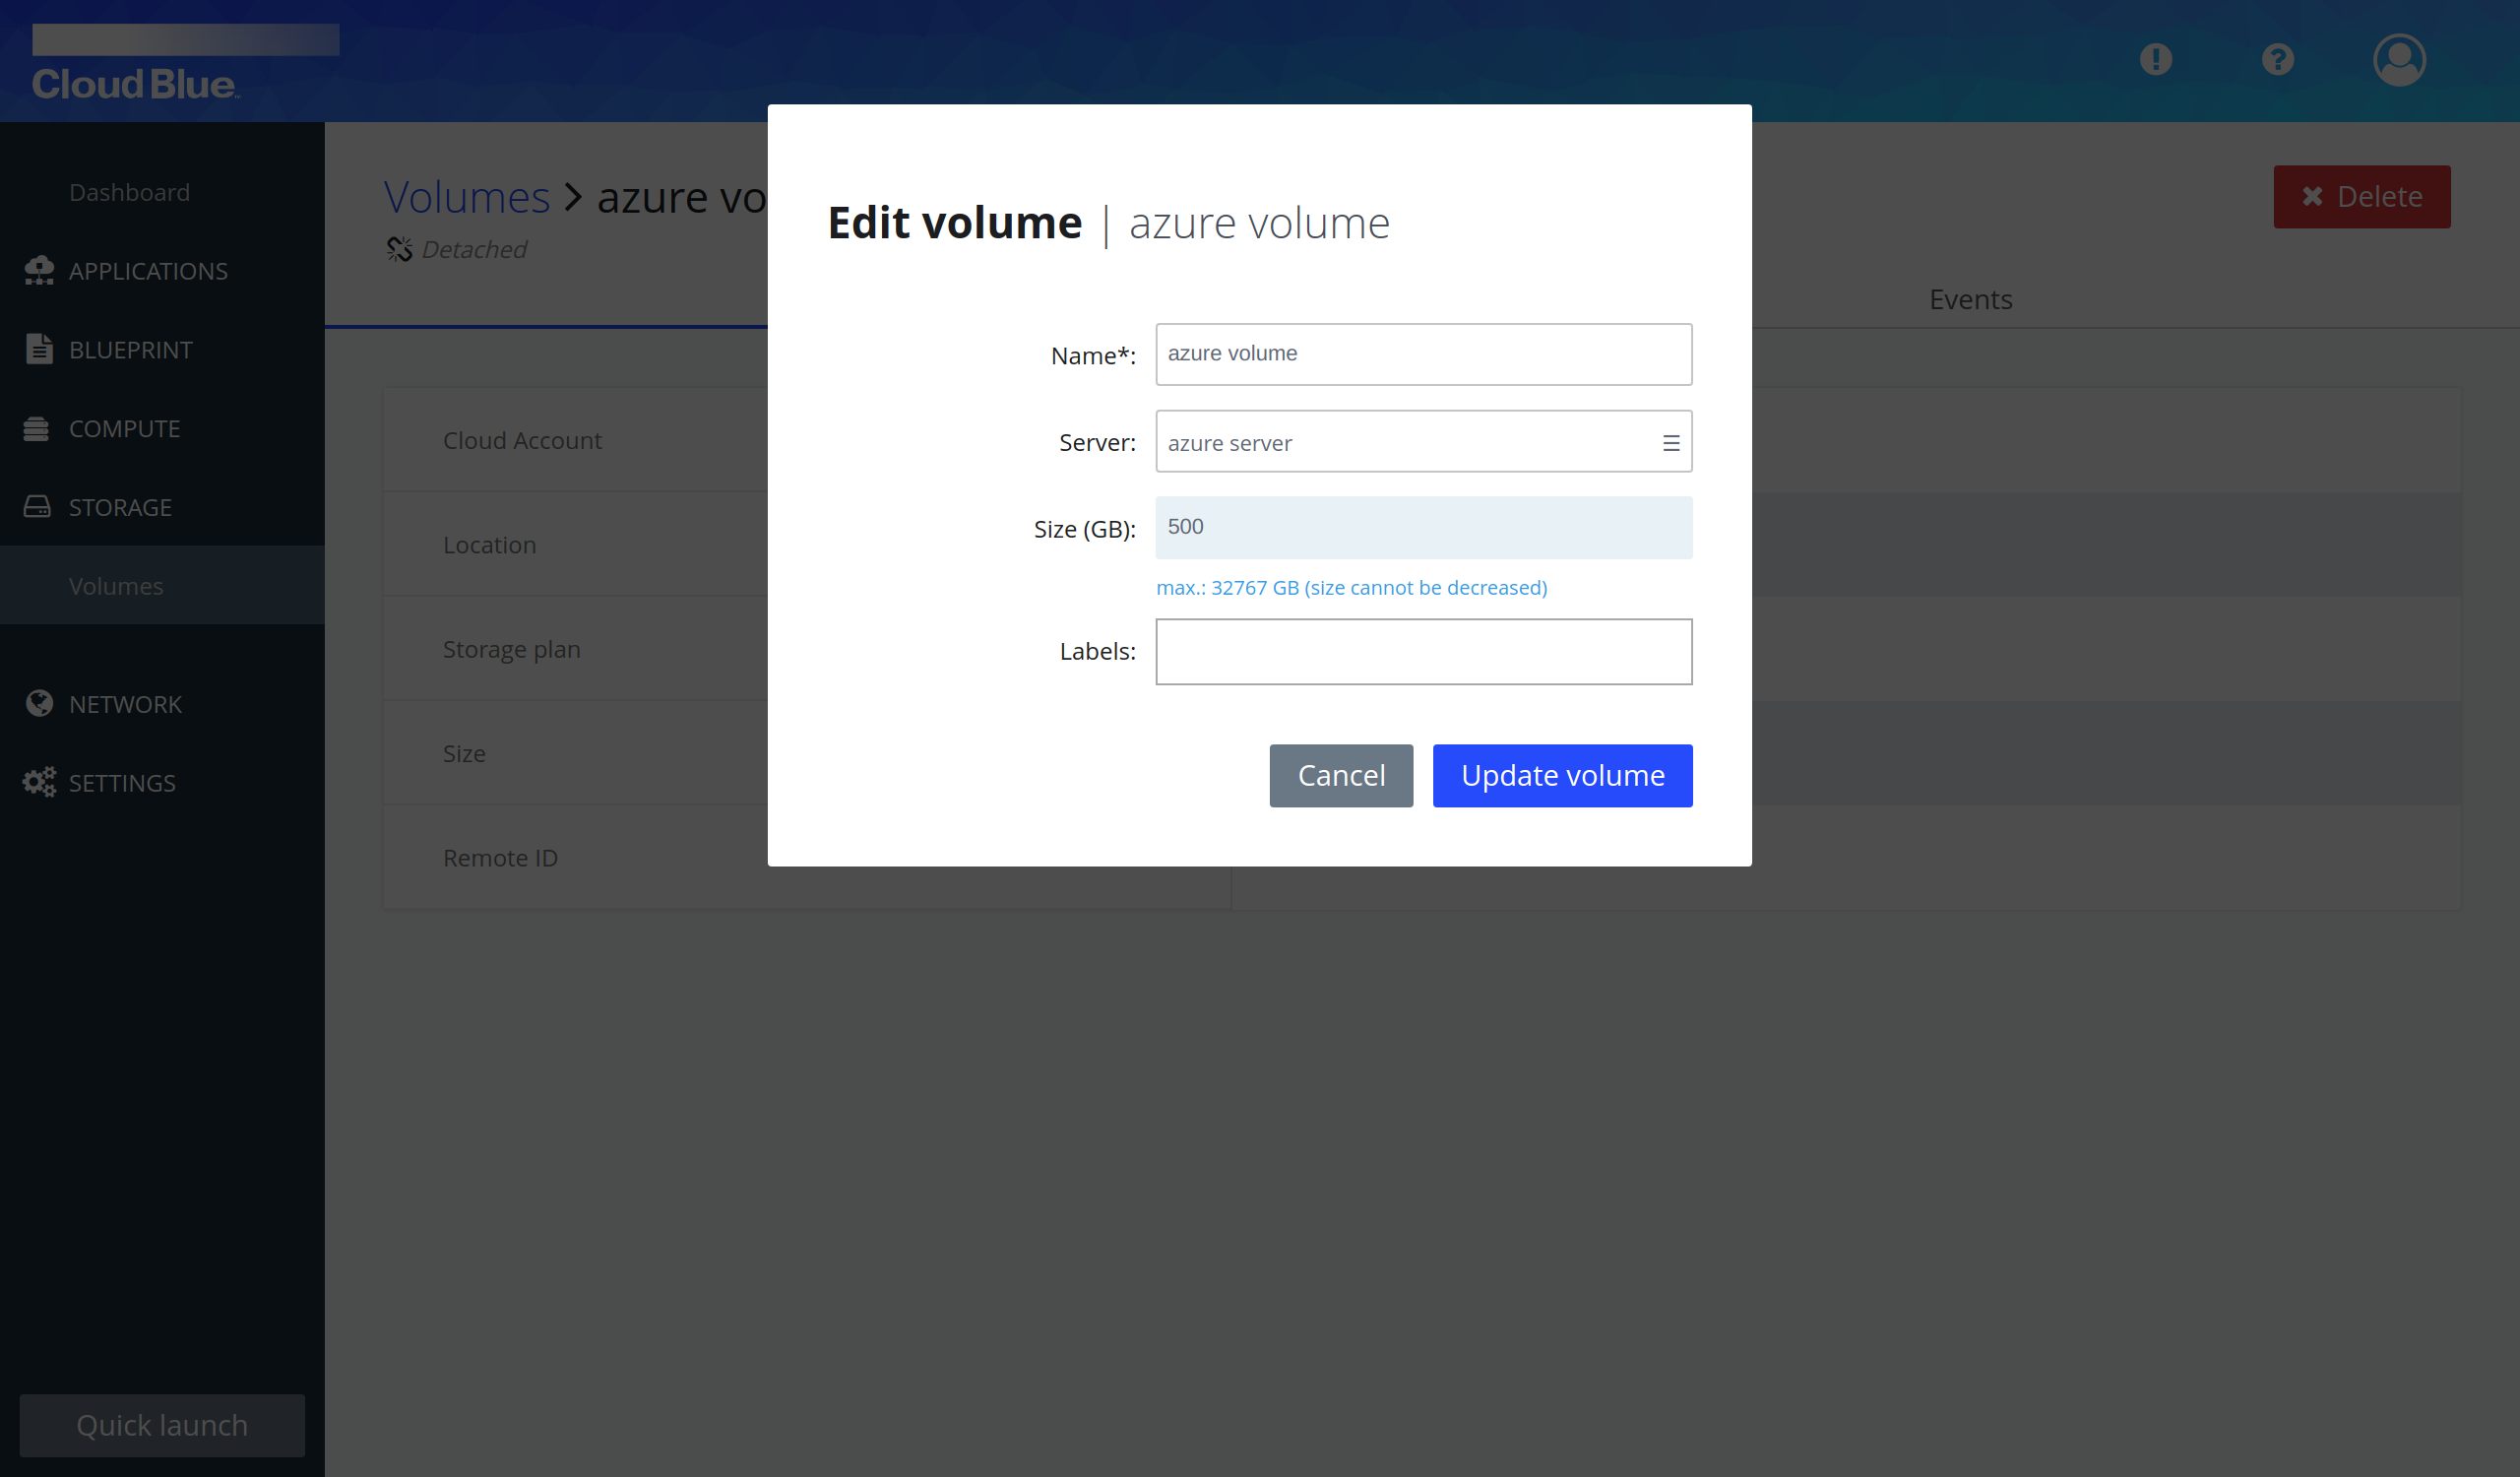
- Wait until the volume is in the "Attached" state.
- Volume has been attached to the server.